

I’ve been having some more concrete fun and I totally love how I can make endless things with concrete! I just finished making some pretty stepping stones for my parental units’ yard.
I didn’t want to make round stepping stones. Nice, but boring. I have always liked traditional mosaic stepping stones, but I wanted something with a bit of a modern flare. I also didn’t want something that was labor intensive cause I’m all about easy.
To solve these issues, I went with rectangle shaped stones (the modern), added a few glass tiles (the mosaic), and used cardboard boxes (the easy) to form my DIY concrete stepping stones. Here’s all the fun details…
DIY Concrete Stepping Stone Tutorial
Step 1: Gather all your supplies.
You’ll need:
- Rapid Set Concrete Mix (available at Home Depots across US & Canada)
- A large container to mix your concrete
- Cardboard boxes cut down to 1.5″ high for your forms
- Utility knife (to cut the boxes)
- Water
- Something to mix your concrete with. I used a drill with a mixing attachment, but you can also mix by hand using a garden trowel or mixing hoe
- Concrete trowel to smooth the surface
- Glass mosaic tiles
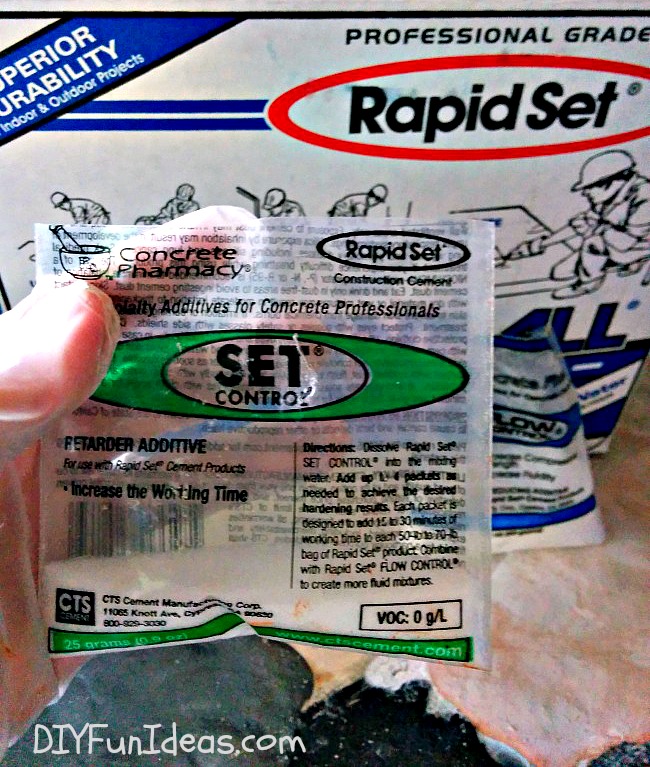
- Rapid Set Set Control (available at Home Depots across U.S. & Canada)
- Old paint brush
- Small plastic container (for pouring concrete)
- Bucket of clean water to immediately clean your tools
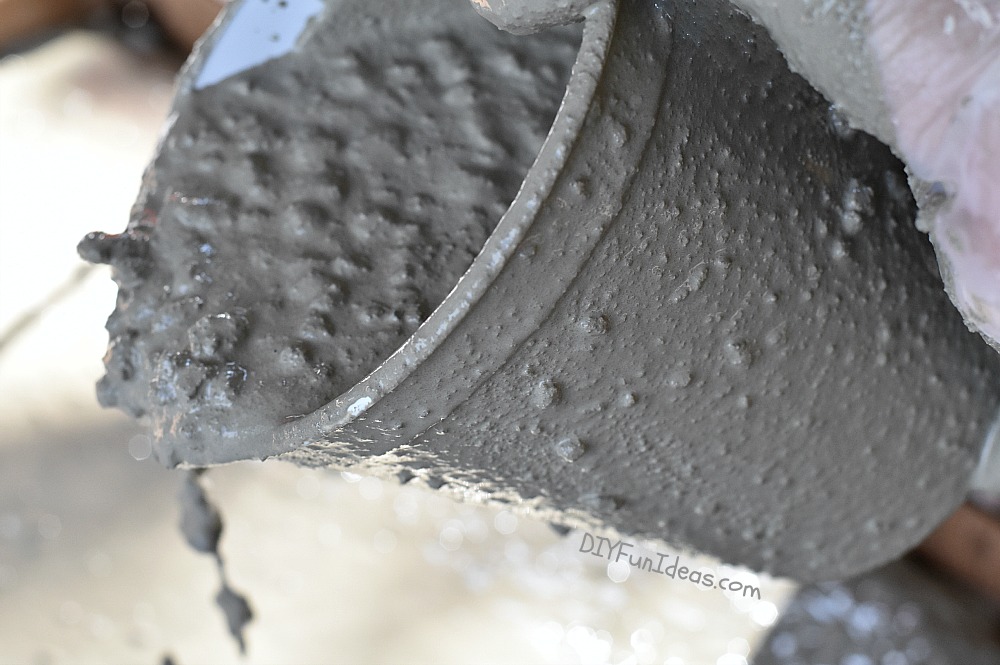
Step 2: Mix up your concrete. Use 1 gallon of water per 60 lb. bag. To mix up your concrete, first pour your water into your mixing container. Mix Rapid Set Set Control into the water. Then pour the Rapid Set Concrete Mix into the water a little at a time, mixing as you go. Do not pour the entire bag in at once or you’ll have a really hard time mixing. (Umm, don’t ask me how I know that. Let’s just keep the past in the past.)
I recommend immediately cleaning your mixing tool after mixing. If you use a drill with mixing attachment, like I did, then just dip it into a clean bucket of water and run for 30 seconds. This will remove any concrete build up.
The reason I add Rapid Set Set Control to the mix is that it helps slow down the setting time of the concrete and gives me more time to work with it. I love using Rapid Set Concrete Mix and Cement All because they dry so quickly that whatever I’m making is usually ready to use within an hour or so, unlike traditional concrete which takes a minimum of 24-48 hours to cure (which means I have to W..A…I…T to play with my new toys. Oye!). But because Rapid Set does dry quickly, it also sets quickly, which means there’s no time for goofing around. So dropping in a little packet of Set Control slows the setting enough to give me added time to work with my concrete…and goof around.
Step 3: Pour your mixed concrete into your forms. Like I said earlier, I wanted to make this project super simple. So instead of building melamine forms, I simply cut down some old cardboard boxes to a height of 1.5″.
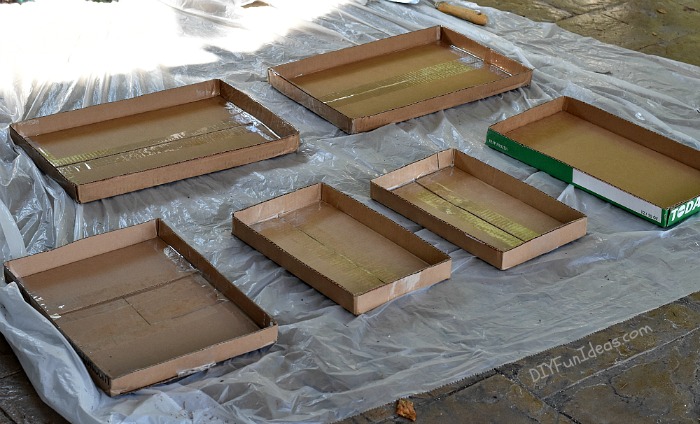
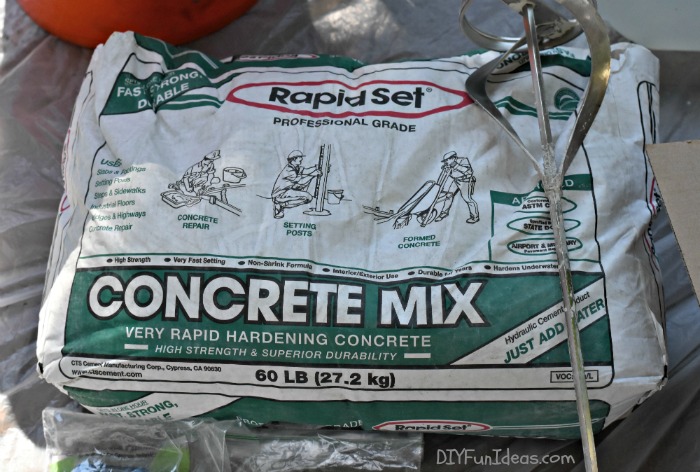
Then I used a plastic container to scoop and pour my concrete into the forms.
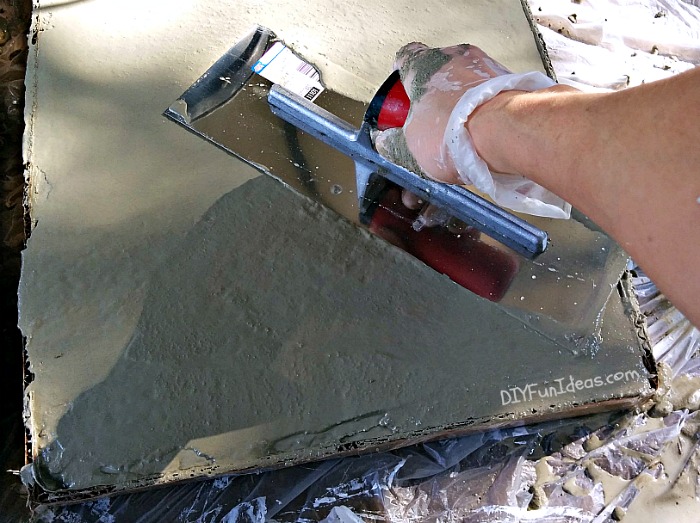
Step 4: After you pour your concrete, use a trowel to smooth over the top. If you don’t own a trowel, you don’t need to go out and buy one. You can actually use most any stiff straight edge surface. As a matter of fact, when I did the concrete overlay on the bathroom vanity, I actually used a squeegee.
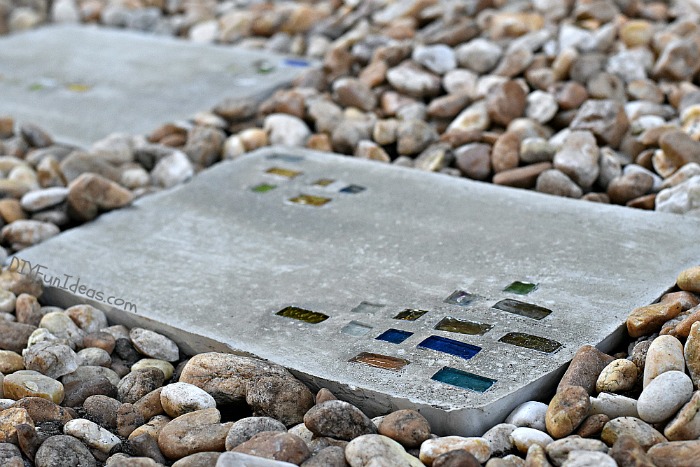
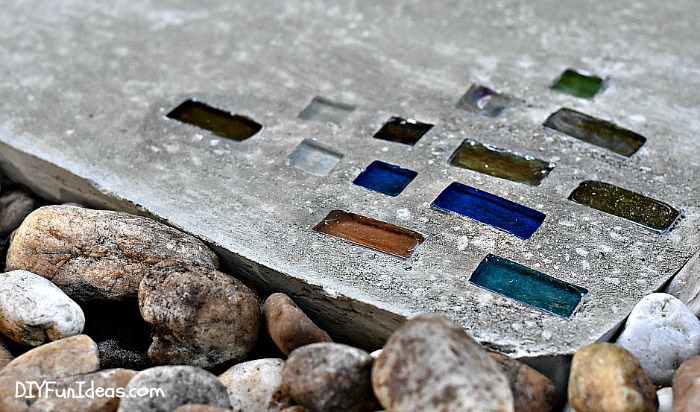
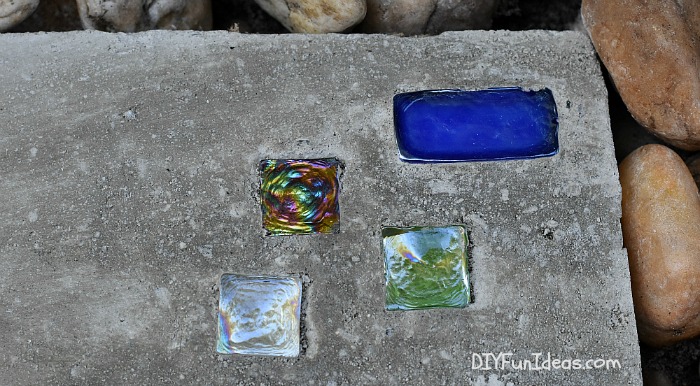
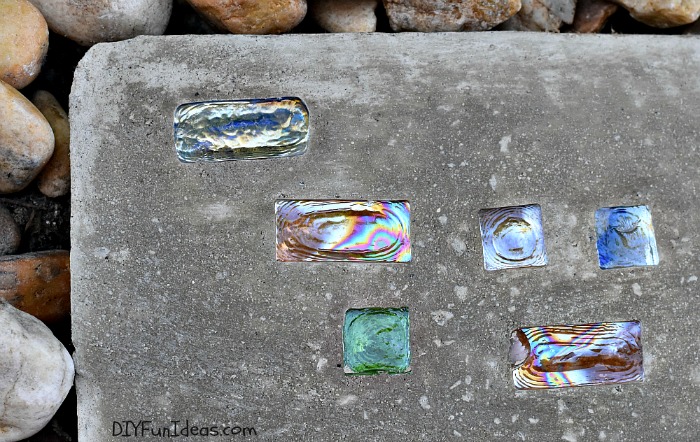
Step 5: Insert your glass tiles into your smoothed surface in the design of your choice.
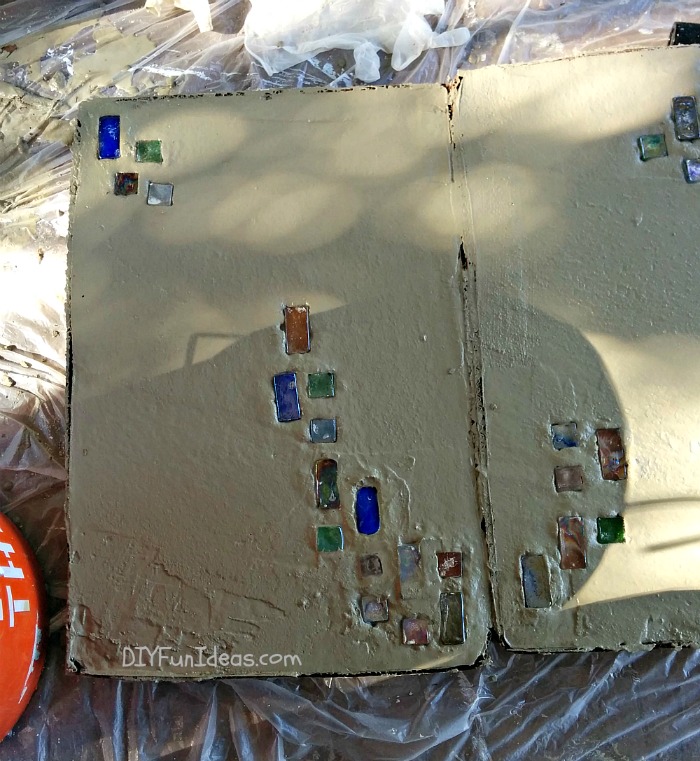
Step 6: This step is optional, but if you want your concrete stepping stones to have a brushed finish, once the concrete begins to stiffen simply take an old paint brush and brush over the surface.
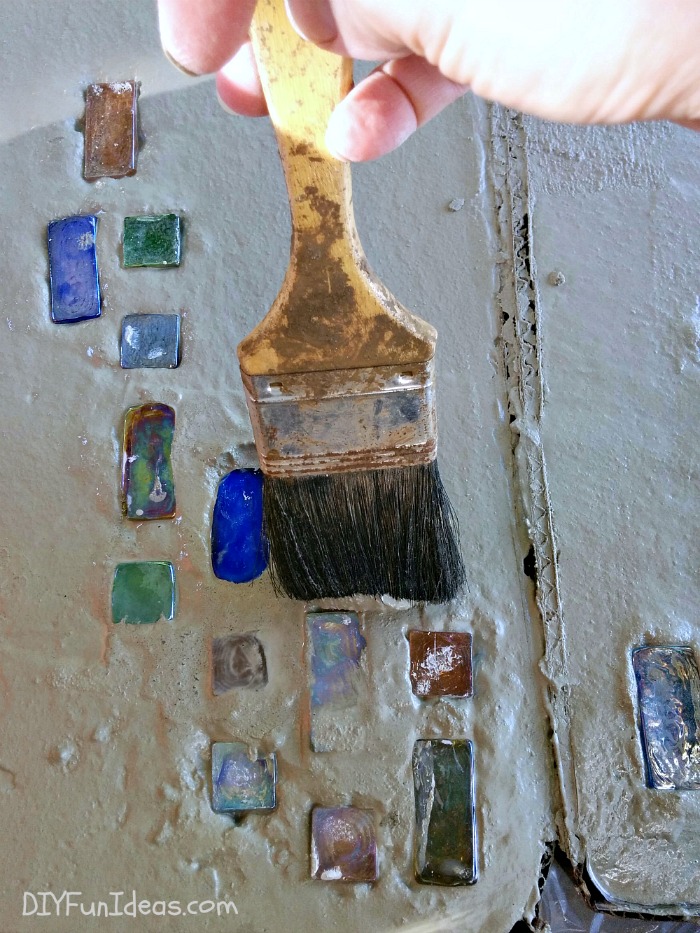
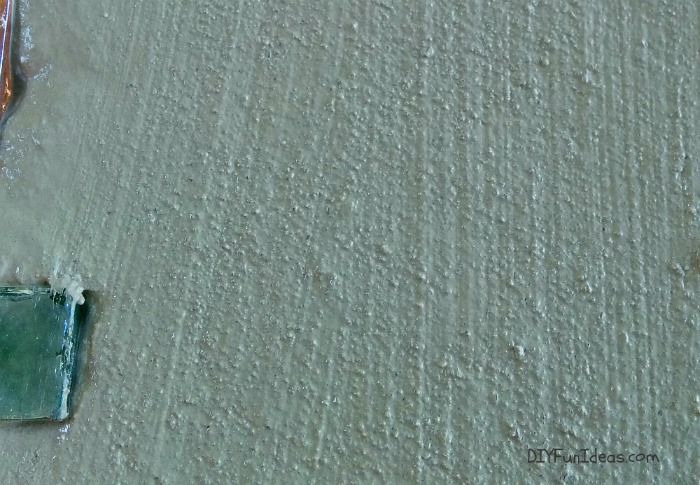
This is what your brushed surface will look like…
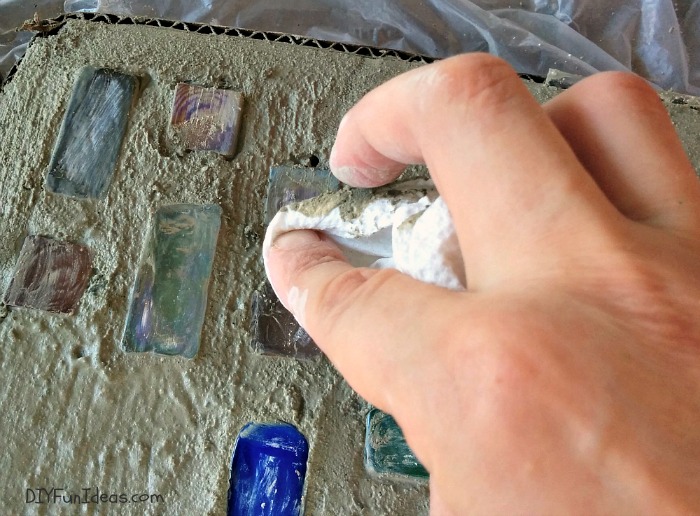
Step 7: While the concrete is still wet, moisten an old rag or paper towel and clean off any concrete that had deposited on your tile surfaces.
Step 8: After about an hour, run a spackle knife along the edges of the concrete stepping stone to remove the cardboard forms. The cardboard will be moist and will peel right off.
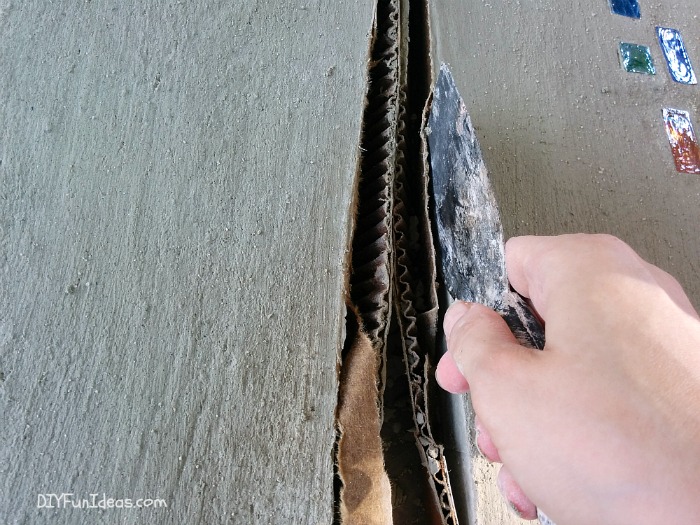
Now, in case you’re wondering why I didn’t lay the glass tiles directly on the cardboard forms and then pour the concrete over them, here is the reason…

This is the side of the stepping stone that was against the cardboard. Concrete will pick up every little mark and indent that is on the form. In this case, it picked up all the ridges in the cardboard and even the tape line. So I made sure to make this side the bottom of my stepping stones.
Now, if you decide to build melamine forms (more on building melamine forms HERE) for your stepping stones then you can lay the tiles on the form and pour the concrete on top. The side of the concrete that touches the form will end up being the top of your stepping stone and will have a perfectly smooth surface.
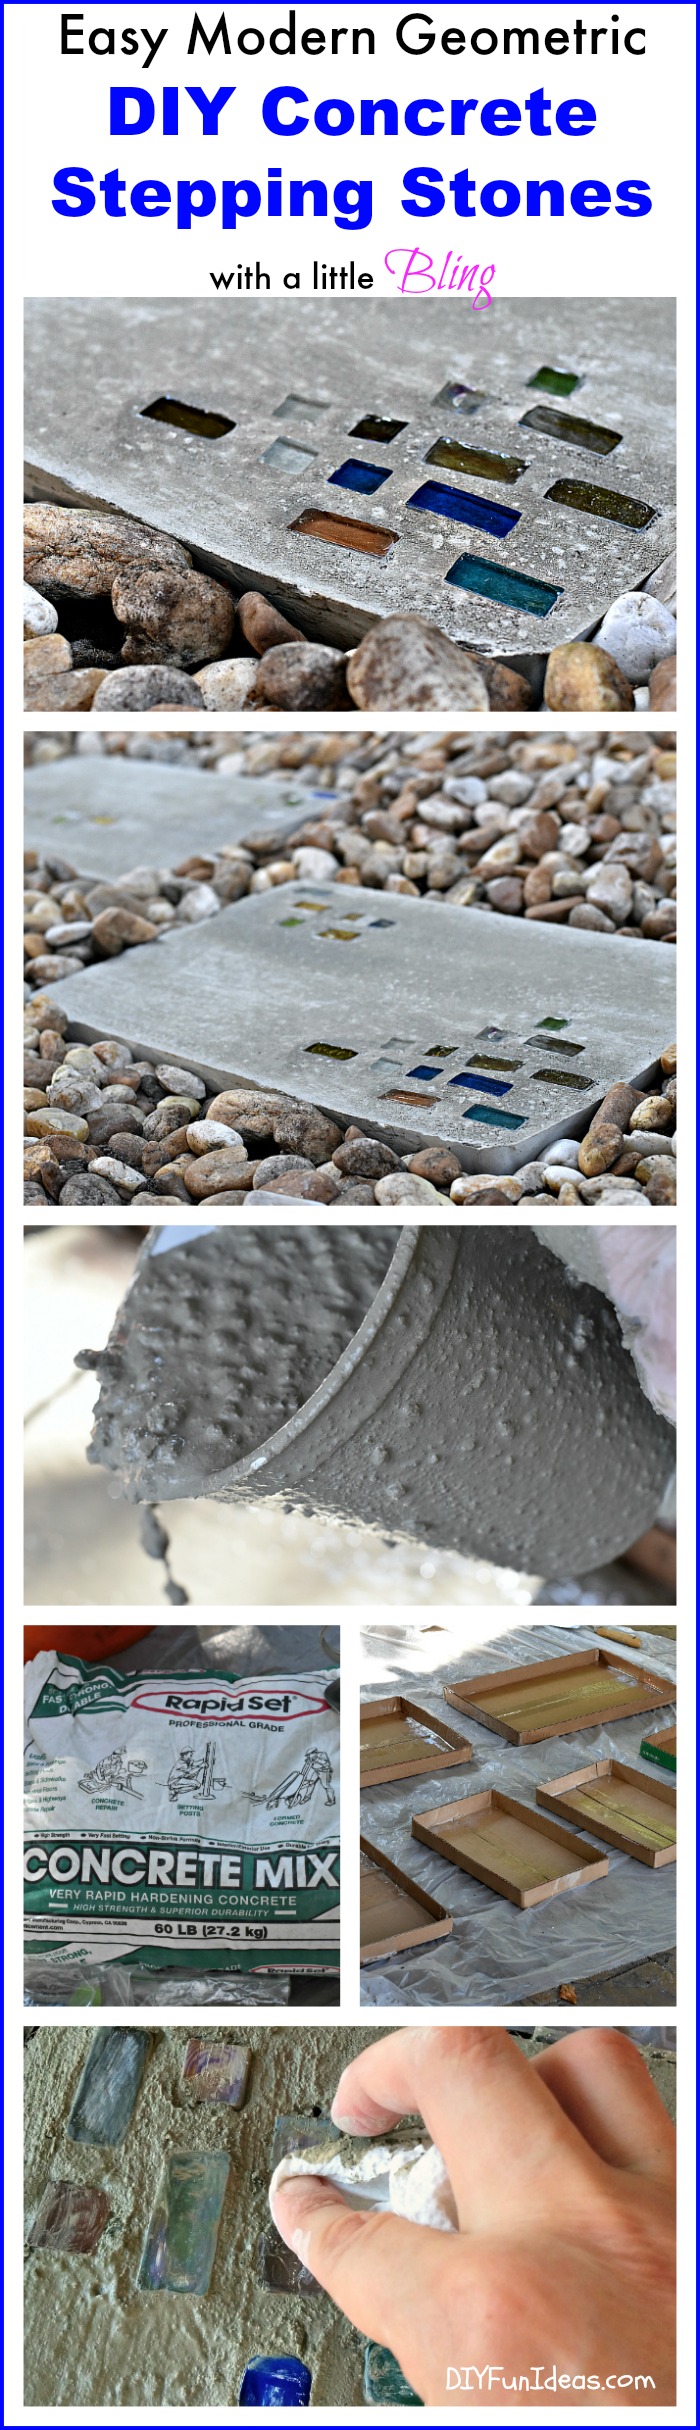
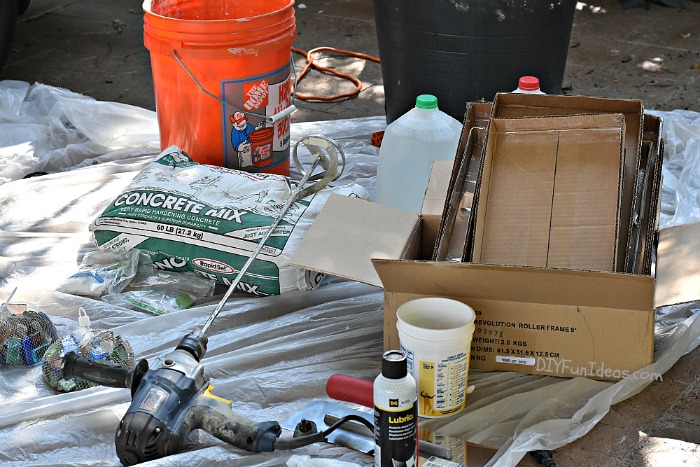
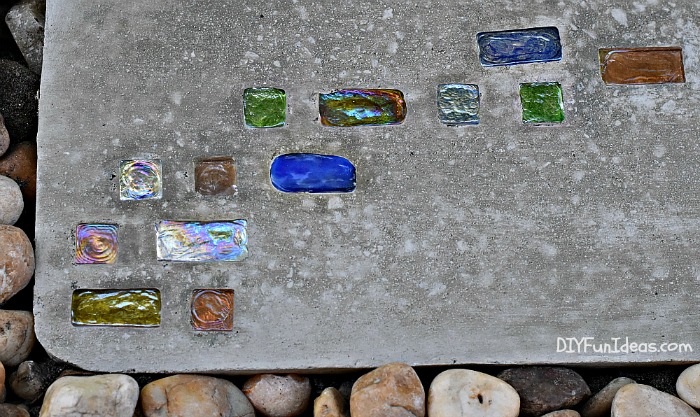
And here are my first two DIY concrete stepping stones, with a modern flare and a little bling…
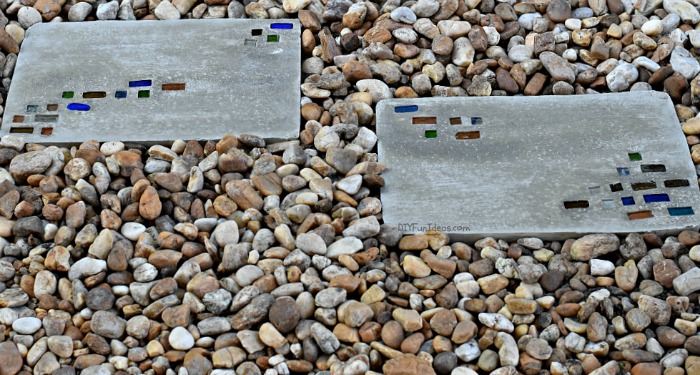
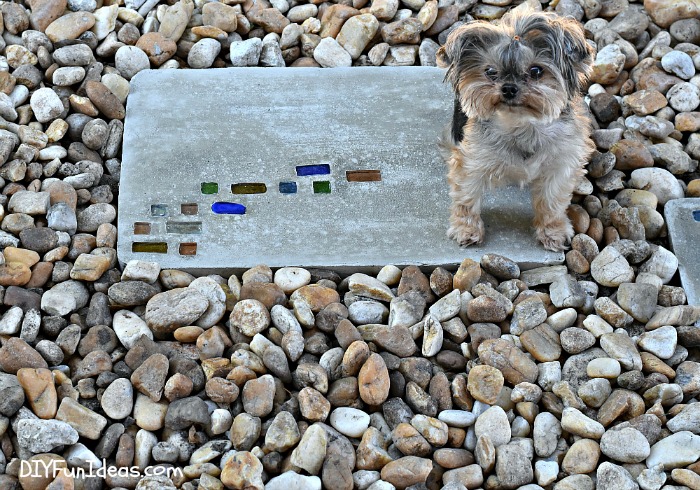
These two stones are rather large. They’re 20″ x 13″. Much bigger than my little monster.
Right now, the side of my Mom and Pop’s house is covered in all these little stones, so my plan is to make a whole bunch more concrete stepping stones, with bling of course, and create a pathway in the rocks about 3 or 4 stepping stones wide all down the side of the house. I think that’ll look really cute.
There ya have it, DIY concrete stepping stones with a little bling!
![]()
This post linked to some of these totally fabulous blogs and Remodelaholic.

These are BEAUTIFUL, Jenise; Thank you! I’d like to make and give as Christmas gifts. But I’m wondering, how heavy are they?
Thanks!
Thank you so much Bobbie! Can I be on your Christmas list? :-) The stones I made are pretty large (20″ x 13″) so they’re pretty heavy, I’d guess perhaps around 20 lbs.
I love the bling you added to the stepping stones. It’s just the right amount! Great job!
Thanks so much Carrie!
These are wonderful, thanks for sharing!
Thanks so much Cheryl. That’s really nice of you to say!
how many 20 x 13 tiles can you make out of the 60 lb bag of concrete?
Hi Sharon, Those are pretty big stones so the 60 lb bag makes about 2.5 of them. Of course if you go smaller, you’ll get more stones. :-)
Your stepping stones are a wonderful addition to your parents’ home! Where did you find the rectangular glass tiles? The combination of squares and rectangles give them a real”designer” look. Lovely!
Thank you so much Heddy! I got the rectangular tiles at Hobby Lobby. :-)
So cool!!!! I have a bunch of little mini tiles laying around that would look great for stepping stones… thanks so much for the tutorial!
Great ideas. I bought some silicone cake pans thinking they would make good molds for stepping stones, but I like the box molds, I usually have several that are waiting to be recycled.
Thank you so much Valorie!
I love these .What a great idea. Love the ‘bling ‘ I will be doing these for sure.Thank you x
Thanks so much Joan! Let me know if you have any questions I can help with!
cool !
WAY TOO CUTE! Totally have to try these next summer. Our yard is a total mess, I hate to say, but I’ve been getting really good ideas from your blog! Thank you! :)
Awe, thank you so much LeCianne! I’m so glad to have inspired you!!! :-)
This is a neat idea! I’m looking for a mold to use for my kids’ hands. The round ones aren’t big enough because I have 6 kids :) I think this would work! My other idea was to maybe use foil or wax paper inside a 9×13 cake pan or something. I think the rectangle would be big enough to accomodate all of the handprints plus some bling and shells. This is going to be for my mom. :) thanks for the awesome idea!
I’m so glad this is going to work for you! If you’re going to use a cake pan, then you don’t need foil or wax paper. Instead, spray it with either some Pam or WD-40. The concrete will slide right out. :-)
I found similar tiles at a yard sale. Now I know exactly what I want to do with them! Thanks!
Really love this guide, Jenise. I can believe that I can make these cute stones myself. It was not easy to the stones but I did it
Thanks Minton! Yes, it’s so easy and a fun project for the yard for Spring! :-)
Your dog is so.cute!!!!!!????????
I am trying to make these awesome stones but am having trouble making it smooth on top? seems like concrete has a lot of gravel? what am I doing wrong?!? thanks!
The aggregate in concrete comes in different sizes so be sure to use a concrete with very small aggregate, such as sand.