

Hi Friends!
Hope everyone’s been having a wonderful week! It’s been so nice down here in Florida with the weather finally cooling down. Of course, while the rest of the country’s cool down means it’s starting to hit freezing, mine means 80 degrees instead of 99 degrees and 99% humidity. What that also means is that I will finally be able to start working on some furniture makeovers outside. I’ve been putting them off for quite some time since I don’t like sanding and painting in the house and it has been way too hot, humid and mosquitoey to work outside. The mosquito part is probably the worst. Seriously, if you ever need to clear your yard of mosquitos, just set me up in one corner of your yard and you’ll all be free to go about your business cause they’ll all be making a meal out of me.
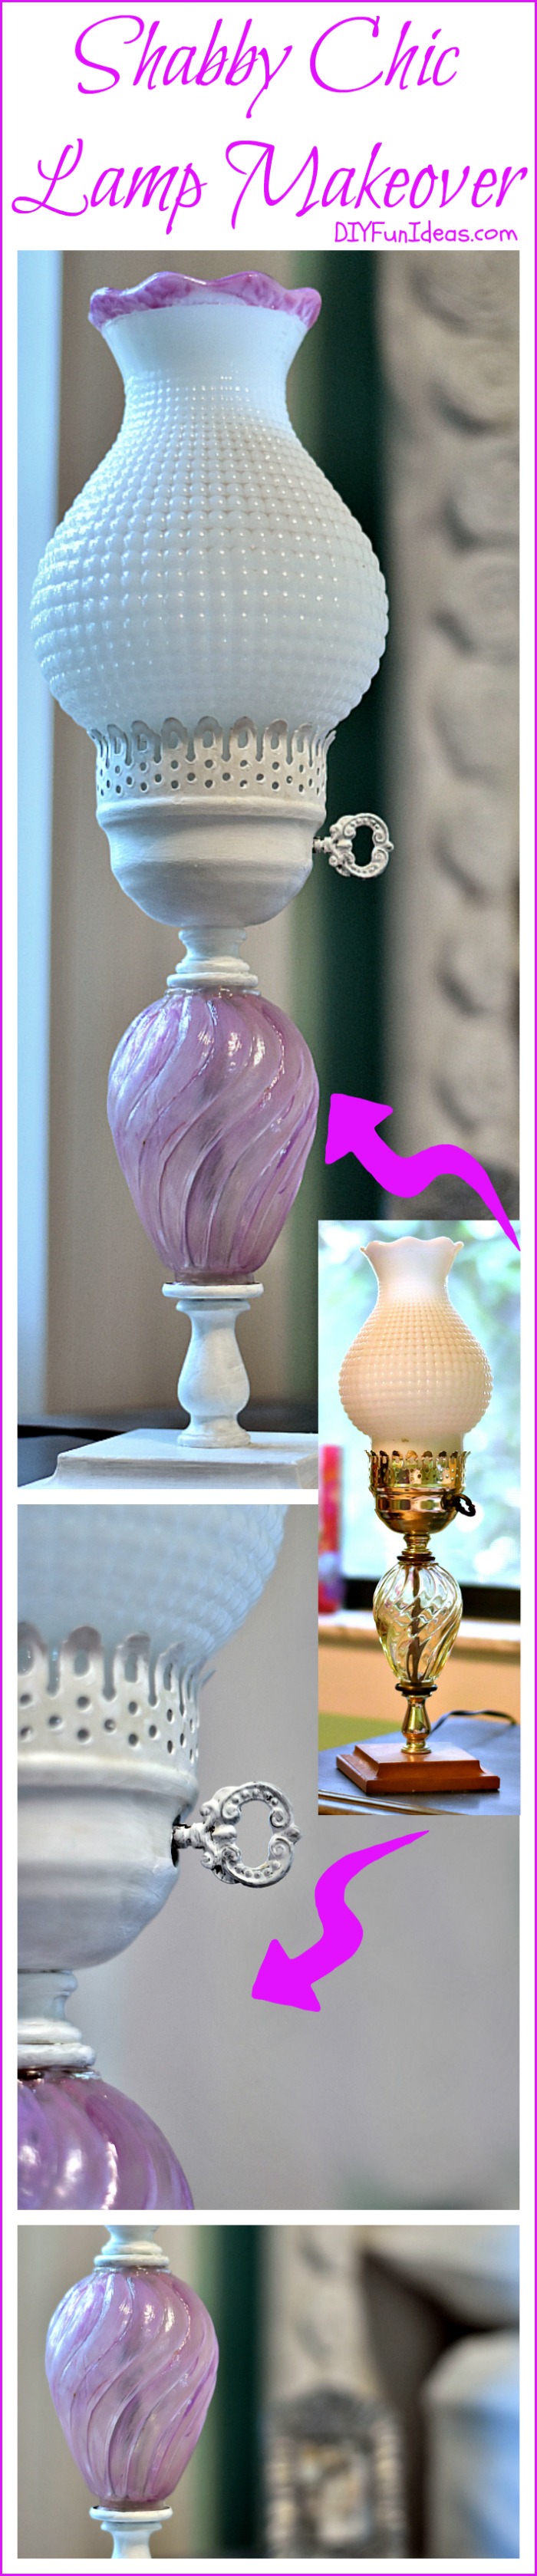
Anyway, this week I worked on a super cute shabby chic lamp makeover. Here’s the before picture…
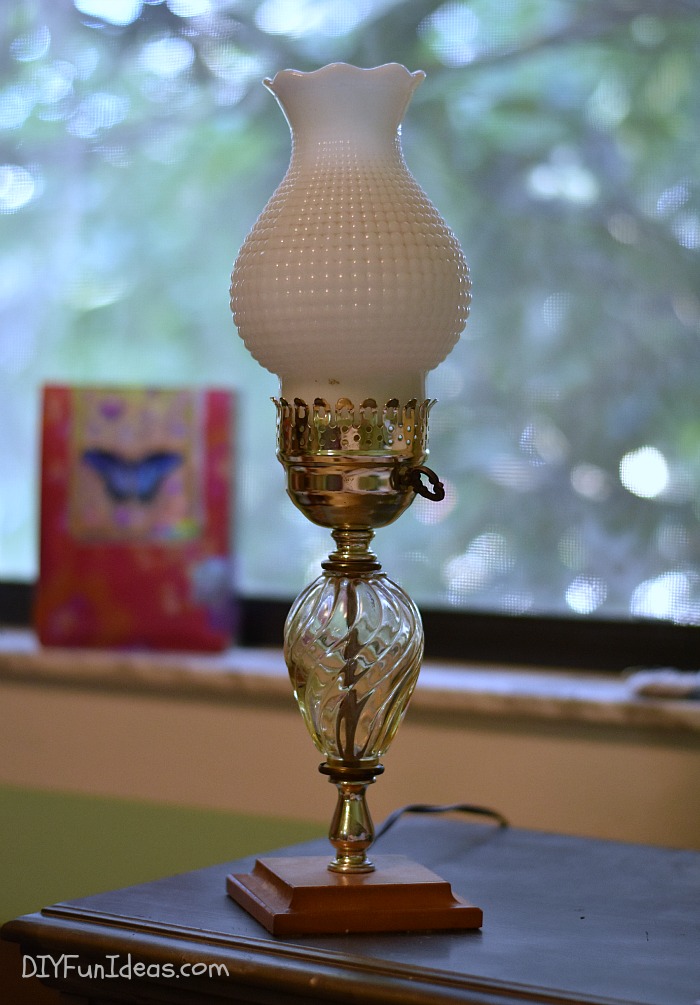
Can you see why the lamp needed a makeover?
I totally wasn’t feeling the brass and the middle glass section had aged to a nice ugly yellow tinge. I actually tried scrubbing the middle section to see if I could clean it up, but no cigar. Yellow it was.
For the makeover, I started with a coat of Zinsser primer on the brass sections and on the base. I love that stuff. It sticks to anything, including metal.
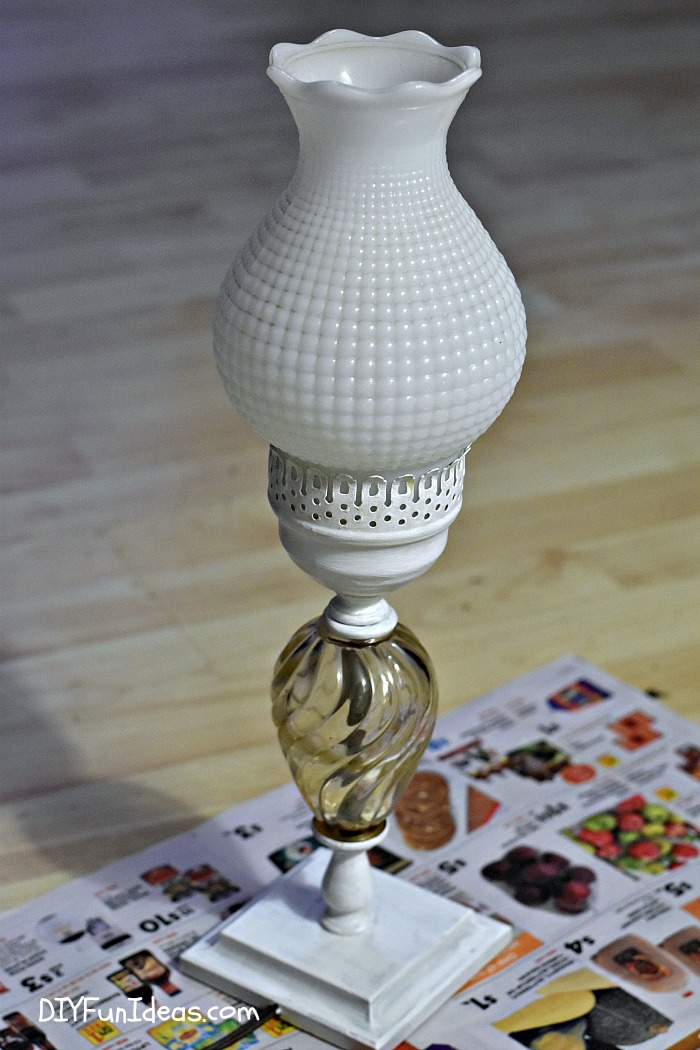
After letting the primer dry, I rather liked the finish, so I just ended up giving it a second coat of primer for a more even coverage, then left it alone.
Then I had to do something about the yellowed glass. I wasn’t sure what to do about that, until I remembered that a while back I had purchased a glass painting kit for another project that I never started (it’s still on the list).
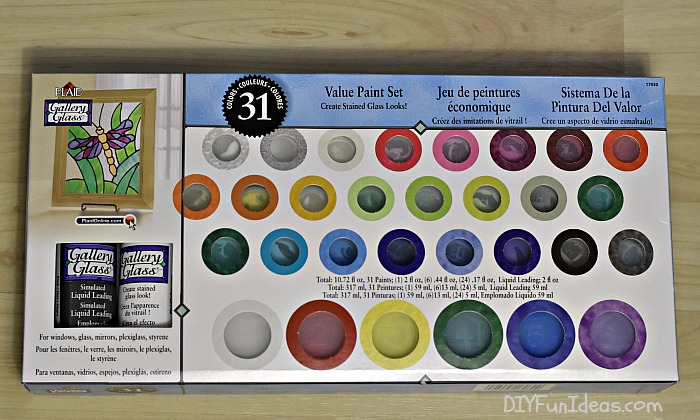
I’ve never used glass paint, so I decided to test out each of the colors on an old glass picture frame so I could see what it actually looks like and pick a color for the lamp.
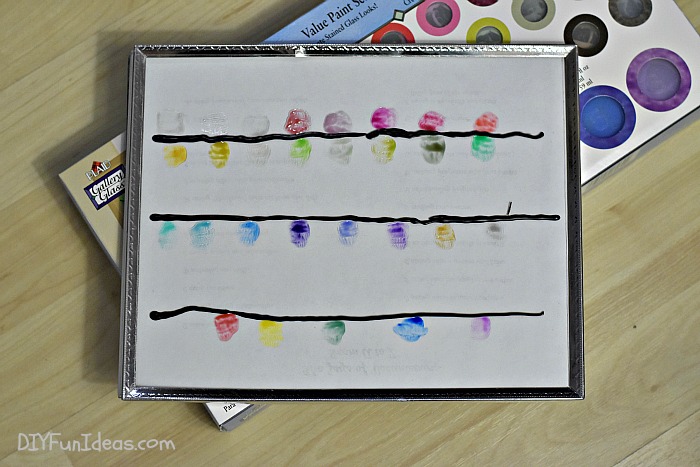
The glass paint is pretty cool. It dries translucent. The kit comes with this little stick to spread the paint on the glass surface, but I didn’t really like using it. I felt like I couldn’t get an even coat with it. So I just ended up using a small craft paint brush. The paint ends up going on too thin with the paint brush, so I did have to do numerous coats on the glass to get the look I wanted.
I ended up going with a combination of the pink and lavender color and used that to paint the middle glass section on the lamp and then the top rim. And here’s the end result…
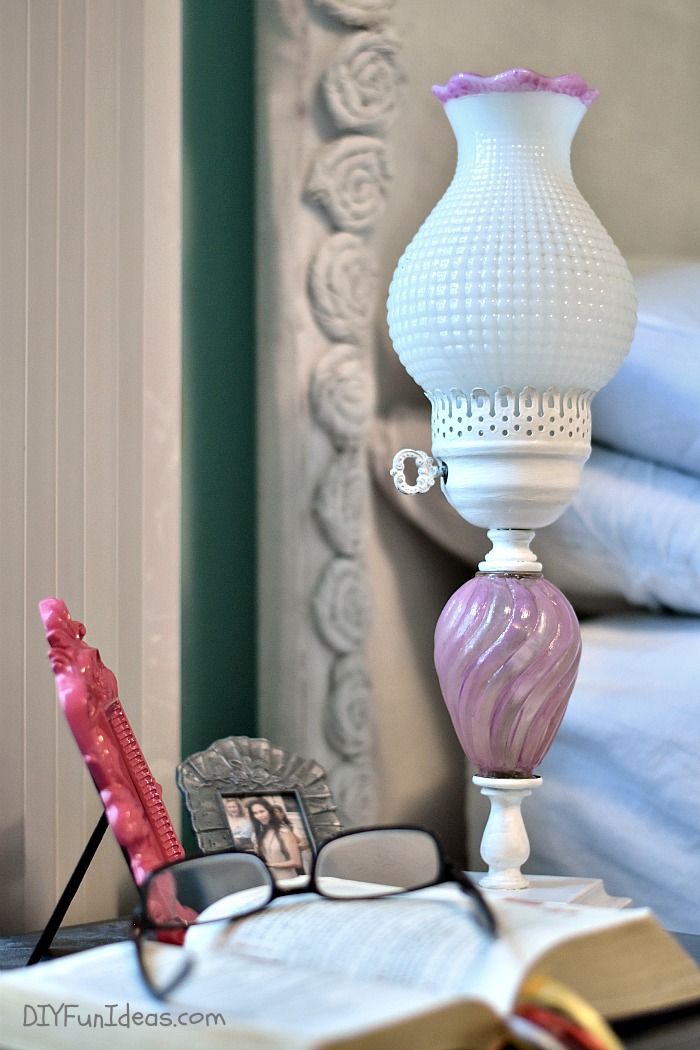
Now isn’t that cute!

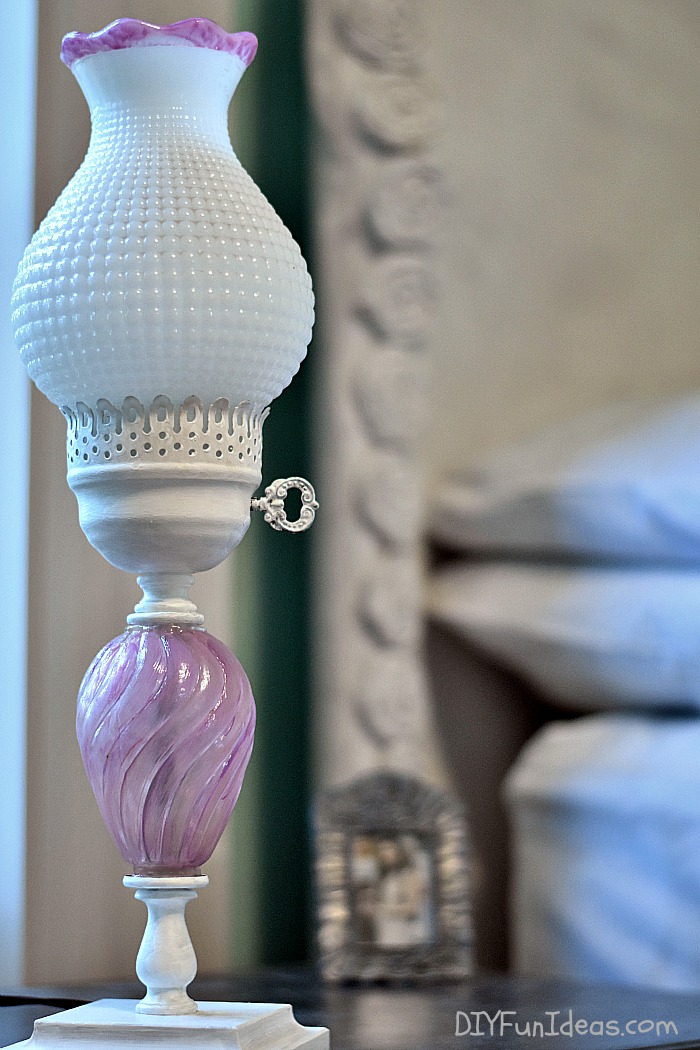
There ya have it, super cute DIY shabby chic lamp makeover!
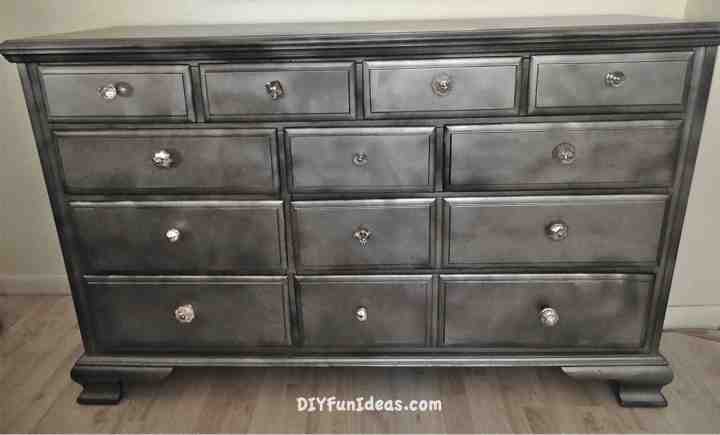
And for more shabby chic fun, check out my shabby chic dresser and night stand makeover, using Looking Glass Paint…
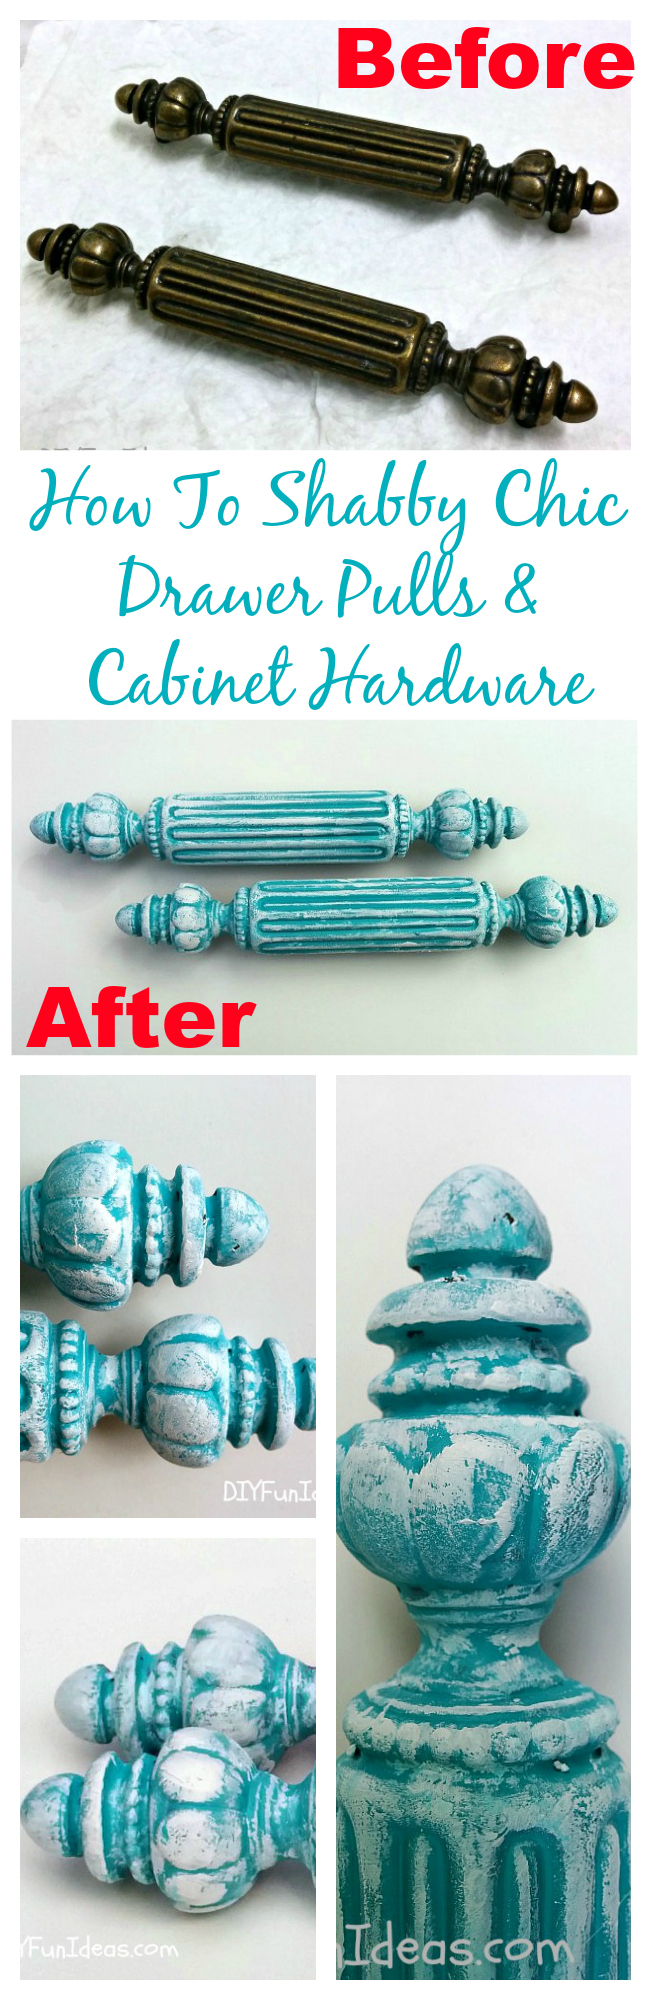
And my super easy DIY shabby chic drawer pulls…
Have a wonderful evening and…

I think you did a great job, but why didn’t you use blue on the lamp base also? I liked the blue. Although I have to admit I am a contemporary style gal.
Hi Di. Thanks so much. I guess I didn’t add color to the base because the colored paint I was using is glass paint, so it goes on translucent. But now I’m wondering what it would look like over white paint. I might have to test that out. Thanks for the suggestion, :-)
Totally love how the lamp turned out. I will need to keep my eye open for a dingy looking lamp that I can remodel.
Stopping by from 36theAvenue
Iris♥
The Blue Birdhouse – DIY Blog
Thanks so much Iris!
Love the fun colors that you used! I had a purple bedroom growing up and would have loved a lamp like that! Thanks for sharing with SYC.
hugs,
Jann
Absolutely stunning. Live the pale purple with the milk glass look.
Thank you so much! It definitely looks lovely on the night stand next to my bed. :-)