

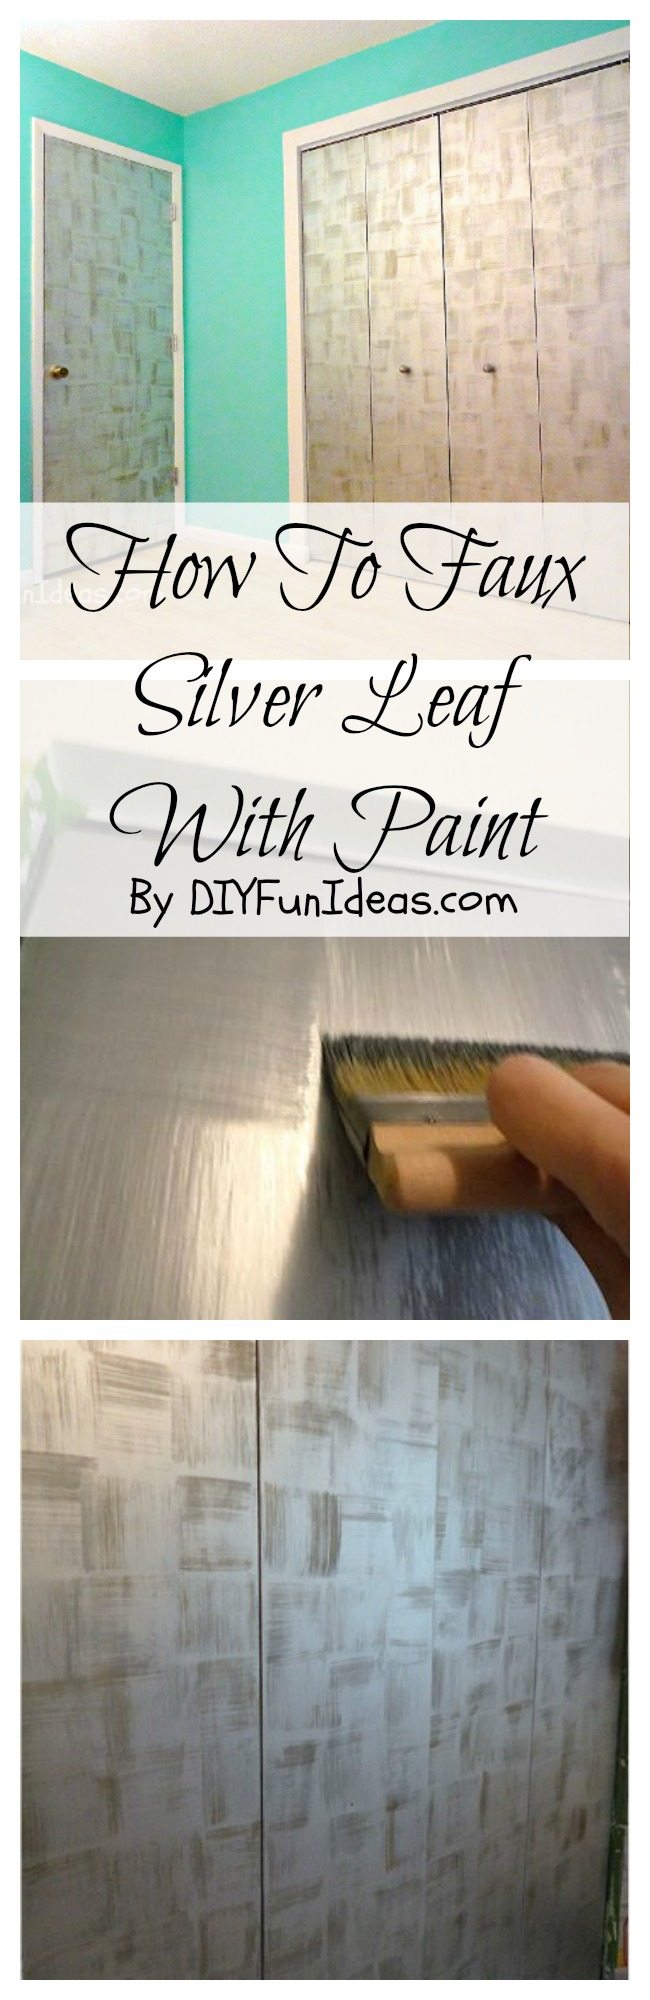
I just finished this really fun faux silver leafing project in my parents’ guest room so I’m excited to share the tutorial. I used the technique on the both the room door and the closet doors, but it would also work wonderfully to create an accent wall. When I write up a tutorial, I always like to make sure to include lessons learned. So today I’m going to start with my biggest lesson learned from this project. But first, let me introduce you to my girl, Lily…

And this is what happens when I let Lily roam around while I’m painting…

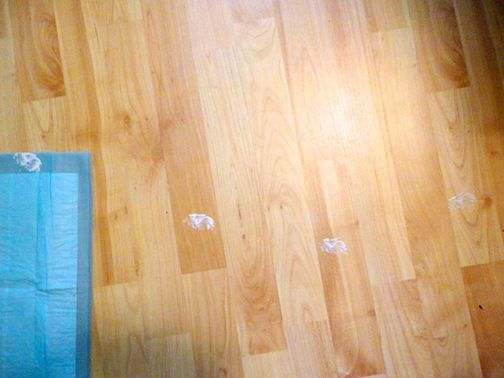
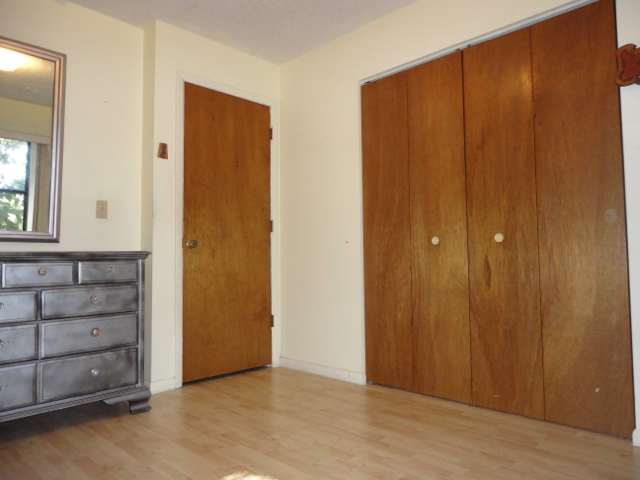
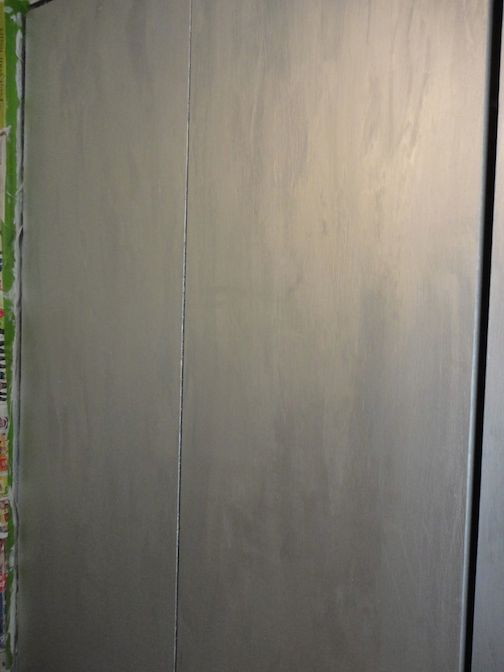
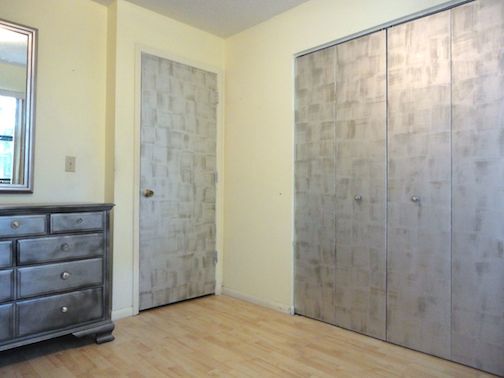
Lesson learned: Keep the baby out of the room when painting. When I caught this action out of the corner of my eye, I let out a little yelp. My poor girl froze in her tracks. I think I scared the crap out her. But I have to admit that those tiny little puppy prints are pretty adorable. Now, ahem, moving on to today’s project. This is the guest room at my parents’ home and where I sleep when I’m there. Notice that lovely dresser on the left? That’s my shabby chic refurb that I did using Looking Glass Paint. But what I really want to point out to you are those doors. Those ugly brown doors. All the doors in their home are like this…or…were like this. I’ve painted all the rest of them white and it really brightened up the home. But I saved these doors for last because I wanted to do something special with them. It took me a while to figure out exactly what I was going to do, but then the idea came to me.
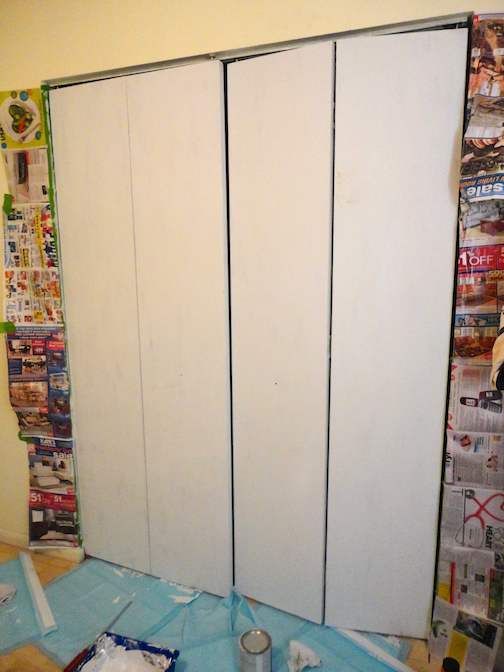
I had been wanting to try silver leafing, but the process is kind of tedious so I thought I’d see if I could create the look using just paint. I had no idea if it would work or how it would turn out. But as I’ve said before, I love experimenting. The worst that could happen is that I hate it. And if I hated it, then I would simply have a new opportunity to try something different. (By the way, those yellow walls will have to go next. But I wanted to do the doors first before I decided on the wall color). I started by giving the doors a coat of primer. Actually, I gave them four coats. I picked up some Glidden primer at Walmart. Never again. When I painted the other doors in the house. I didn’t even use primer. It took three coats of semi-gloss and they came out beautiful. Here I did four coats of crappy primer and I still didn’t get full coverage. Lesson learned.
I couldn’t find any silver paint. I went to both Lowe’s and Home Depot. Home Depot had Martha Stewart metallics, but the sales person told me that I’d only really want to use that if I were doing a glazing process. What I did find, instead, was an aluminum paint from Rustoleum. It’s called Rust-Oleum Protective Enamel Paint Stops Rust — Metallic Aluminum. Well, now I feel much better knowing those doors will never rust. Anyway, I decided to give it a try. Like I said earlier, if I didn’t like how it turned out then I’d just repaint. I started out giving the door a single coat of the aluminum using a foam brush…
I really like how smooth the paint went on. But when I first opened the can and started mixing, a lot of the paint was chunked up at the bottom and it took me a good 10 minutes trying to break the chunks apart and smooth the paint out. I did get a little frustrated but once I got it smoothed, I really liked the texture. It is oil based, so it stinks to high hell. So make sure you have some good ventilation.
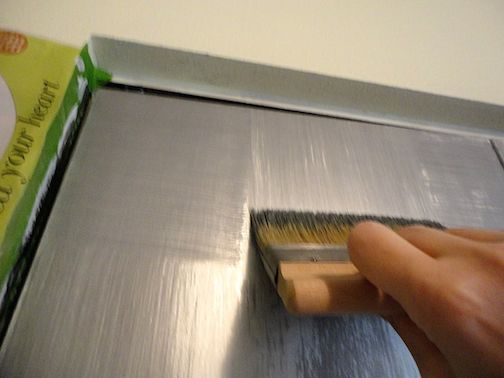
Once the first coat was dry, I used a 6-inch wall weaver paint brush to create the faux silver leafing. I started on the upper corner with a horizontal stroke…
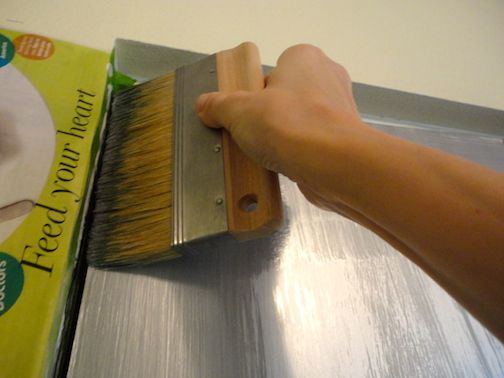
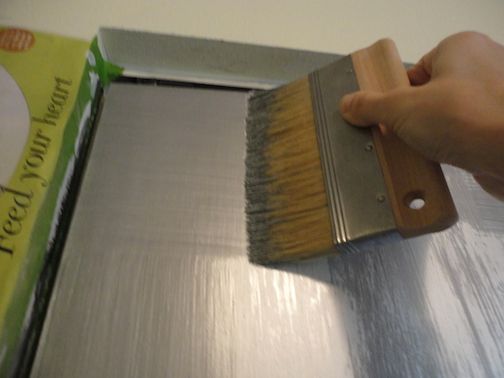
I took the stroke about 6-inches, then turned the brush and painted a vertical stroke…
Then repeat horizontal, vertical, horizontal, etc…

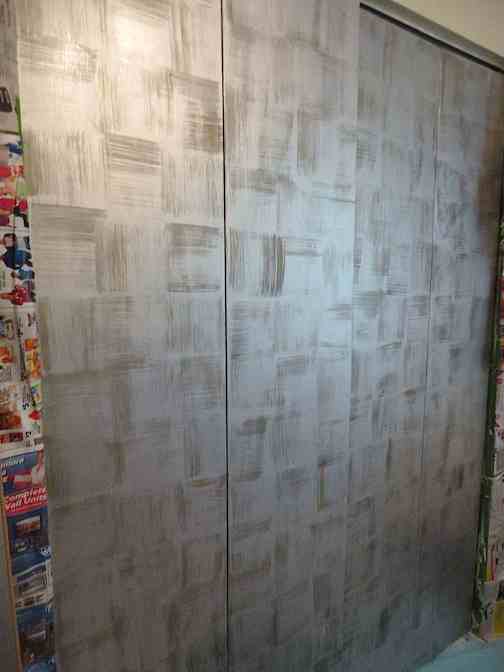
Your wall will start looking like this…
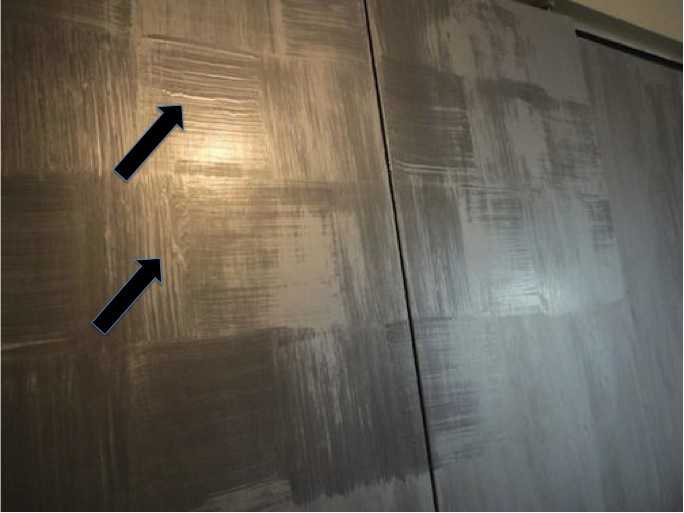
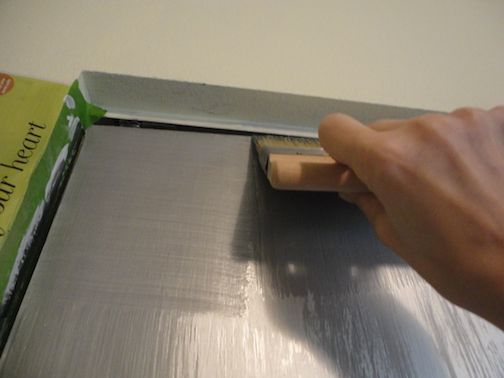
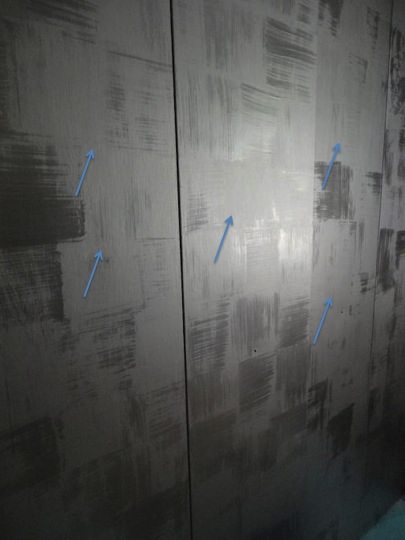
Watch out for drips. Just run the brush over any drippy areas to smooth it out. I was pretty happy with how the doors looked until the paint started to dry. Once it started to dry, the horizontal/vertical contrasts became almost unnoticeable. You can see on the next picture the areas where the paint was drying…
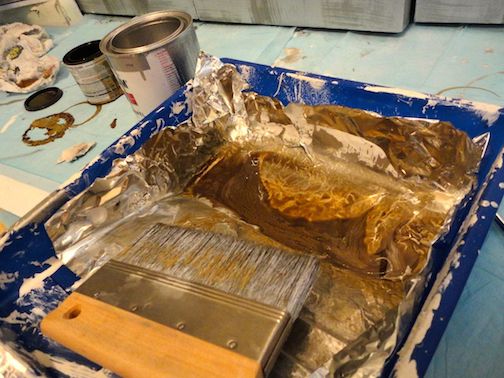
I was pretty bummed at this point. I literally sat watching the paint dry. My beautiful finish was fading away as the minutes went by and the paint dried. What I needed was something to create a little contrast between the vertical and horizontal strokes. I had no idea what I was going to do. I knew there was some glaze somewhere in the house so I thought I would see what would happen if I did that cross cross pattern using the glaze. Well, I couldn’t find the glaze, but I came across this really old rusted can of wood stain…
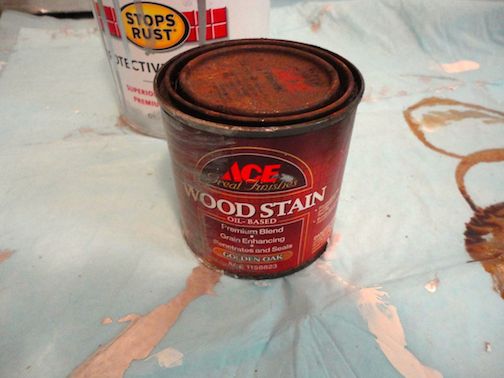
Since it’s also oil-based, I thought perhaps I could mix some in with the aluminum paint to darken it up just a bit. Then I could try dry brushing it over the pattern I already created. I started out by adding just a little bit to the paint and mixing it really well…
I did some light strokes over the current pattern, but still didn’t get enough contrast. So I mixed more in. Still not enough. I ended up using the wood stain straight and dry brushing following the pattern I already put down. (To dry brush, just lightly wet your brush and then remove any excess paint before brushing.) This technique worked really well. The stain went on very lightly and is translucent so it gave me the perfect contrast I was looking for.
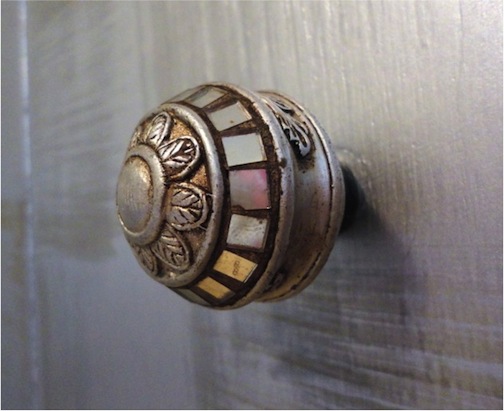
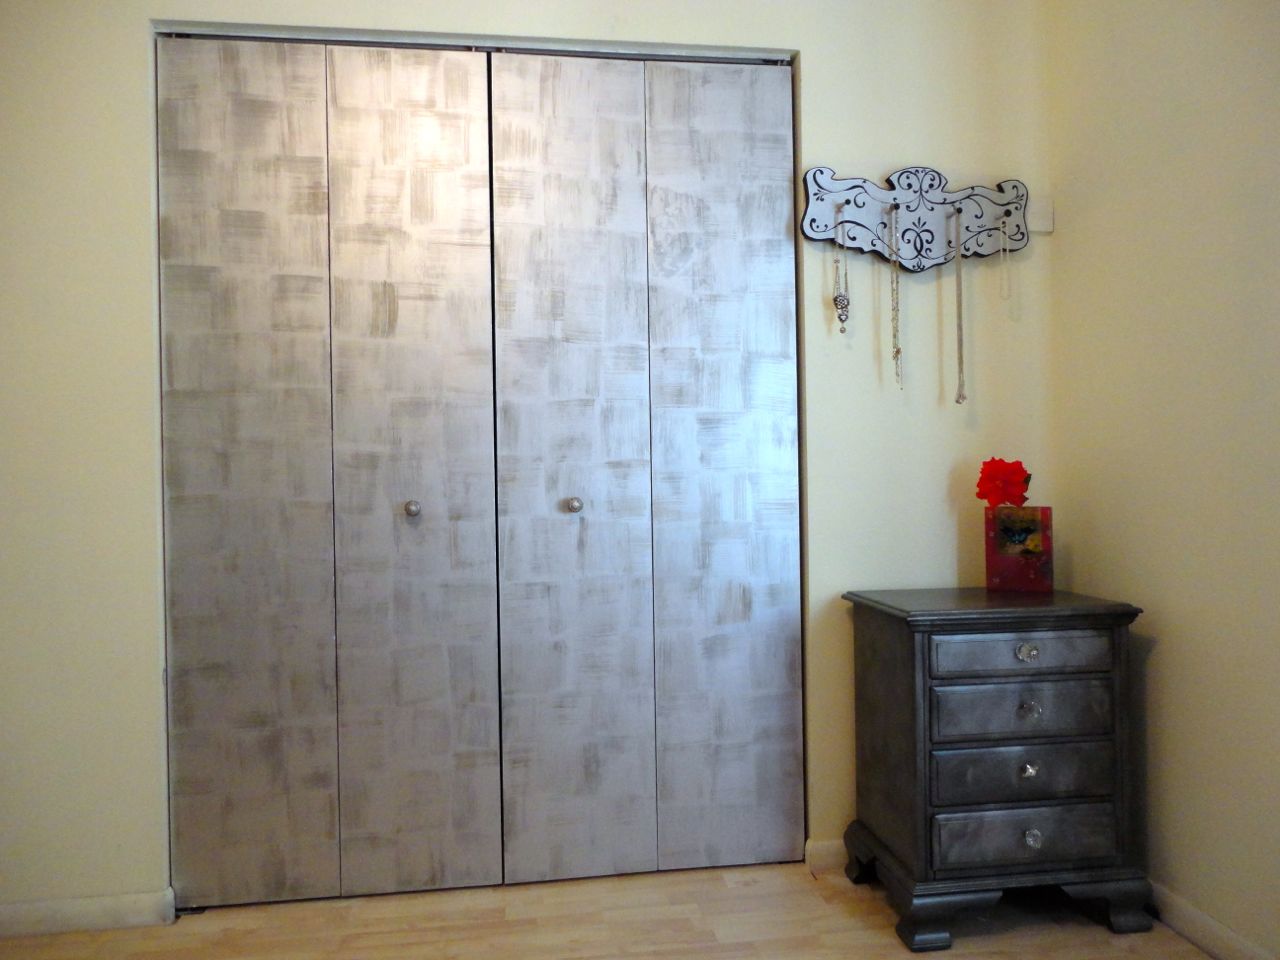
Once dry, I added some pretty knobs from Hobby Lobby.
Here is the before picture again…
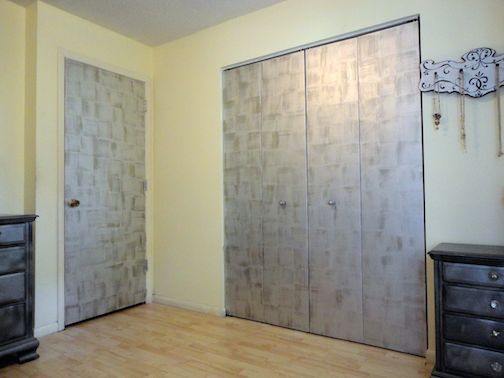
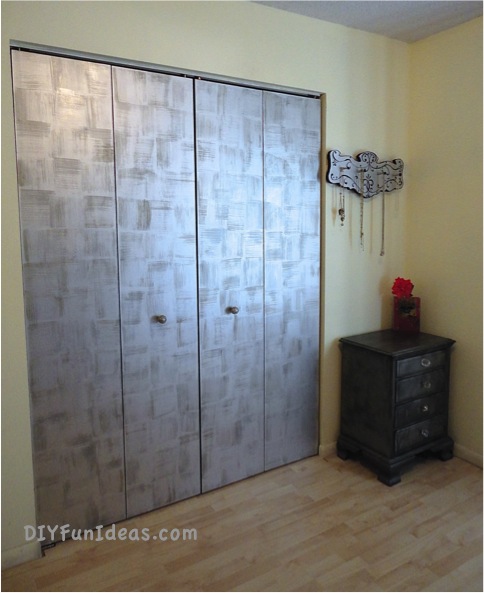
Here is the after. Believe it or not those yellow walls are the same as the picture above, only the lighting is different later in the day. Weird how that happens.
Since the yellow walls were not jiving with the new faux silver leaf doors, I had to paint the room. While searching for the perfect color, I learned a few lessons about color matching. And after multiple trips to the hardware store and multiple paint samples, I found the perfect color…
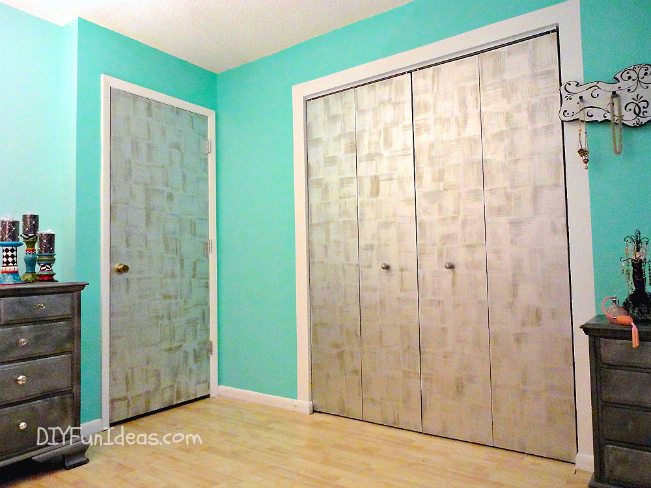
Check out all the details about the wall color makeover and see more pictures here, along with ALL the paint samples I went through. Ugh! There’s also a full tutorial of how I created that faux trim around the closet doors (yes, that is not a wood trim).
Oh, and notice that little necklace hanger/jewelry organizer in the upper right corner that I up cycled from an old coat rack. You can find that tutorial here. Anywho, I hope my faux silver leaf has inspired you. Thanks for stopping by!
Cheers! Jenise
This post linked to some of these wonderful blogs and here.
That looks awesome! I love posts like this where someone tries something new and is successful. This just looks great! Thanks for sharing!
Thank you Elizabeth! I almost wasn’t successful…until I found the wood stain. :-)
What a great idea! I love the brush strokes! Looks great!
Jessica from http://www.sparklesandglue.com
Thank you so much Jessica!
What an intriguing effect. :) It definitely makes the space look more creative!
Thank you Yvonne!
What a cool idea! I love this. Thank you so much for sharing…pinning this now!
Thank you very much, Kim!!
How awesome that is, much less expensive also. Silver leafing is not cheap and can take a long time to do big doors like those. Pretty darned smart of you to think of adding the stain, what a great save. I’d hate to have to go buy something to do a job in middle of it. You are very talented and imagine your parents are very pleased with their free paint job. Happy weekend
Thank you JaneEllen. I’m happy with how it turned out. I can’t wait to do the walls and pull the whole look together!
What an awesome project – i love it!
So as you can see, I’ve arrived 2 years later. Did you ever get to do the rest of the room and have you uploaded any pics of it anywhere?
Thank you so much Amira! Yes the room is complete. Here are the updates: 1) new paint color HERE, 2) transformed the bunk bed into a regular bed HERE, 3)made a slip cover for the headboard HERE, 4) refinished the furniture http://diyfunideas.com/ridiculously-awesome-shabby-chic-furniture-makeover-using-krylon-looking-glass-paint/.
Your doors look fabulous as does that dresser. I wish I was still young and limber enough to do my bedroom ceiling this way, but it is not going to happen! I may try your idea on something smaller — I could handle that. Maybe a door?
Thank you! I think the ceiling would be challenging for anyone. But wow that would make an amazing ceiling!
Wow, what a great job….I love the look and thank you for the tutorial.
Thank you Michelle!
Great job! Love the look! We would love for you to share with us at Your Designs This Time!
http://elizabethjoandesigns.com/2014/05/designs-time-no-10/
Thank you Emily! We’re all linked up now. :-)
I think this turned out so pretty. great technique. found at off the hook monday linky. have a great week.
Turned out great!
Thank you Steph!
That looks 100 times better than the blah-wood look. Well done!
What a great way to revamp an old wardrobe. Thanks for linking up to Sweet and Savoury Sunday, stop by and link up again. Have a great day!!
Wow! Hard to believe those are the same doors! Good for you for finding a way to create this finish with paint and stain.
Thank you Richella. Almost done with the new wall color. Can’t wait to reveal. It’s looking pretty amazing.
Hi Jenise, just found your blog via The Pin Junkie.
Wow, what a transformation! The addition of the stain made all the difference. Love your bling-bling doors!
Val
Thanks so much Val!