

Hi All! Thanks for stopping by today! If you’re new here, then please SIGN UP FOR EMAIL ALERTS so you don’t miss another fun DIY!
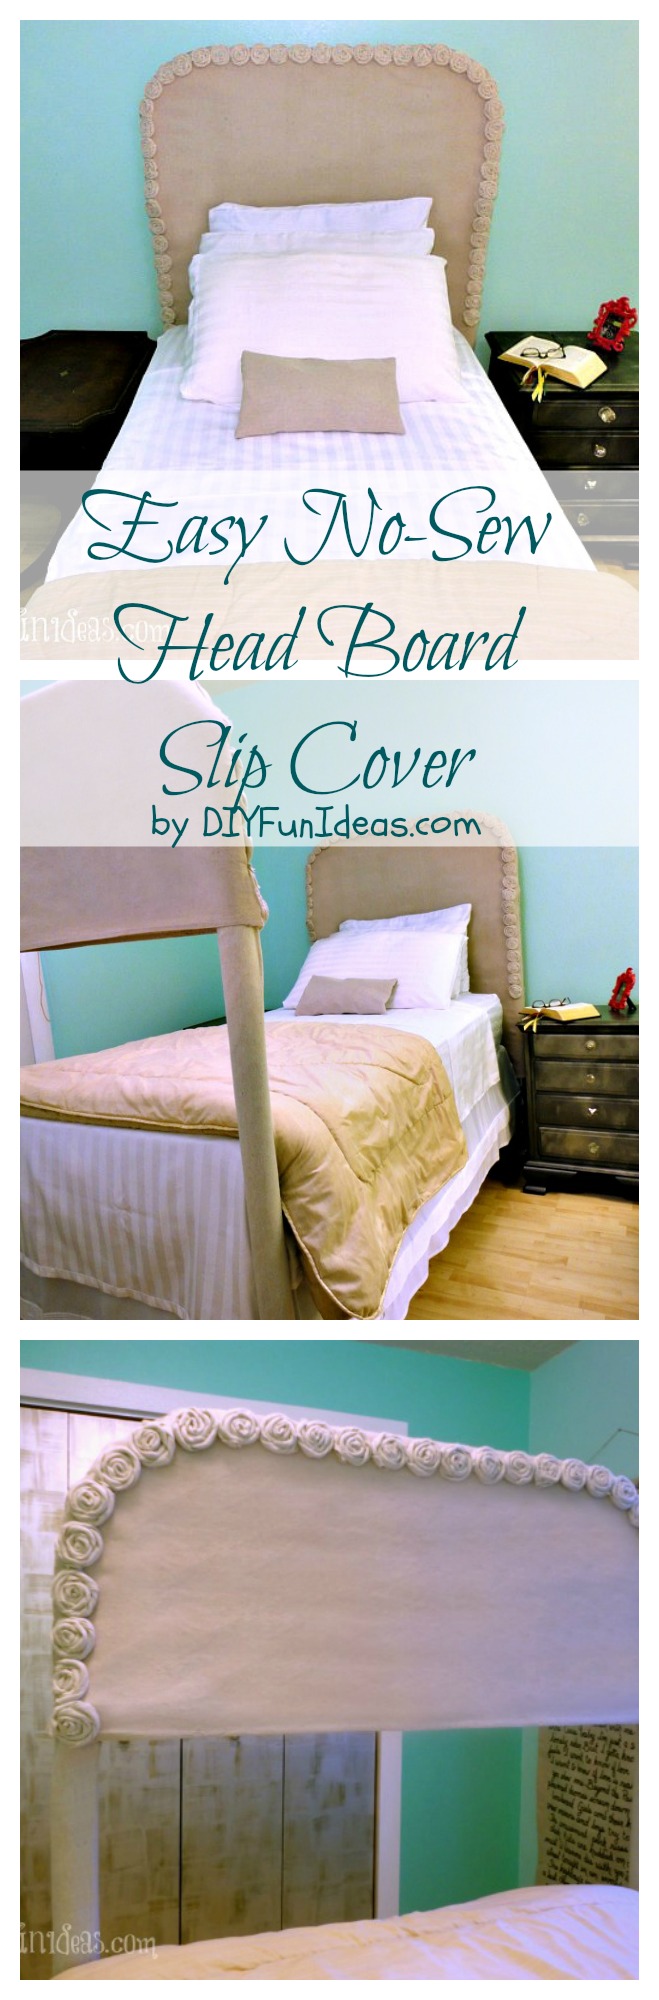
I just gave the guest room a whole new look for all of $13! Yes, you read that right, $13. I did it by giving the bed a new DIY head board and foot board. But, I didn’t actually build anything or even replace the old head and foot boards. All I did was make a super easy no-sew slip cover to cover up the old head and foot boards. And notice I said, “no-sew.” That’s because the mere thought of sitting in front of a sewing machine sends shivers up my spine…But put me in front of a wet saw and I’m good to go. At this point you’re probably wondering: how on earth do you make a slip cover without sewing? Well, read on my friends and I’ll tell you! But first, check out what the bed used to look like…
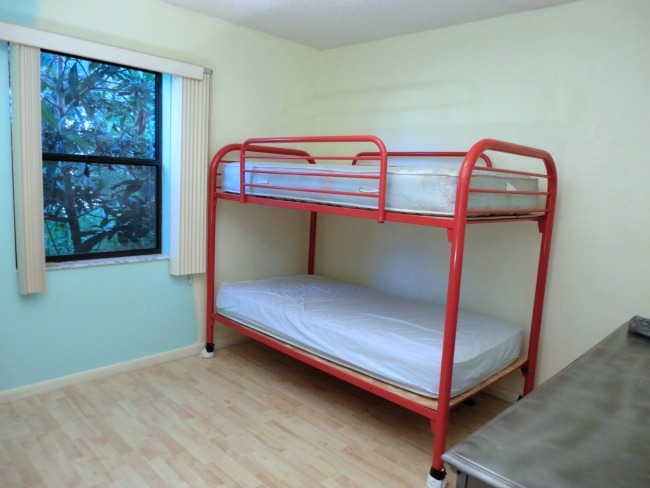
Yep, it was a bunk bed that I converted to a regular bed. You can read about that in my post, Turn A Bunk Bed Into An Inviting Guest Bed. Here is the converted bunk bed…
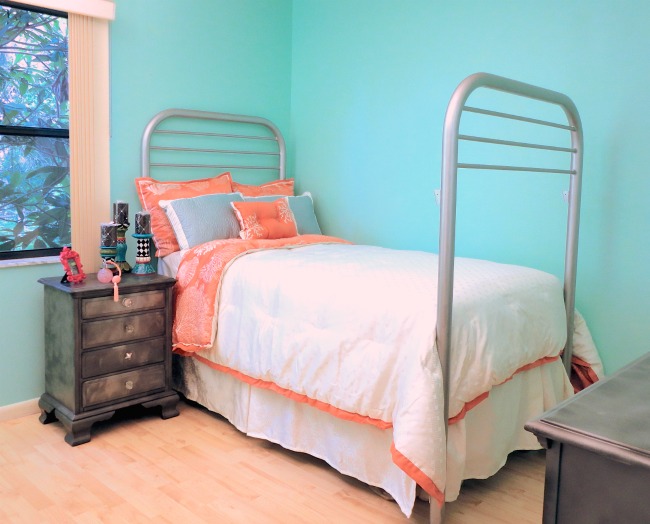
I was pretty happy with the bed’s new look, but then I decided I wanted a warmer look and the best way to get that was with a fabric head board. But considering that the bed was initially a bunk bed, the frame is set up so that I couldn’t switch out the head or foot boards. So I had to get creative. That’s when I came up with the slip cover idea. I decided to use a drop cloth for the slip cover because not only is it heavy duty, but the neutral natural cotton fabric warmed up the cooler wall color. Plus after using drop cloth to make my DIY Fabric Covered Storage Boxes and my DIY Song Lyric Wall Art, I’m kinda having a thing going with the stuff. Not to mention that a large drop cloth only costs me ten bucks!!

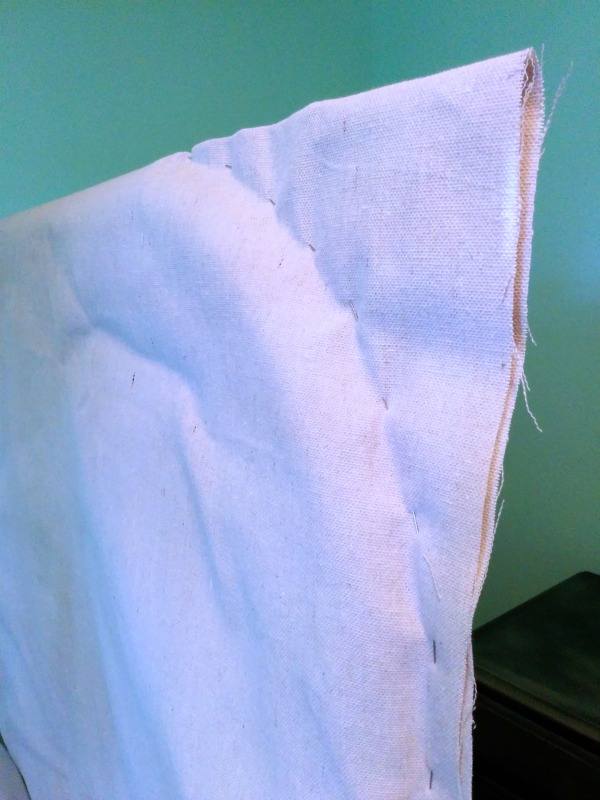
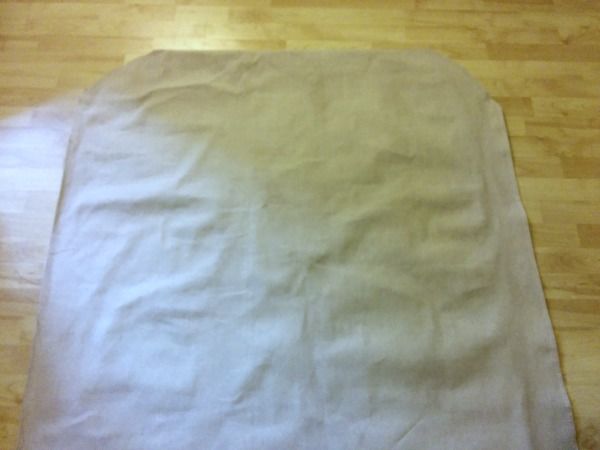
The thing I really love about using a slip cover to update a head board is that it’s so quick, easy, and inexpensive to make that you can practically change out the look of your bedroom every week if you chose. So let me show you how… I started by throwing my fabric over the head board frame and then pinning the fabric to outline the frame.
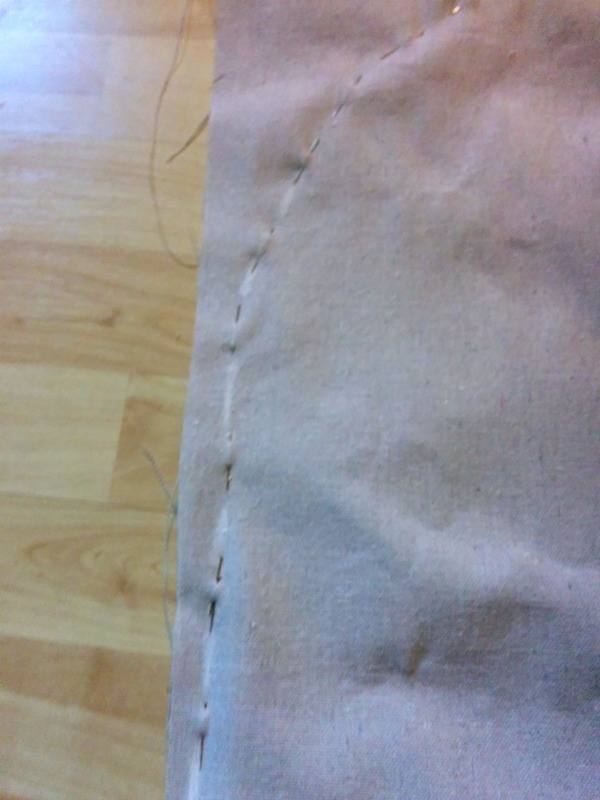
After pinning, I layed the fabric on a flat surface and traced a chalk line over the pins to mark where the fabric needs to be put together. Note that this is done on what is to be the outside of the fabric.
Now, here’s the secret to “no-sew.” I found these amazing hot glue gun glue sticks made specifically for fabric!
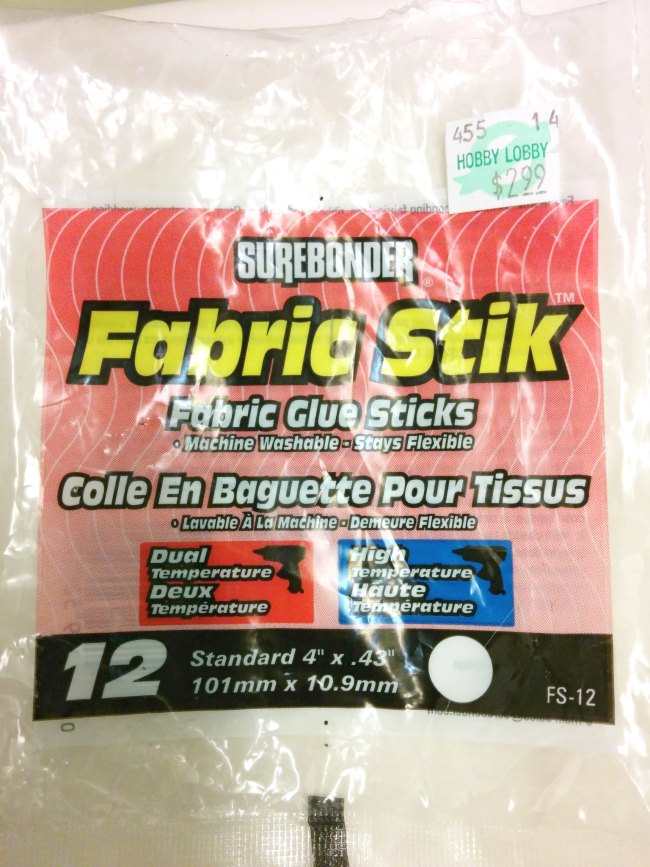
The glue is flexible when it dries, not stiff, and it’s also machine washable! This is what made this project so freakin’ easy. Next I ran a glue gun line over my chalk marks, using the fabric glue sticks and adhered the front and back fabric sections together.
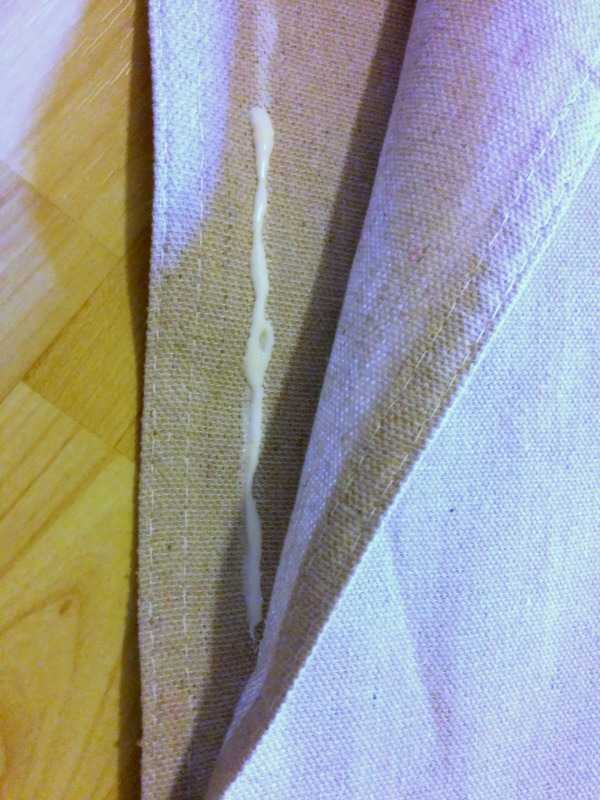
As I mentioned, your glue line is on what is to be the outside of the head board fabric. Here is the head board slip cover with the front and rear of the slip cover glued together.
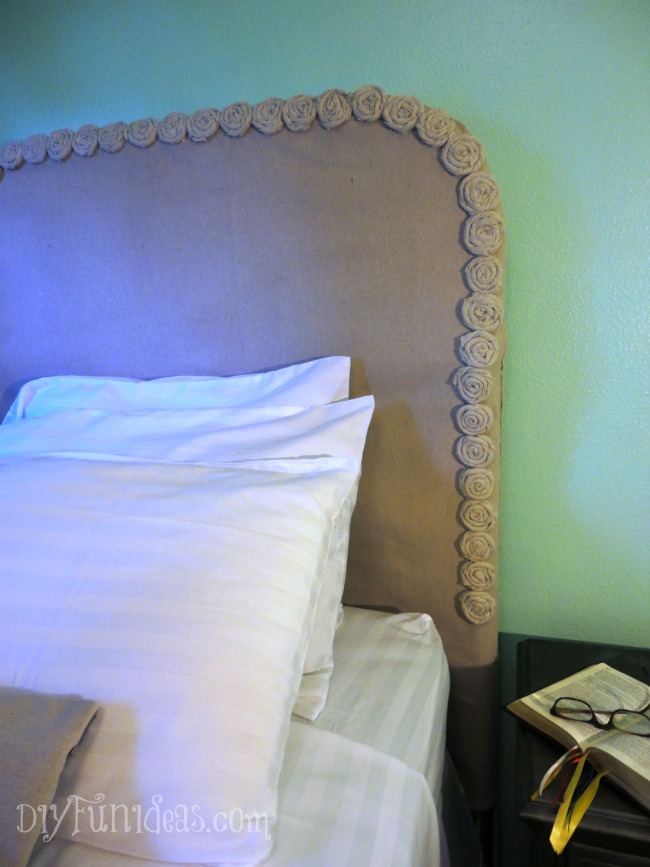
I then turned the above glued fabric inside out and slipped it right onto the headboard frame. And waa-laa, it was done. Well, it was sort of done. If I had used a printed fabric, it would have been done. But the drop cloth needed something more. So I decided to add these fabric rosettes.

My inspiration to add the rosettes came from a post by Christy at Confessions Of A Serial DIYer. Christy upholstered a thrift store stool and decorated it with drop cloth rosettes around the edges. It was so cute. I thought rosettes would look so pretty on the head board. And it does!
To make the rosettes, I cut 3″ x 15″ strips of drop cloth fabric. I twisted the fabric strips and rolled it up, gluing as I rolled.
Be really careful when making the rosettes because it’s really easy to burn your fingers with the hot glue. After a few hot glue owe-ees, I ended up wrapping duct tape around my fingers while gluing. It actually worked pretty well to protect my fingers from the heat. What can I say, just another wondrous use for the amazing duct tape.
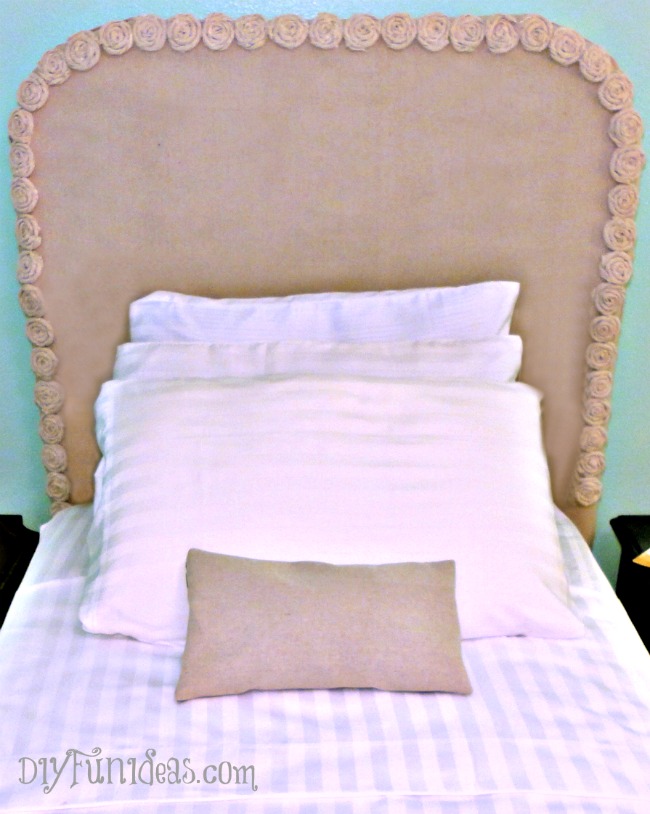
While I made the head and foot board in only about an hours time, the rosettes took forever. Maybe that’s because I made 75 rosettes. Actually I made more than that, but I had to toss a few of the first ones that didn’t turn out so well. But there’s a total of 75 rosettes on the bed and I used the hot glue gun fabric glue to attached them too.
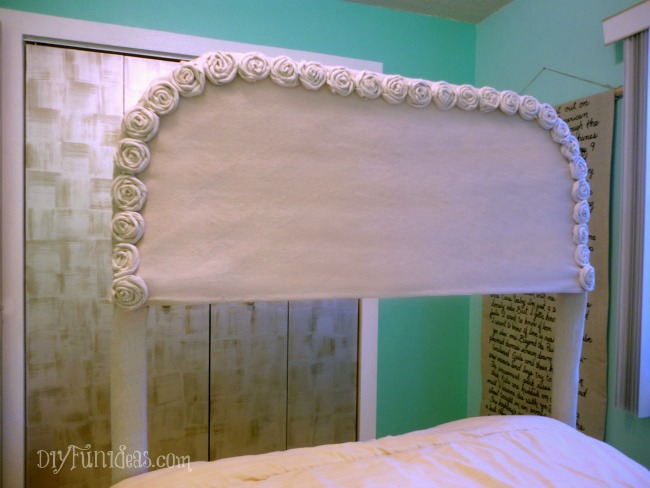
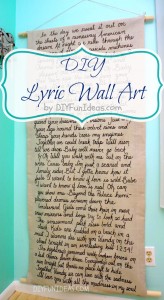
Pretty, huh? I also used the same fabric to wrap the polls. Oh, and notice the wall hanging in the back? That’s my DIY Song Lyric Wall Art. And those closet doors are done with a faux silver leaf technique that uses just paint.

Once again, here’s the bed before the slip covers…
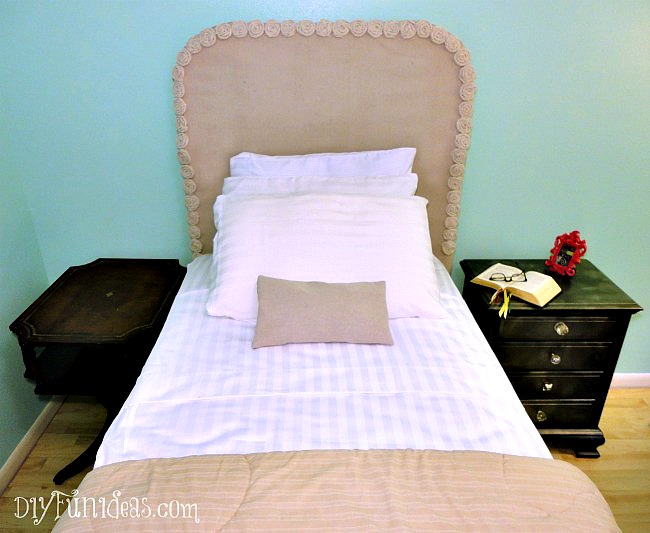
Here’s the bed after…
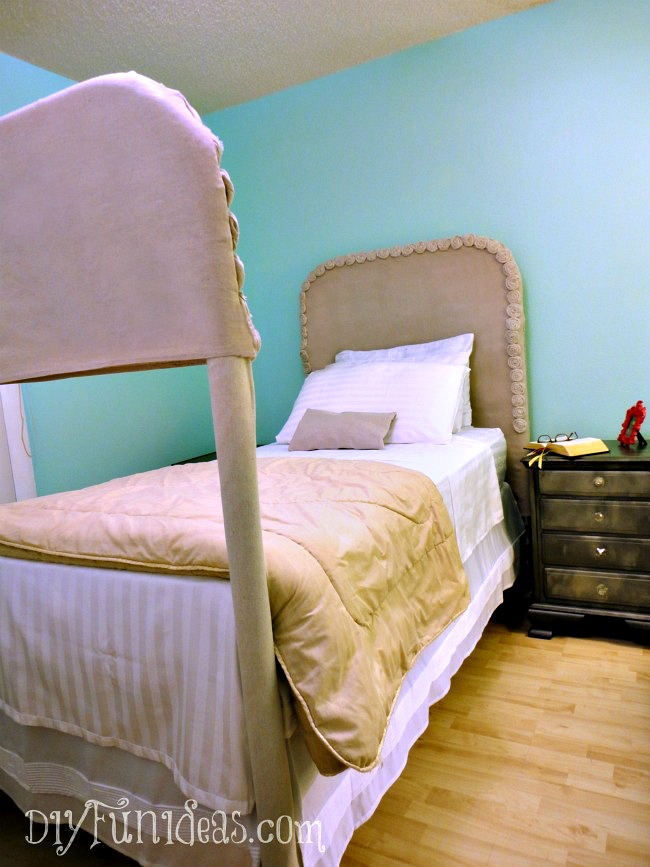
And that’s it. Use your favorite fabrics in your favorite colors to give your bedroom a whole new look with an easy no-sew DIY head board slip cover!
And don’t forget to SIGN UP FOR EMAIL ALERTS so you don’t miss another fun DIY! (Make sure to add [email protected] to your contacts so I don’t go to spam!)
Cheers! Jenise
This post linked to some of these totally fabulous blogs and here.
The rosettes add such a feminine touch! You would never know that was the same red bunk bed…great makeover and I’m so glad you were inspired. That’s what makes creating so much fun! No telling how many others you will inspire with this great idea! XO
Thank you Christy! Couldn’t have done it without your wonderful inspiration! I really do love your rosette stool. It’s simply gorgeous.
What a beautiful headboard ” slip ” – I would have never thought of that – it’s gorgeous !
Love the rosettes !
xox
Thank you so much Suzan. It really was so easy to make. I’m now in love with both drop clothes and hot glue for fabrics and I’m getting all kinds of ideas of things I can make with the two!
I love this! I especially love that that it is no sew! It is so pretty!
Thank you so much Shambray! Yes, the no-sew is the best part!! So easy!
Oh how sweet the headboard with the rosettes. It all came together looking as though a lot of sewing was involved. And the bunk bed. OH! The Power of Spray Paint! It is super cool now.
Thank you so much Michelle! And the best part is definitely the no sewing. And actually, the bunk bed is now the slip covered bed. :-)
Just love tis! So clever!
Marie @ In Our Happy Place
Thank you so much Marie. I’m so glad you like it. :-)
Stopping by handmade Hangout Link party. Love this! You make it look so easy. The rosettes are my favorite!
Thank you so much Melinda! And it is easy. I mean really easy! And a lot of fun to be able to try out new looks!
Pretty! Love the rosettes! And I love how you’ve taken 1 bed and completely changed it up three times!
Thank you so much Amy! It’s definitely fun to try different looks. Maybe I just get bored easily. :-)
Thanks for this great idea! And thanks for making super simple! I will have to try this!
Thank you Michelle! Yes, it’s so easy that you can literally change it out every week if you wanted!
I love it! Such a pretty treatment for the bed. Just pinned it to the Fridays Unfolded link board and thank you for sharing at Fridays Unfolded!
Alison
Nancherrow
Thank you so much Alison! And thank you for hosting each week!
It turned out great!
Thank you so much Megan!
What a brillant idea! Don’t forget to link this up to my Feature Friday Link Palooza! I know my readers would love this!
http://www.blissfulanddomestic.com/2014/07/feature-friday-link-palooza-lets-get.html
Danielle @ Blissful & Domestic
Creating Beautiful on Less
http://www.blissfulanddomestic.com
Thanks so much Danielle! And thanks for the invite. We’re all linked up & following you on social media!
Wow! That is so pretty!
Stop by my blog for a linkup every Friday!
-Jennie
http://thediaryofarealhousewife.blogspot.com
Thanks Jennie! We’re all linked up and I’m following you on fb, tw, & G+.
G’day! Thanks for sharing via our #SayGdayParty!
Please make sure to come back, leaving comments on some people who also attended the party and of course we hope you are following us on Pinterest!
Cheers! Joanne
Thanks so much Joanne. Always do come back! Yes, following on Pinterest too. :-)
Super super cute idea! Thanks for sharing! Happy Saturday!
Thank you so much Sara! And thanks for stopping by!
Wow ~ what a great transformation! Thanks for the tip about fabric glue. I have not tried it yet.
Big Texas Hugs,
Susan and Bentley
Thank you Susan. I definitely recommend the fabric glue!!!
That is such a pretty conversion. Well done.
Diana
Thank you so much Diana!
I L-O-V-E this!!!! I’ve used drop cloths for a lot of things, but I would have NEVER thought about ‘slipcovering’ a head and foot board! Pure genius! I have a bedroom needing a make-over…but I don’t want to paint my grandmother’s bedstead. PERFECT! Visiting from Flamingo Toes’ Think Pink Sunday.
Thank you so much Camille! You are so sweet! Sounds like it will work out perfectly for your grandmother’s bed!
This is such a great idea. I never would have thought to slip-cover a headboard. So cheap and easy you could redo it whenever the mood stuck. Thanks for the tutorial!
Exactly Amanda. There are so many decorating options with it. Thanks so much!
So clever girl! It would have NEVER crossed my mind to do what you did! But it looks awesome! And so unique!
Thank you so much Laura! I’m so glad you like it!
Stopping by from the link up!
I love this idea! I like to sew, but sometimes it’s just not an option. I actually never knew they made glue sticks for fabric! I will have to invest in those, where do you usually get them?
Hi Caitlin, Thanks so much! I found the fabric glue sticks at Hobby Lobby. They were only $2.99 for a pack and totally worth it. I wish I had you’re sewing skills, but since I don’t I’ll definitely be using the glue sticks for more no-sew projects!
I to o love sewing, but sometimes it’s just nice to not have to! What a pretty touch the rosettes add to the headboard. Great tutorial!
Val
Thanks very much Val!
Just popped over to your blog and I can definitely see that you do love to sew. And you do a great job too! I wish I knew where to even start.
Comment
Very pretty headboard. I enjoyed reading about how you did this thanks so much for sharing.
Thank you so much! I’m so glad you like it. Was definitely a fun project for me!
What a great transformation. I love the colors and the rosettes just make it. Featuring when my link party opens up tonight.
Oh my goodness, thank you so much Carol. I’m so excited to be featured! Always love stopping by answerischoco.com!
This headboard slip cover is so pretty! Thanks for sharing it at The Pin Junkie pin party. It was one of the features this week! Hope you can stop by and grab a brand new featured button! http://www.thepinjunkie.com/2014/08/pin-junkie-pin-party-79.html
Thanks so much Bonnie! Actually, I have already stopped by!!! And I’m so honored and excited to be featured.
Great transformation on the bunk bed and love that it’s no sew. I’ll have to look for those glue sticks the next time I’m at the craft store. Thanks for sharing on Merry Monday.
Thanks Erlene! I found the glue sticks at Hobby Lobby….love that store!
brilliant idea! I need some of those glue sticks! The granddaughter has a similar bed and I bet she would love a cool new headboard!
Thank you. Got the glue sticks at Hobby Lobby. There are soooo many fun and colorful fabrics that I bet she’d love on her new headboard.
Beautiful! Thank you for sharing this post at City of Creative Dream’s City of Links last Friday! I appreciate you taking the time to party with me. Hope to see you again this week :)
Thank you Shanice. And thank you for hosting each week!