

Hi friends! Welcome! If you’re new here, make sure to sign up for email alerts (in the right margin) so you never miss a fun DIY!
Remember the faux silver leaf doors that I just painted? (Yes, yes, the wall color is changing soon!)
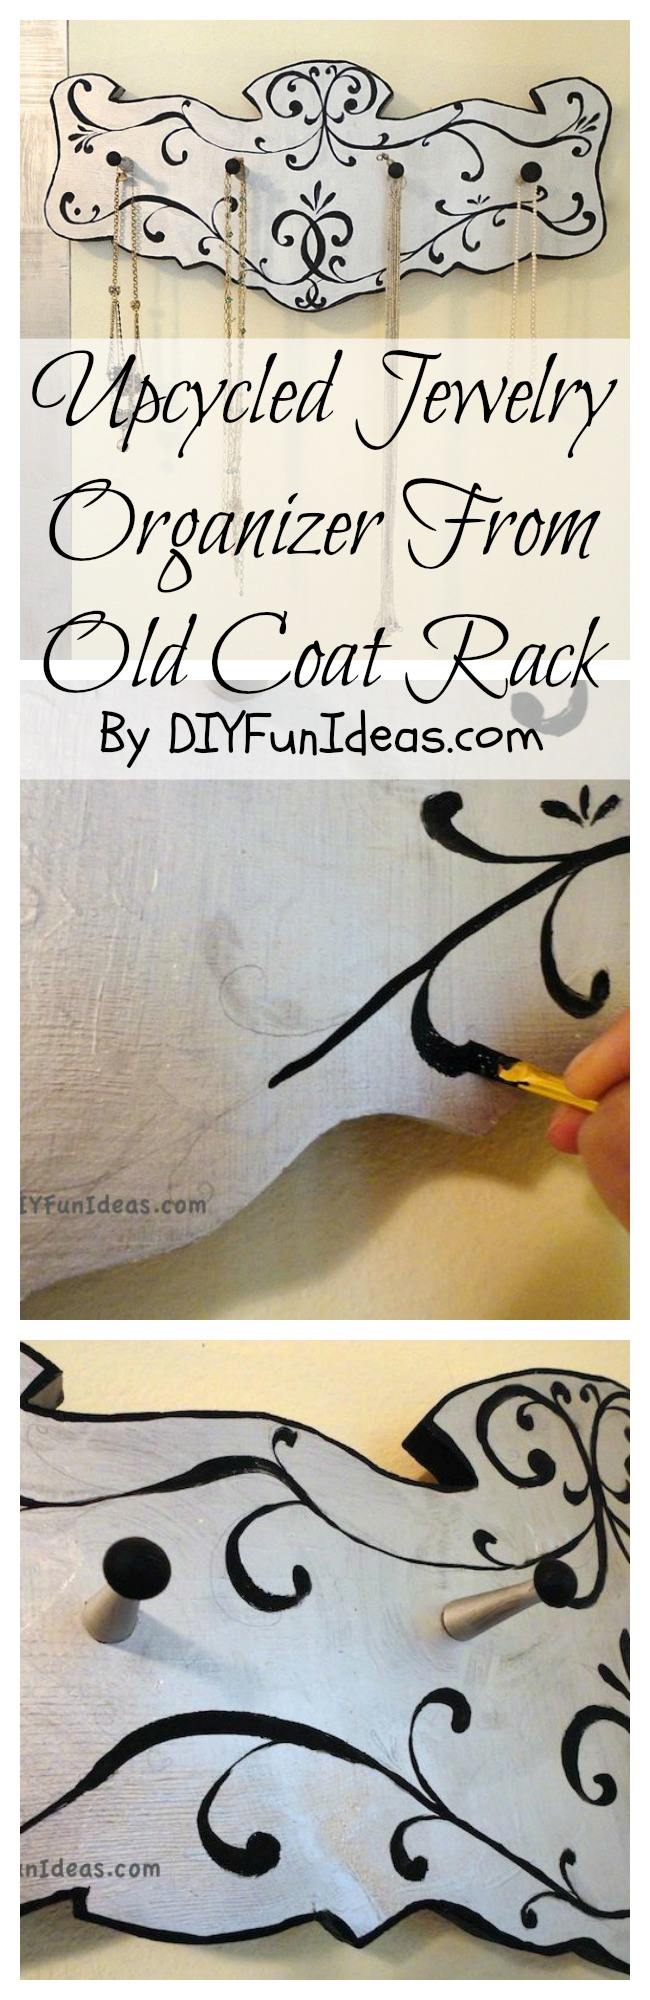
Well, hanging next to the doors was an old wooden coat rack that been there forever. Unfortunately, I don’t have a before picture because I was planning on ripping it off the wall and throwing it out. However, that old coat hanger had a different idea and it would not budge. I would have really messed up the dry wall if I tried to take it down. So while I was painting the silver doors I was also watching that ugly coat rack from the corner of my eye. It had a dark stain with what I can only describe as a grandma craft design. I just couldn’t bare it. So in the middle of painting the doors I took my silver paint covered brush to it. Then I thought, eh…that’s not terrible. Perhaps I could do something with it. So I decided to add some fun swirly designs.
I found this image of calligraphy swirls online and used it as a base for my design…

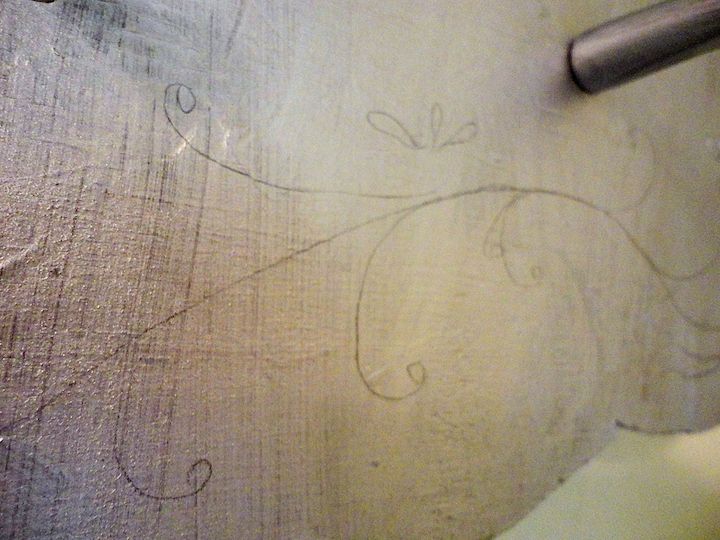
I drew a design on a piece of paper based on the calligraphy swirls, taped it to the wall and then copied my design onto the silver painted wood.

Doesn’t my drawing look like the bat signal??
Here’s a close-up of my penciled in design…
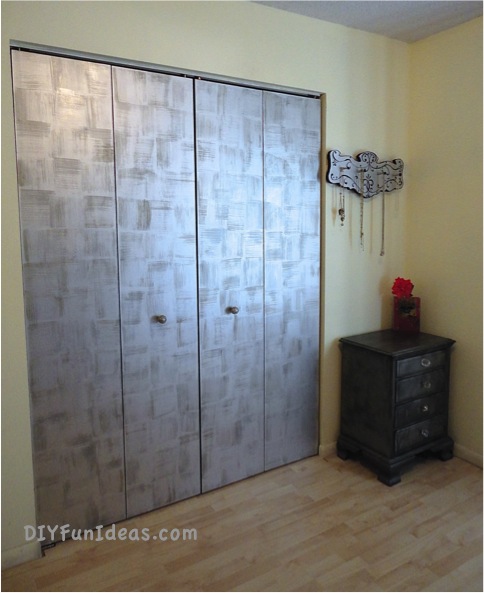
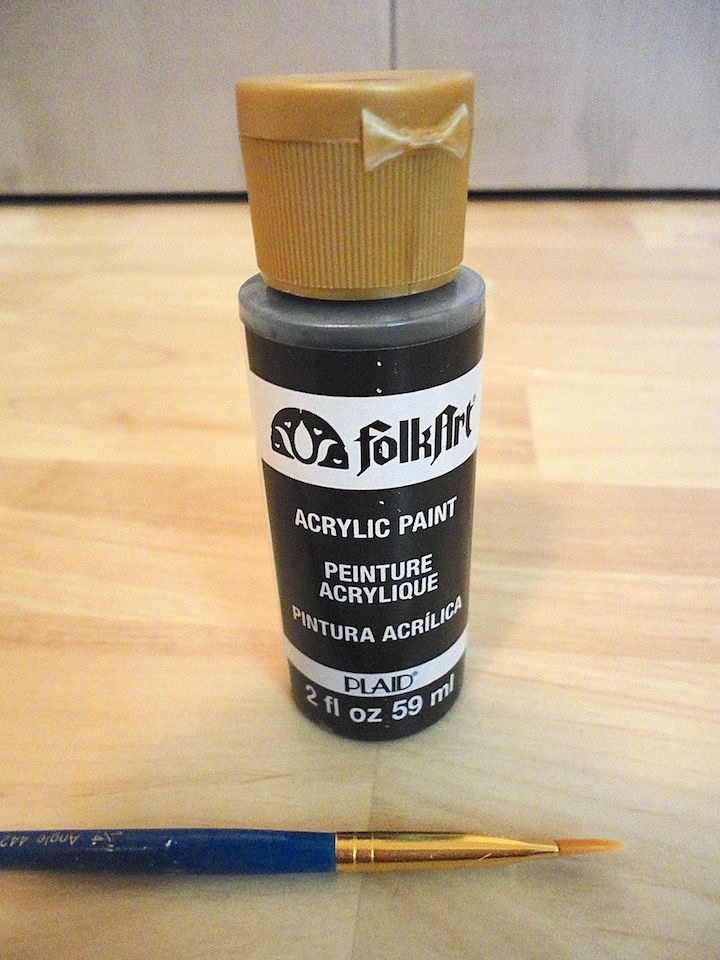
I used some basic craft paint in black…
To create this design, I used an angled brush, which really helps to vary the width of the painted lines. You definitely want to have thicker and thinner areas on your design to give your design more interest.
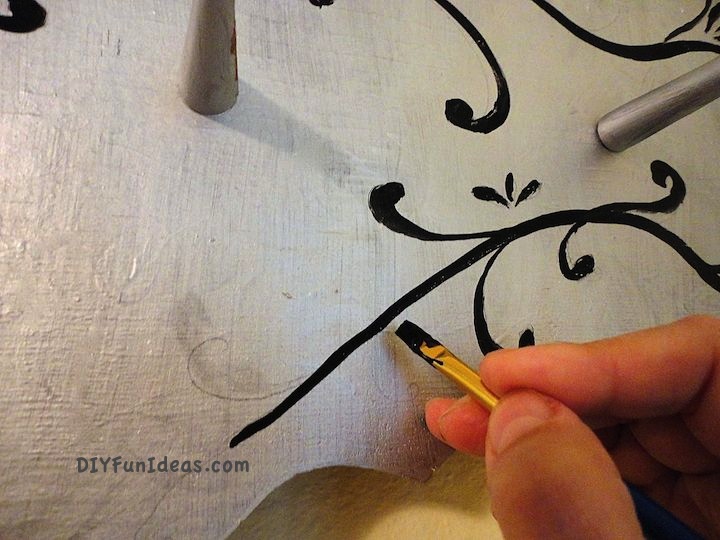
The swirls coming off your main drawing lines should be thinner at the base. To do that start with your brush on the line and slowly pull it away. If you start away from the base line and paint your way in, you won’t get a narrow connection to the base line. I tried and just couldn’t get it to work.
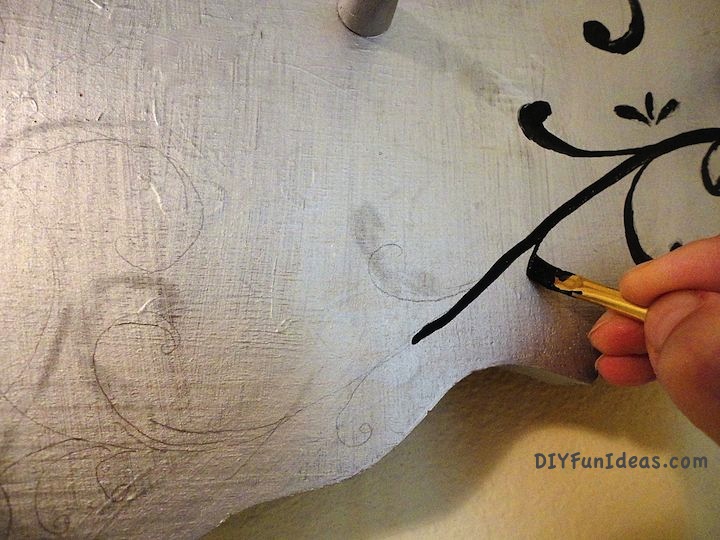
As you paint your swirls, do not turn the angle of your brush. That will give the swirl a naturally thicker curl.
Doesn’t the above picture look like I only have half a thumb??

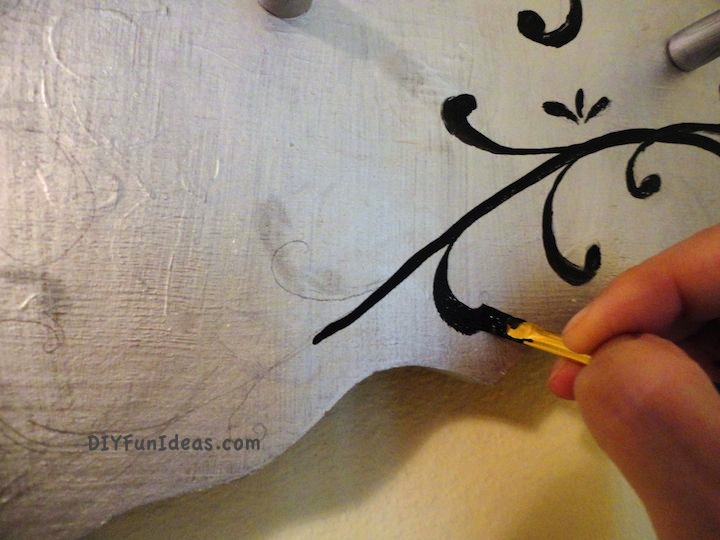
Creating this design definitely required a steady hand. Unfortunately, mine wasn’t so steady. So as I painted, I also used Q-tips to clean up the areas I messed up. Lots of Q-tips…

Here’s a close-up…
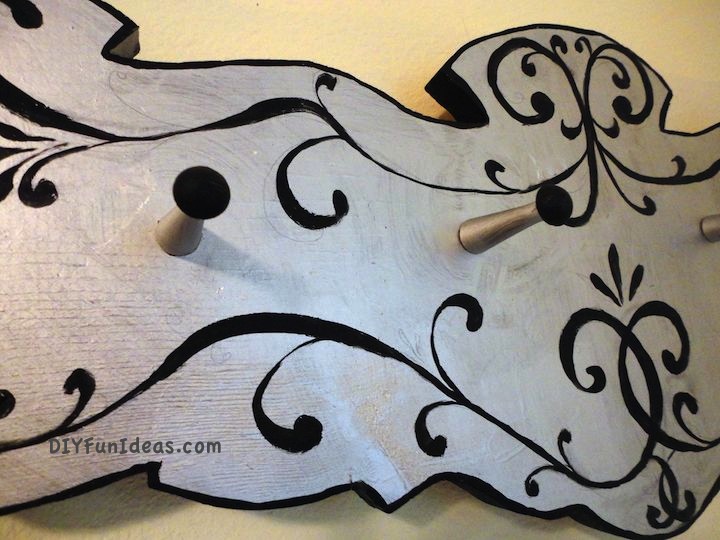
Notice there are still some pencil lines on the silver. When I finished my swirls, I painted over the remaining pencil marks with more silver paint. And waa-laaa, a lovely place to hang my jewelry!

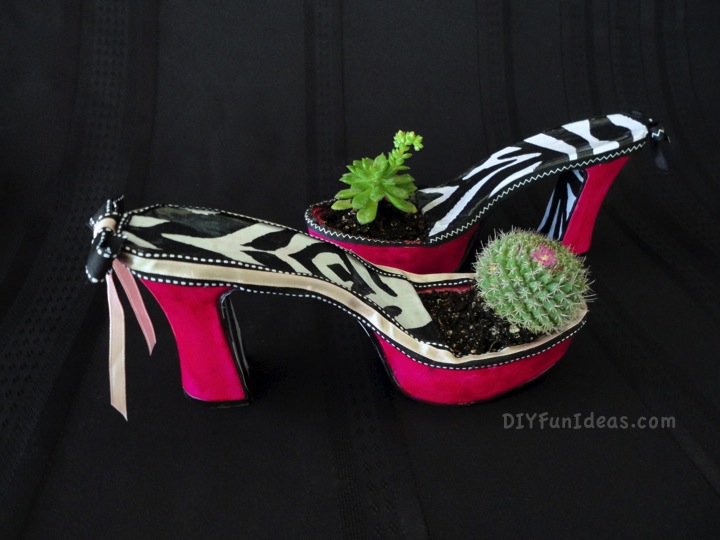
I hope my DIY upcycled jewelry hanger inspires you to create something amazing! Oh, and before you go, please check out my DIY high heel planters! Can you say total shoe LOVE?!!
Don’t forget to ENTER YOUR EMAIL ADDRESS ON THE RIGHT to keep getting all the unfiltered new fun ideas directly to your inbox! And FOLLOW ME ON PINTEREST too!
Cheers!
~Jenise
This post linked to some of these wonderful blogs and here.
What a great job you did. I actually took a class to teach that technique of painting…I wasn’t very good at it…..
The beach glass color is oretty
Great idea!!!
Great idea!
I love this idea! What a creative way to re-purpose an old coat rack. Thanks for sharing!
love the jewelry holder so cool thanks for sharing visiting from frugal crafty hop have a great memorial day
Thank you! You too!
This looks great! I have some vintage wooden spools from my Grandma that I want to make into a jewelry holder so this tute will help!
I found you at Hope Studios Tutorial Tuesday :) Come by for a visit if you get a chance!
Thank you Catherine. I will definitely stop by. Can’t wait to see what you do with the spools!
Your jewelry hanger turned out great!
Thank you so much Virginia!
I love this, what a great post.
Why thank you so much, Maria!
Sooooo cute!!! I need something for my girls and even for me! I may have to try something like this. It looks so fun too!
Thank you so much April!
This is a super awesome idea! What a wonderful twist to the jewelry organizer!
Thank you so much Valerie! It was totally fun to make!
Fantastic!!!!! I love your shoes too. Thank you for sharing on our Four Seasons Blog Hop.
Thank you and thank you for hosting Shawna!
What a great idea!!
Thank you so much Alicia. It was a fun project!
Thank you for sharing this post at City of Creative Dream’s City of Links on Friday! I appreciate you taking the time to party with me. Hope to see you again today :)
First of all, those closet doors are lovely. Second of all, the hangar came out fabulously but…and this is a huge BUT those high heel planters made me squeal with joy! LOVE! So much fun. I have to pin them. Happy I linked up with Life on Lakeshore Drives party or I would have missed these lovelies!
Kellie, You crack me up! Following you on twitter now!