

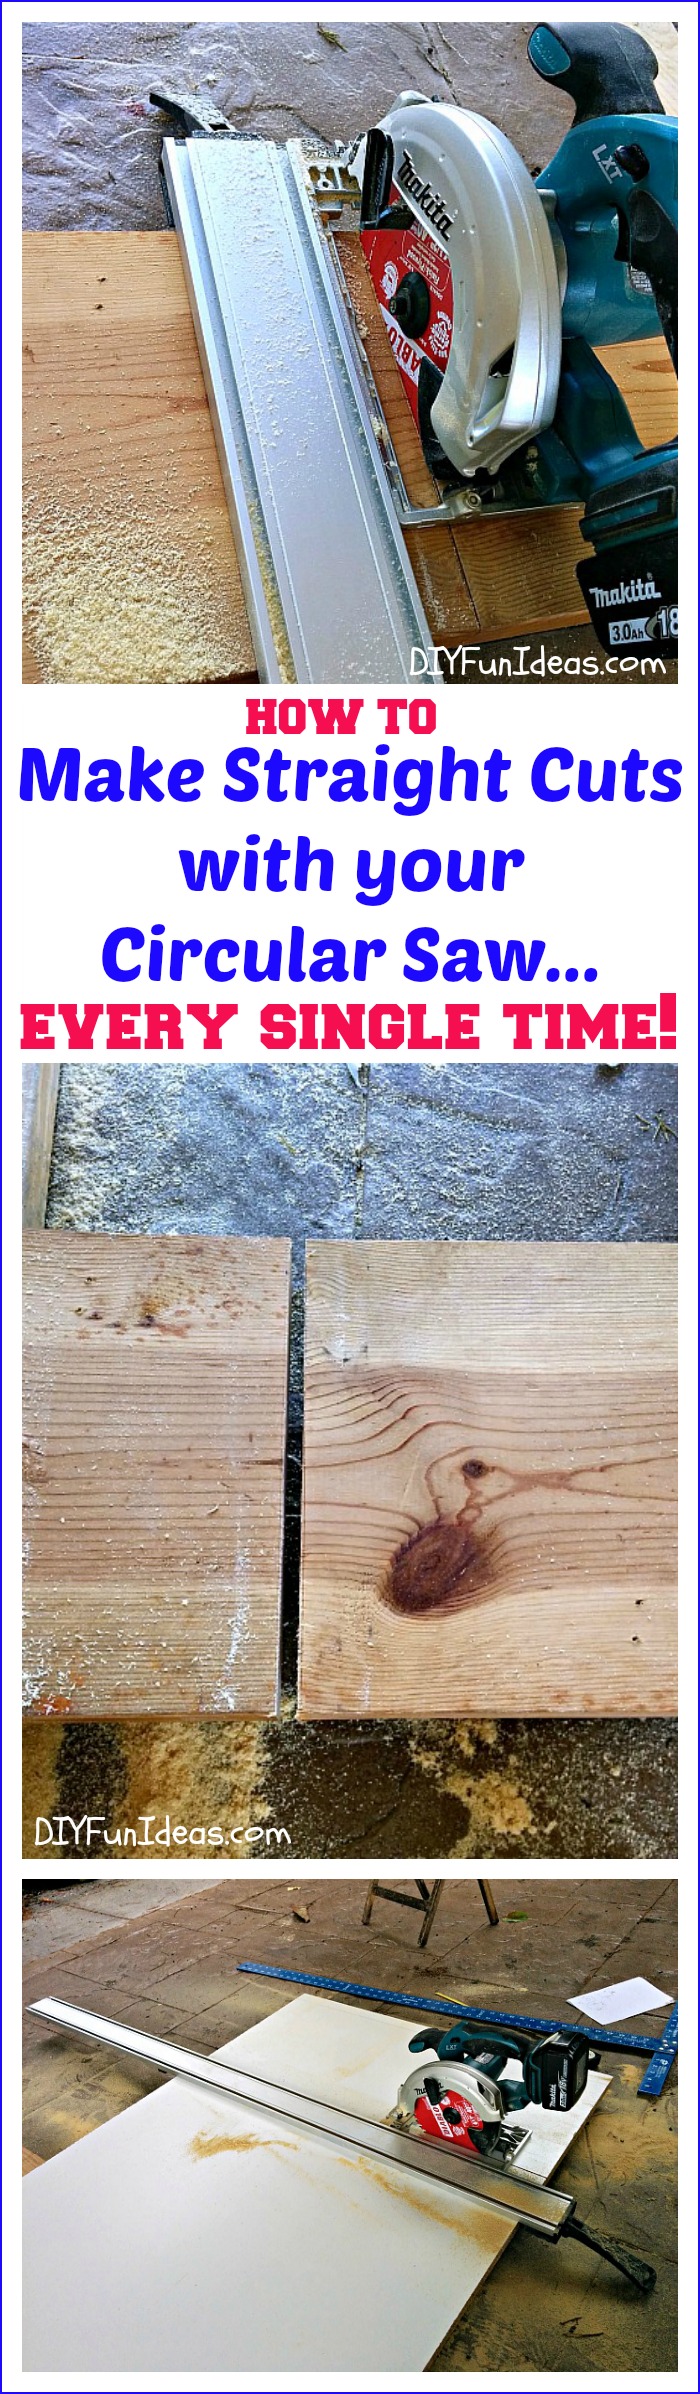
Hi folks! Today, I’m sharing with you my new favorite toy tool. It’s a must have tool for the DIYer. How I lived without it for so long, I don’t know. But I do know that I’m in love! It’s called the Bora Straight Edge Saw Guide and it helps you make perfectly straight cuts with your circular saw, every single time. But what’s better is that it’s so quick and easy to use.
In the past, I used a 2×4 as a guide, but it was clumsy to use. I had to align it, then put a clamp on one end of the 2×4, lock it down then screw to tighten, then do the same on the other side before I could finally make my cut. What a pain in the butt, especially if you’re making a lot of cuts, at which point I’d sometimes give up and end up just trying to free hand it. And, of course, I’d end up all frustrated because of the wave I’d get in my cut. Argh!
So discovering the Bora Straight Edge Saw Guide has been awesome because it’s so quick and easy to use and I get the perfect cut every single time. Win!
So let’s take a look at the Bora Saw Guide…
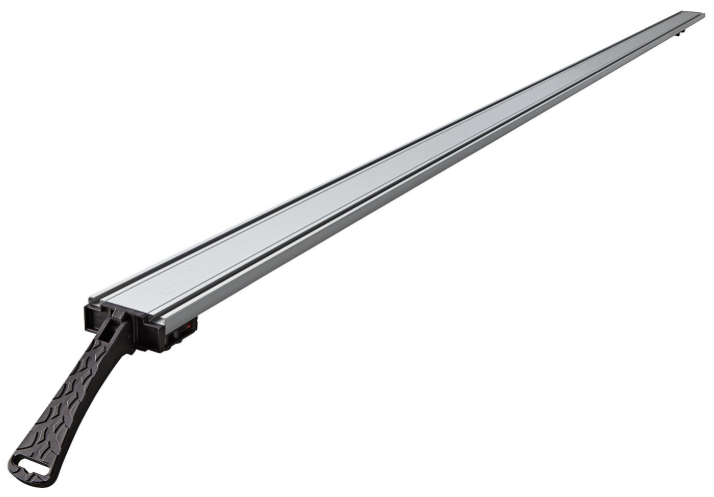

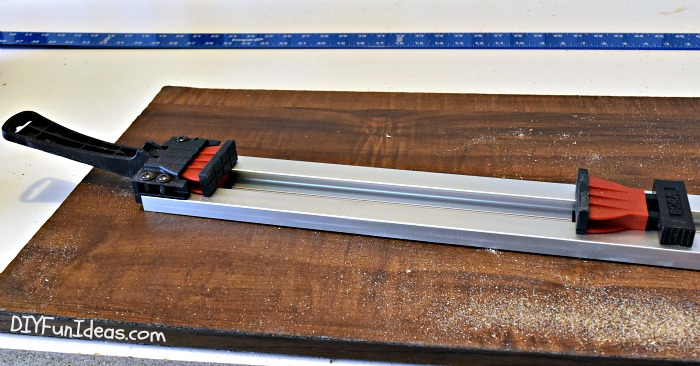
It has a tightening lever on one end and clamps underneath. To use the saw guide, place it on your cutting piece and push the sliding clamp to the edge of your piece. Then flip the lever down and the saw guide will be locked in place.
Here’s a close-up of the clamping mechanism…
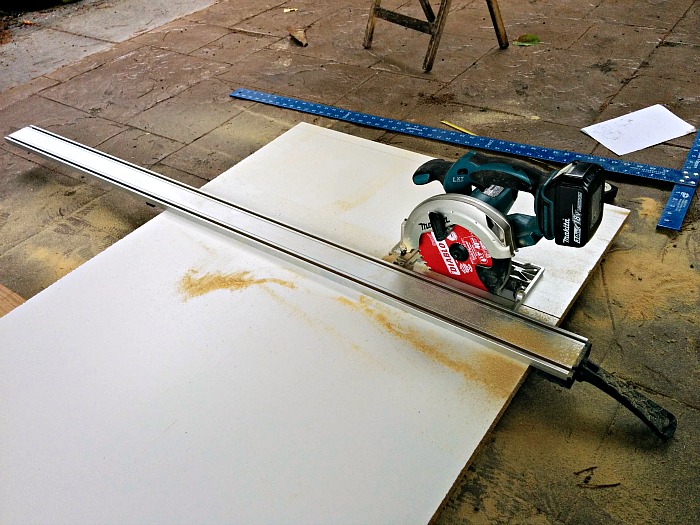
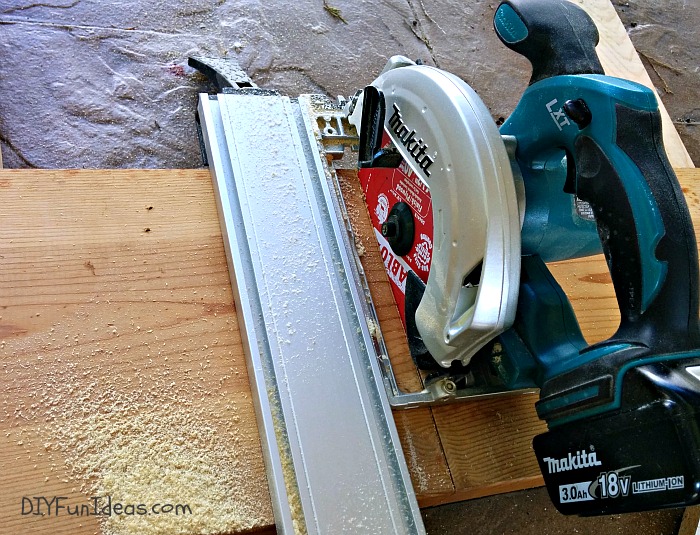
And here, I’m using the saw guide to cut some melamine board that I used to create the form for my latest DIY concrete project…
Psst… I made a concrete bathroom vanity top with integral sink. Tutorial coming next week, but here’s a sneak peak of my new drop dead gorgeous bathroom sink…
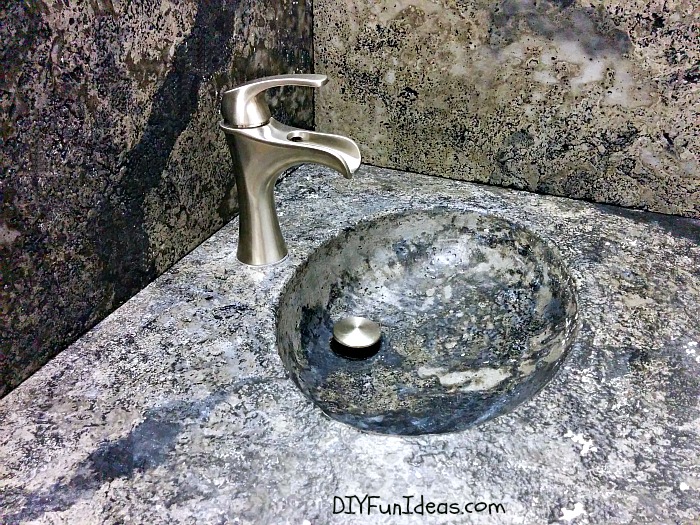
Can you say, Ooh-La-La!
…And, as always I used my other favorite toy tool, my Makita cordless circular saw, to make the cut. All of my Makita cordless tools are definitely to die for! Powerful, portable, and light weight. What more can I say. Okay, well, they’re pretty too.
I also used my Bora Saw Guide to cut some 2″ thick board for the floating shelves that will be hanging in that bathroom next to the pretty sink. Still need to stain and hang the shelves, then that tutorial will be up too.
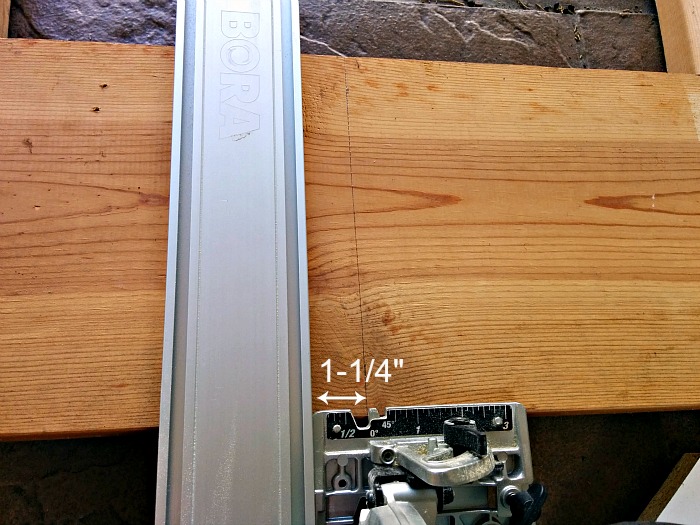
Note that I’ve pointed out on the image that there is a 1-1/4″ space between my saw blade and the outer edge of the saw base plate. So when I measure and mark my cut line, I also mark 1-1/4 inches to the left of the cut line so I know exactly where to place the saw guide.
And here’s the cut…
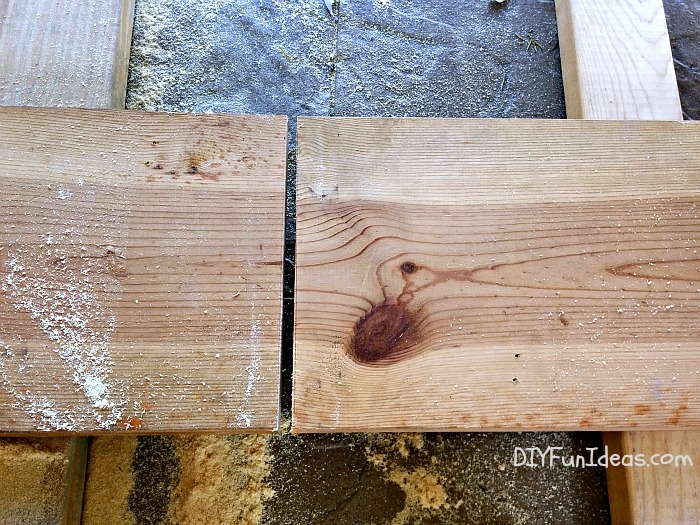
Ain’t it a thing ‘o beauty? Perfect every time.
So there ya have it, the how did I ever live without it Bora Saw Guide. Yay!
And check back soon, for the DIY concrete vanity top with integral sink tutorial!
Oh, and don’t forget to Pin It…

You are such a diyer! When it comes to using the saw, I leave that to my hubby. :) Thanks for sharing with SYC.
hugs,
Jann
Thanks so much Jann! I used to hate having to cut anything because I could get a precise cut. Now I’m always so proud of myself after using my saw. :-)
That’s cool! I need one. Power tools are so much fun when the work the way you want them to. Thanks for sharing this one.
How do I know I’ve laid that on there straight? I have such a issue with doing being able to tell straight and would love to know I can finally do this
Hi Tammy, I usually use a t-square to mark my cut, like this one: http://amzn.to/2gNMDiU. The rght angle section at the top helps you line up a straight line. If you’re still unsure if your lined up straight, you can stand up your board and use a level (like this one: http://amzn.to/2i1JTzo). Hope that helps!
I’m wondering if this could be used with a Jig saw instead