

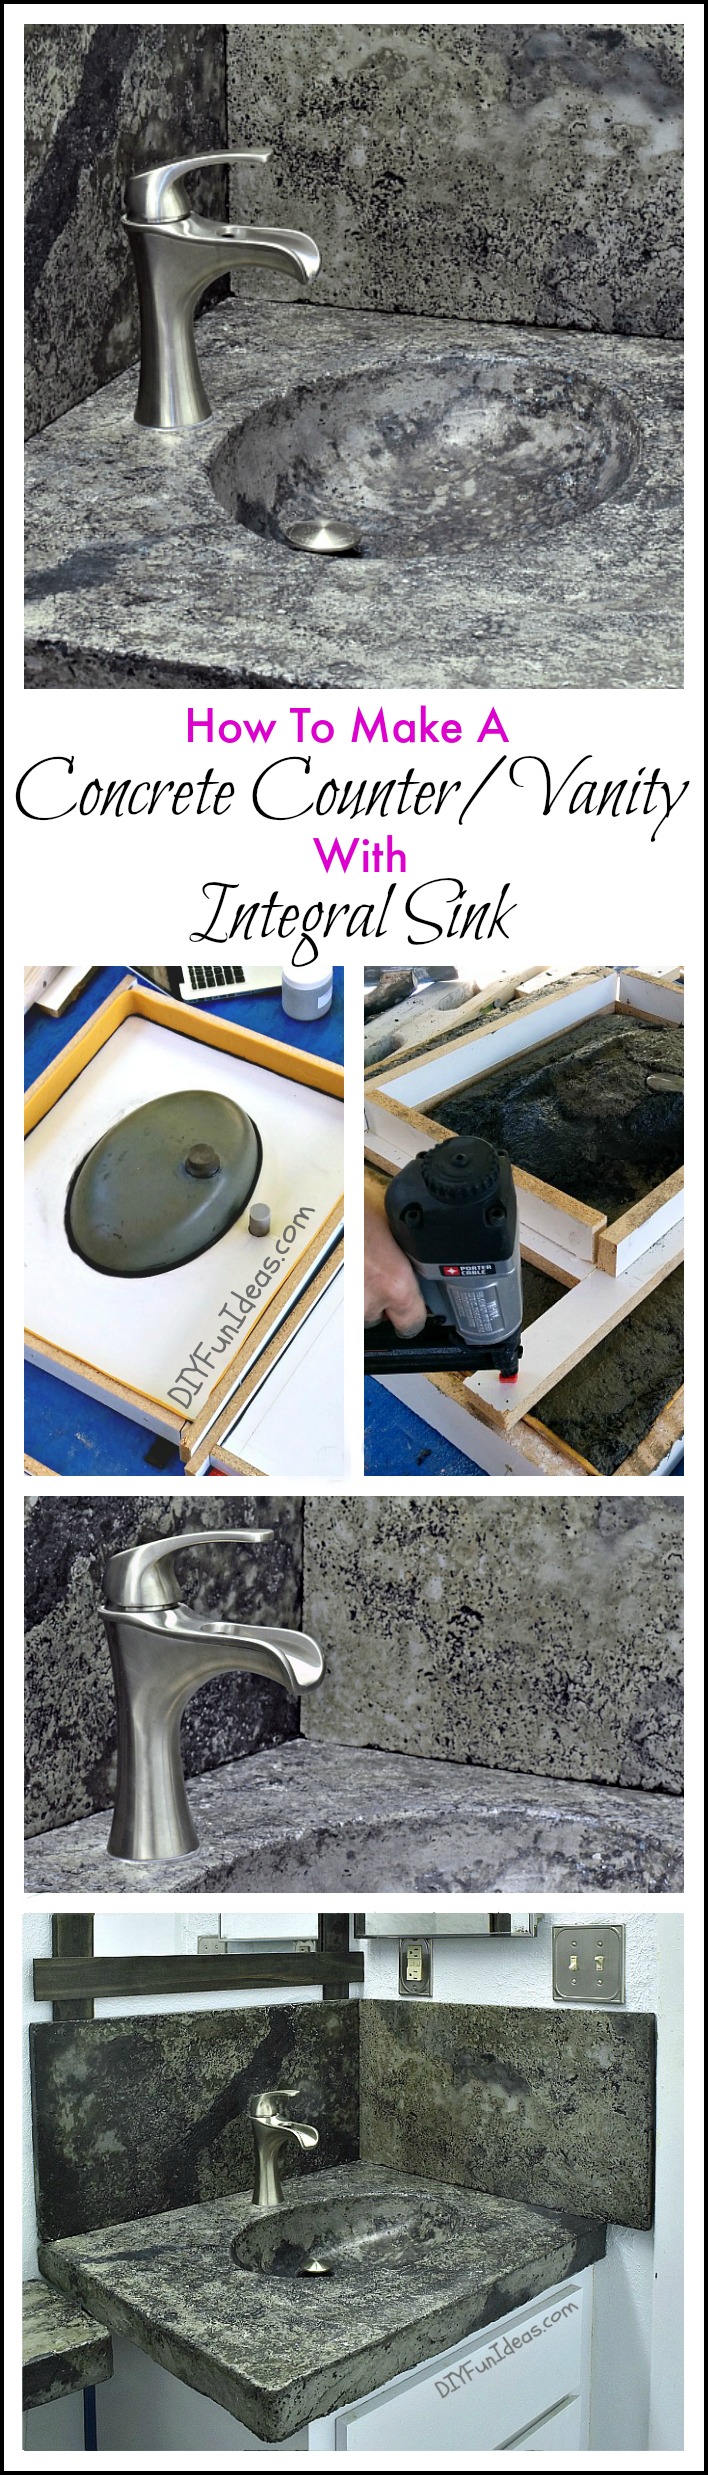
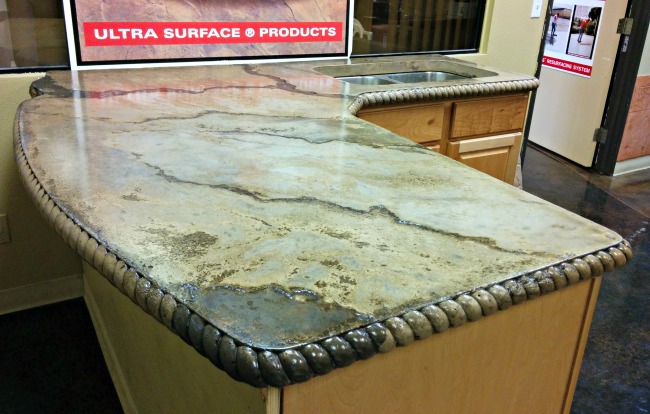
Hi folks! I just finished my first big project of the year and I’m so excited to share the tutorial with you. I’ve been working on updating one of the bathrooms at my parents’ place, and today I’m sharing the first of the updates. I made a concrete vanity top with an integral sink using the Ashby System, a decorative concrete technique. Last year I took a class to learn the system and here’s the countertop we built in class…
After the class I wrote up a 4-part tutorial that includes:
1) Templating
3) Mixing & Pouring Your Concrete
The technique I used for today’s project is the same, with the exception of adding the integral sink. So for today’s tutorial, I’ll be referring back to the 4-part tutorial for much of it and focus on the technique for building in the sink.
Before we start, though, let me show you what I was replacing. Here’s the original vanity…
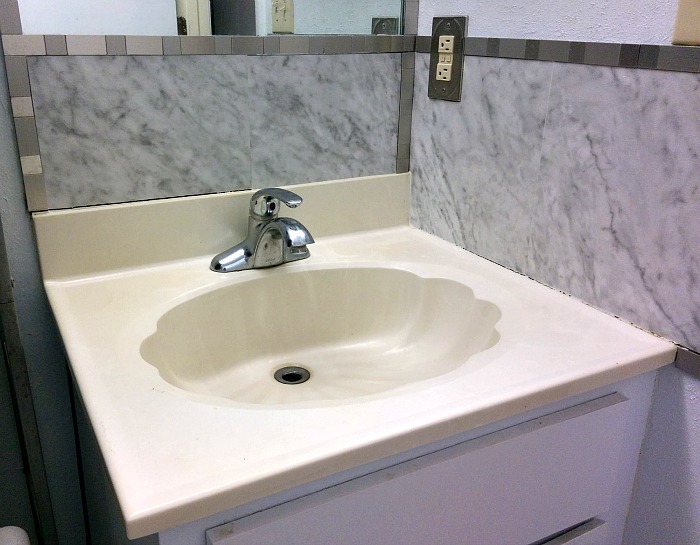
I know… Scary… Right?
Here’s another view… but you might want to look away.
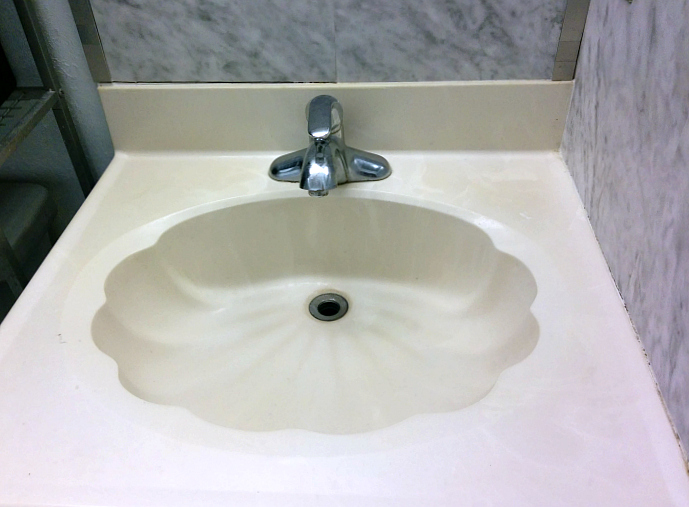
‘Nuff said about that. So let’s get on with the how-to’s.
The first part of building a concrete vanity or countertop is to create a template. (CLICK HERE FOR TEMPLATE TUTORIAL.) Your template will be your guide for creating the appropriate size and shape form into which you’ll later pour your concrete. It’s particularly useful if your countertop has multiple angles and is not simply a rectangle.
My vanity top was a 22″x24″ rectangle so I have to admit that I didn’t make a template. I did, however, extend the length by 3 inches because I wanted a bit more counter space and there was plenty of room for it.
Once, you have your template (or in this case, measurements), it’s time to build your form(s). For form building tutorial CLICK HERE.
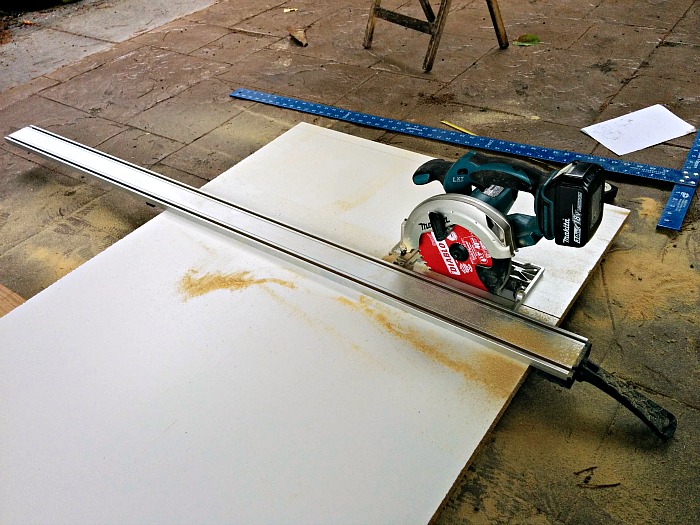
I used my big T-square to measure a 22″x27″ rectangle on my melamine sheet and then cut it out with my circular saw. I gotta tell you that I LOVE my Makita cordless tools!!! It’s so nice not to have to drag around an extension cord. And the tools have awesome power and battery life. The other tool I used was my saw guide. Love that too! It’s that long metal thing laying across my melamine. The saw guide clamps onto whatever you’re cutting to give perfectly straight, precise cuts every single time. And precision is hugely important when building your forms. You can read more about the saw guide HERE.
Here’s what my finished forms looked like…
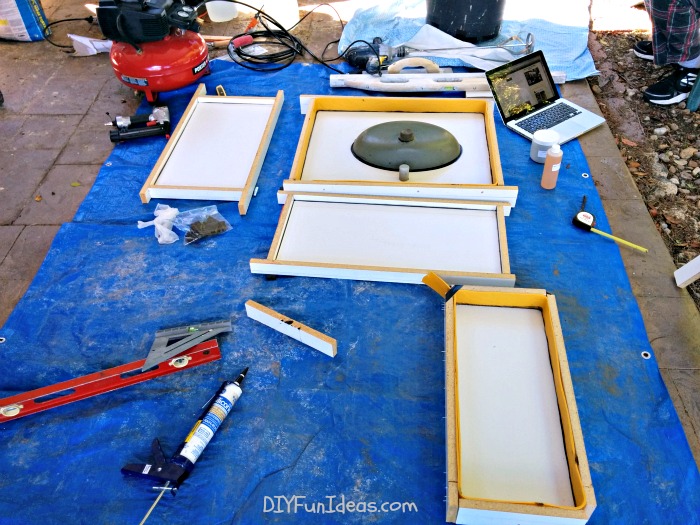
Notice my open laptop in the image? I was following my own tutorial since it’s been about a year since I’ve done this.
I built four forms: the countertop, back splash, side splash, and I made a toilet tank cover.
Now, once your basic forms are built, here’s where we’re going to add the extra step to include an integral sink within your countertop. See the big grey hunk of rubber in the middle of the large form? That’s my sink mold. I got my sink mold from StoneCrete Systems (formerly Countertop Solutions). You can view all of their sink molds HERE. They have everything from farm house sink molds to ramps to vessels.
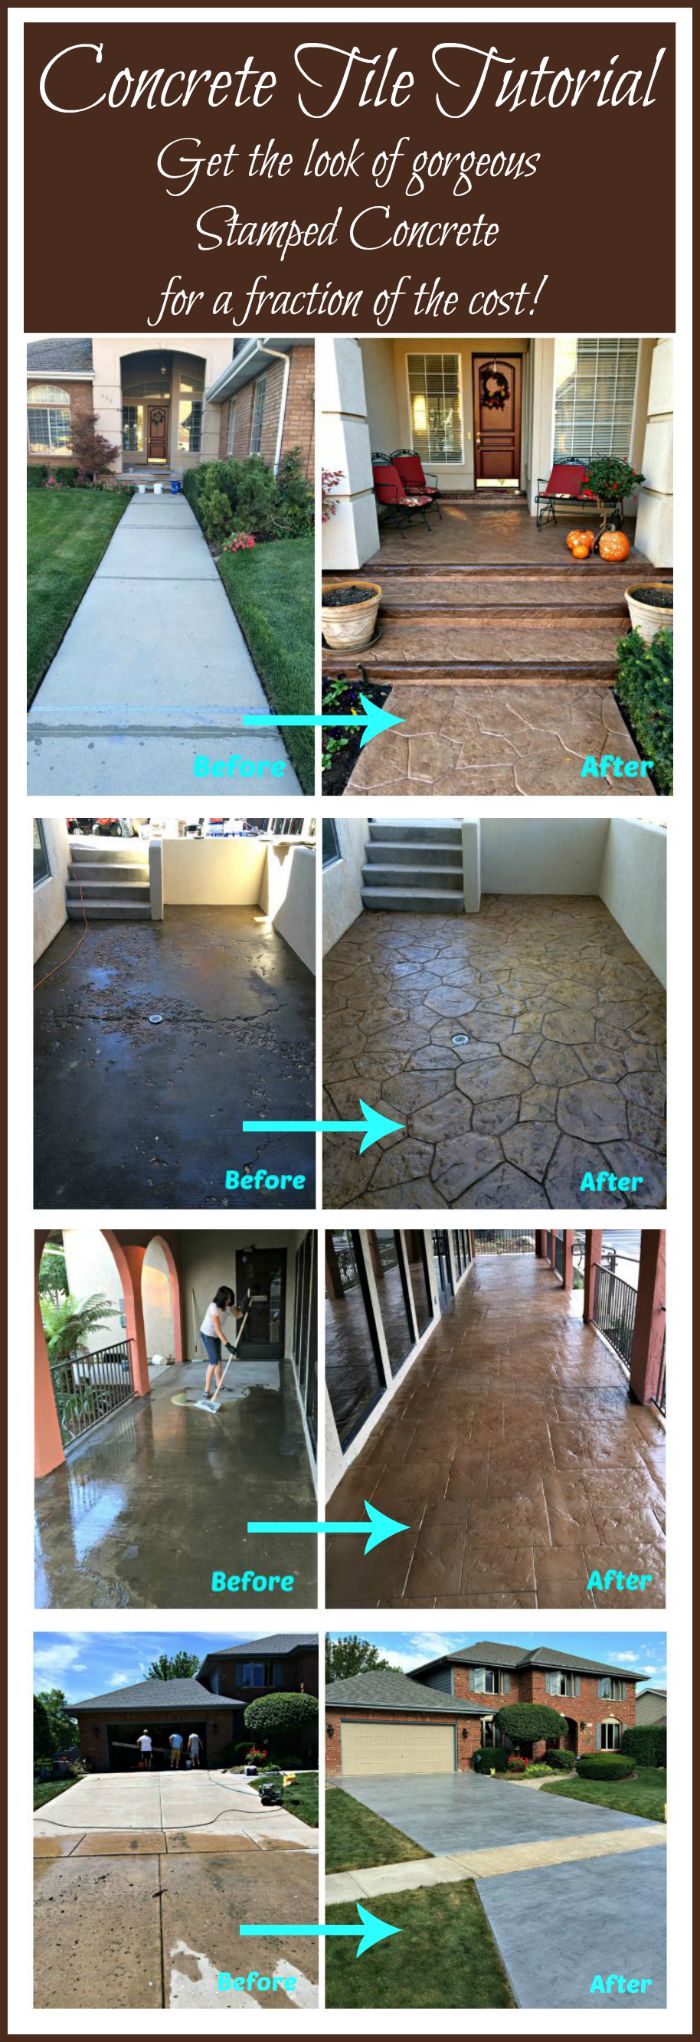
On a side note, I also worked with StoneCrete to reface my parents’ driveway with their state of the art stamped concrete tiles. It gives you the look of stamped concrete for a fraction of the cost. (CLICK HERE for stamped concrete tile tutorial.)
Here are some before & after pics of the stamped concrete tiles…
Anyway, back to the sink molds…
To use a sink mold, determine where you want it placed and mark the area. I set this sink a little off center so that I’d have more counter space on the left side when the countertop was complete. Remember, as described in the tutorial, what you see on the form will be opposite of the finished product since the concrete that touches the bottom of the form will end up being the top of your countertop when you flip over and release the finished countertop from the form.
Once you know where you want to place your sink mold, use silicone caulk to adhere the flat side of the mold to your form. Then run a bead of the silicone caulk around the edge of the mold and smooth it with your finger.
I’ve always had trouble getting a good caulk line. So now I line the area to be caulked with painters tape then run the bead of caulk on the joints between the tape and smooth.
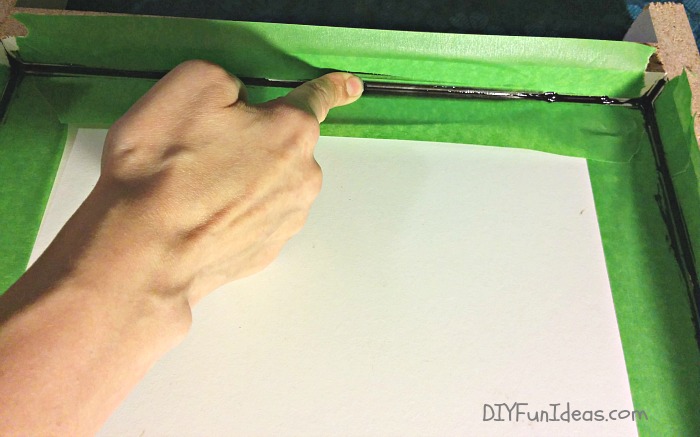
(Okay, completely off topic here, but if you tilt your head a certain way, doesn’t it look like I only have one finger?? …sorry, my mind wanders sometimes…)
When you pull the tape up, you’ll have a nice smooth caulk line.
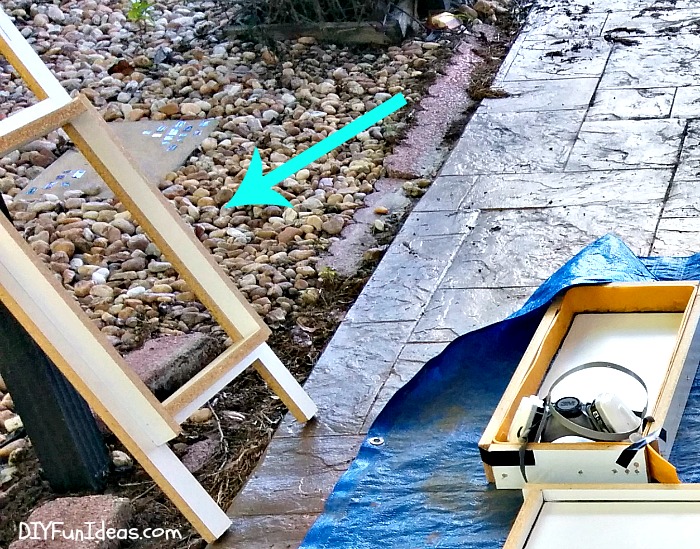
I also used edge molds from Z Counterform. They have a variety of edge molds to choose from that will give the edges of your countertops the look of slate, stone, or rock face. I chose the slate edge. You can check out their edge mold selection HERE.
Here are my edge molds…
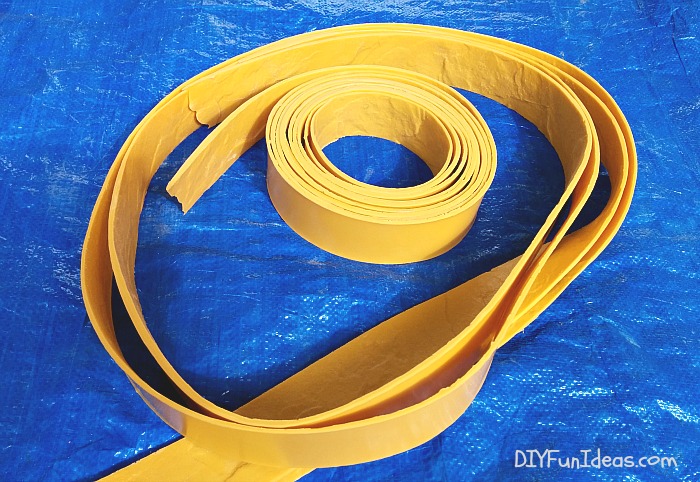
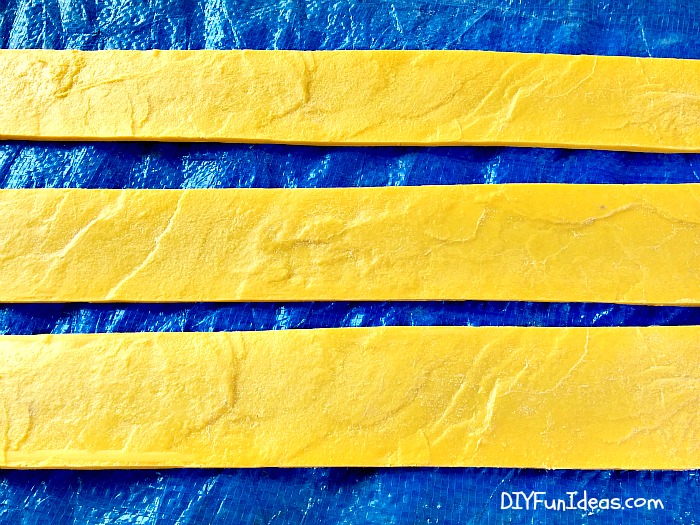
The ends are tapered thin so the molds can be overlapped for extra length…

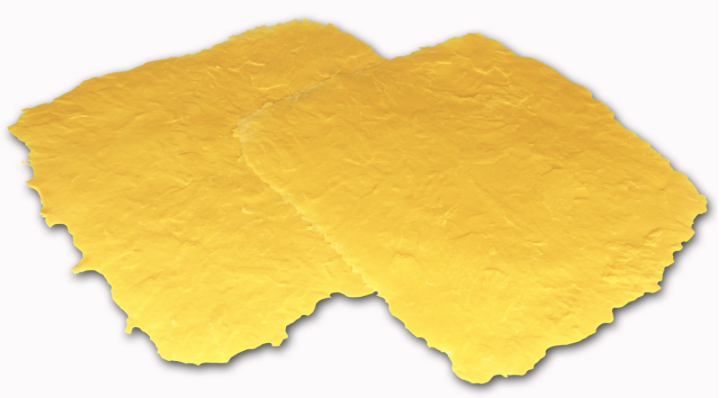
And check out that gorgeous texture…
And if you want a complete slate look, Z Counterform also carries textured mats that you can place on the face of your forms so that your entire countertop will look like a giant sheet of slate. How cool is that!
I only used the edge liners on the countertop and toilet tank cover since the back and side splashes are only one inch thick. You can see where I placed the form liners around the form edges…
Z Counterform sells a heavy duty double sided tape that can be used to adhere the edge molds to the forms. I just nailed mine on with my brad nailer. But if you decide to do that, definitely watch out for the nails sticking out on the outside of your forms. Ouch.
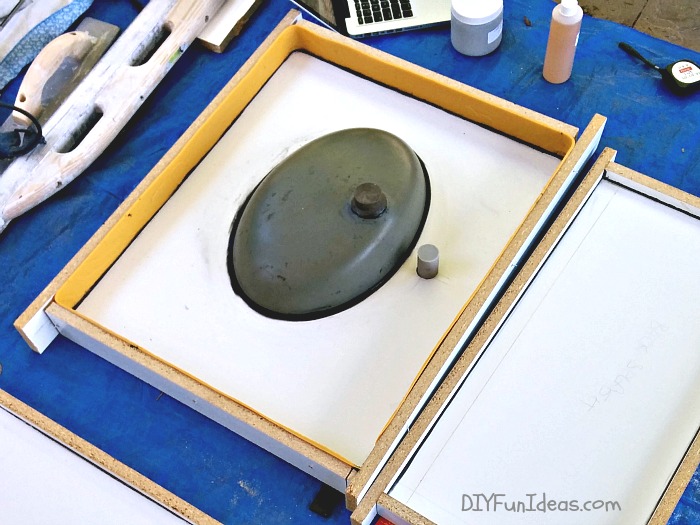
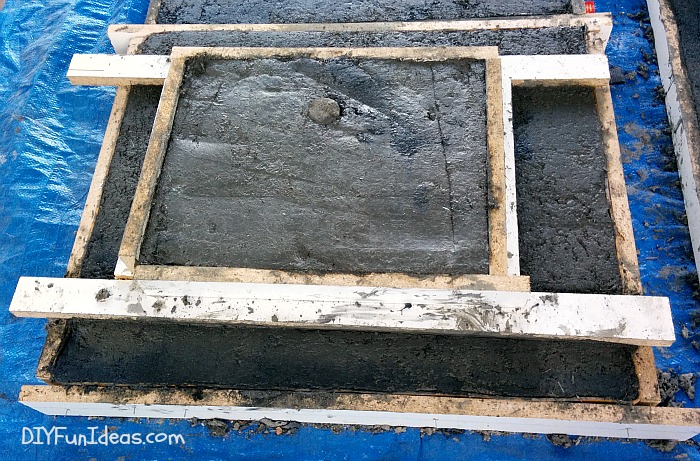
At this point you’ve adhered your sink mold to your form. The next thing you’ll need is to create a frame that will sit around the outside of the sink mold. Here’s my frame…
There’s no magic recipe for building a frame. You basically want to build something that you can attach to the top of your countertop form, that sits around the perimeter of the sink mold, and that reaches the same height of the highest point on your sink mold.
This image should give you a better idea of what I’m talking about…

In the above picture, I mixed and poured my concrete into the rectangular form. (Click HERE to see mixing and pouring tutorial.) Once I filled the form with concrete, I attached the frame to the form using a brad nailer, then continued to fill concrete into the framed area over and around the sink mold.
Here’s what your filled forms will look like…
Of course, following the mixing & pouring tutorial, you’ve also vibrated, screed and troweled the concrete surface.
Here are all of my filled forms…
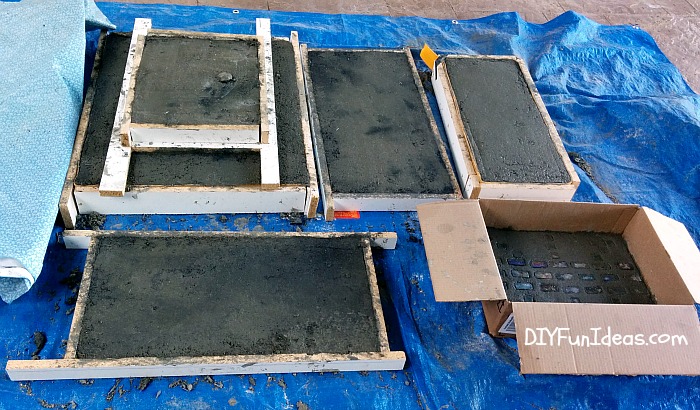
I had some left over concrete so I decided to make a stepping stone with it using a cardboard box for the form. CLICK HERE to check out the super easy stepping stone tutorial.
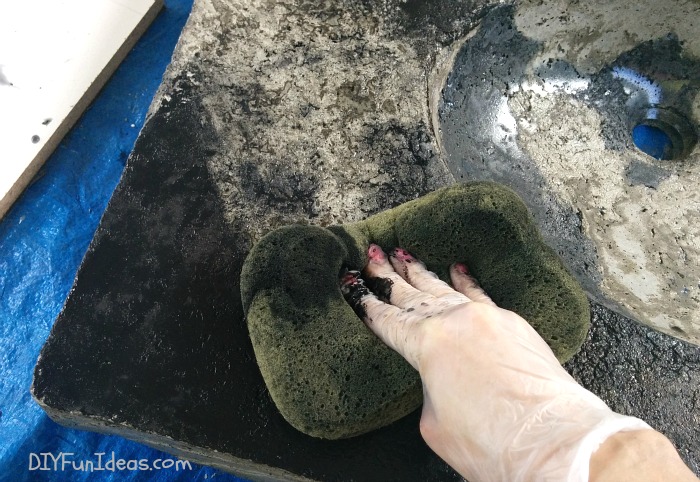
After 48 hours I removed the molds.
Then grouted and sealed the pieces. CLICK HERE for grouting & sealing instructions.
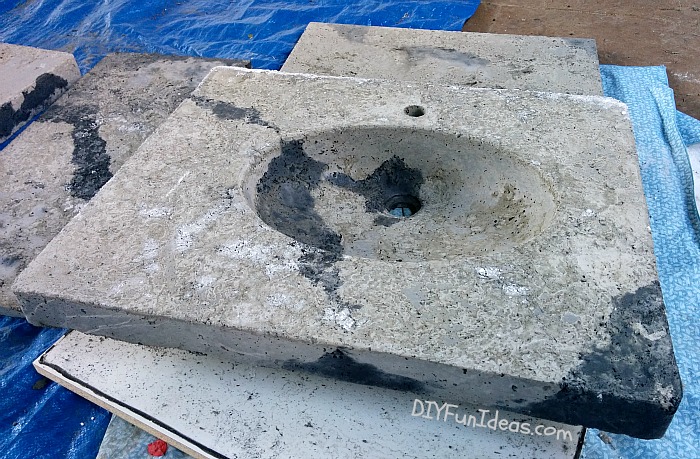
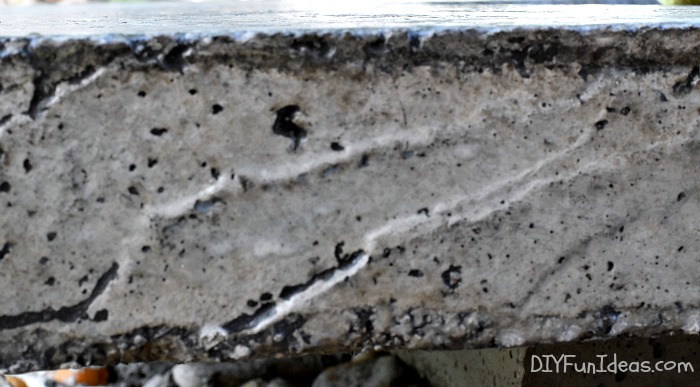
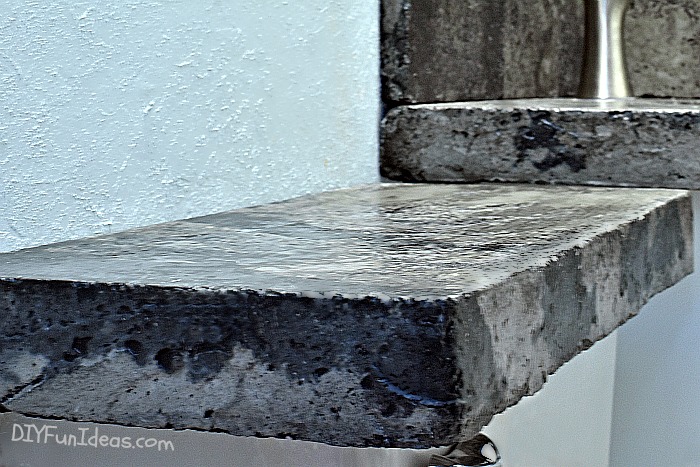
And my final sealed piece…
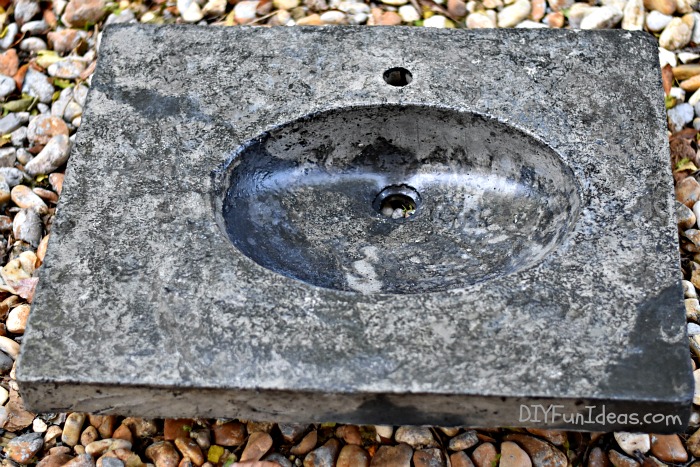
Check out the marbled effects…

And those beautiful edges!!!
So let’s go back to that scary before photo…
And now the after…
What a difference!
Here’s the big picture…
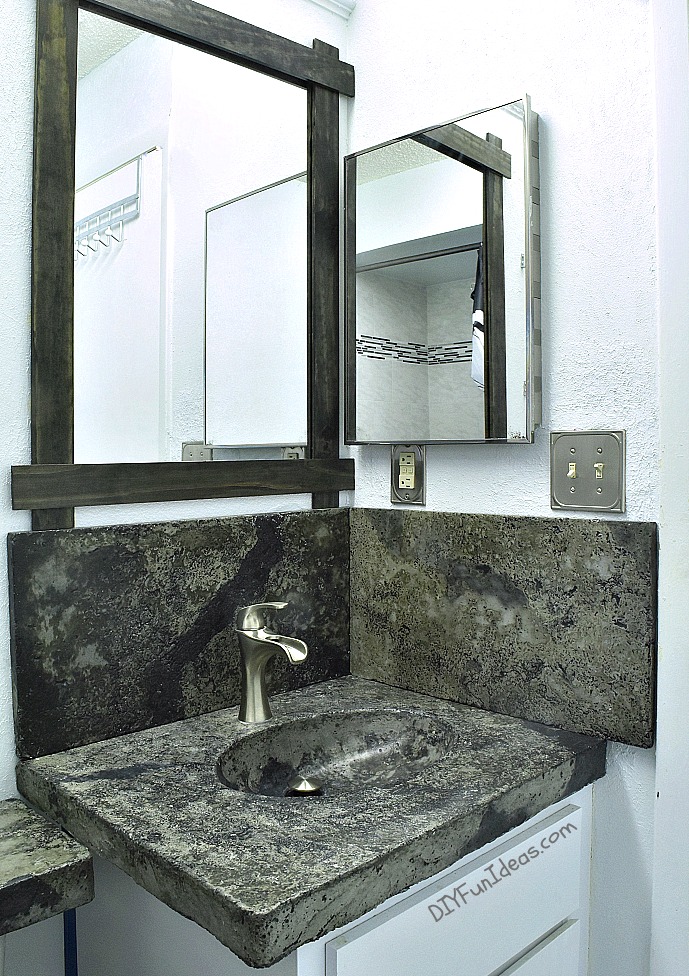
I also built that mirror. Tutorial to come shortly.
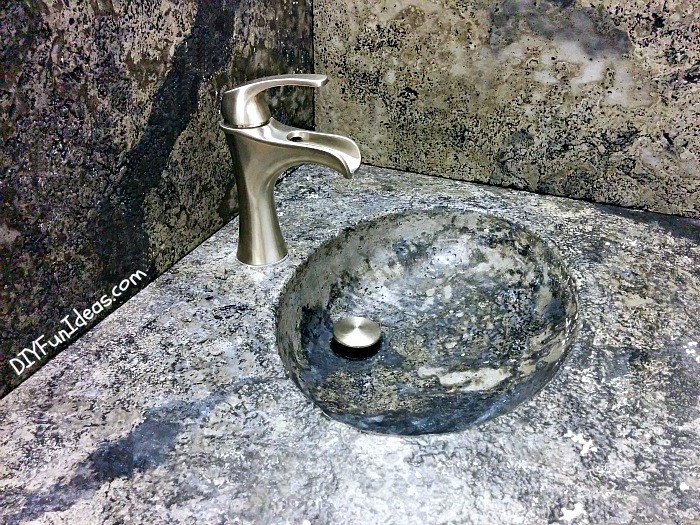
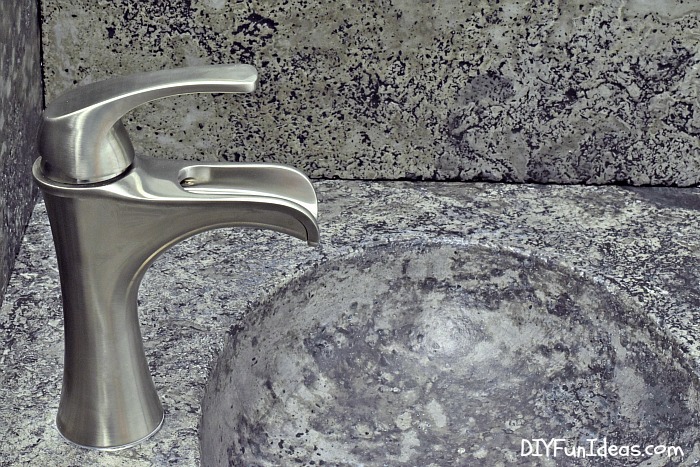
And some close ups…
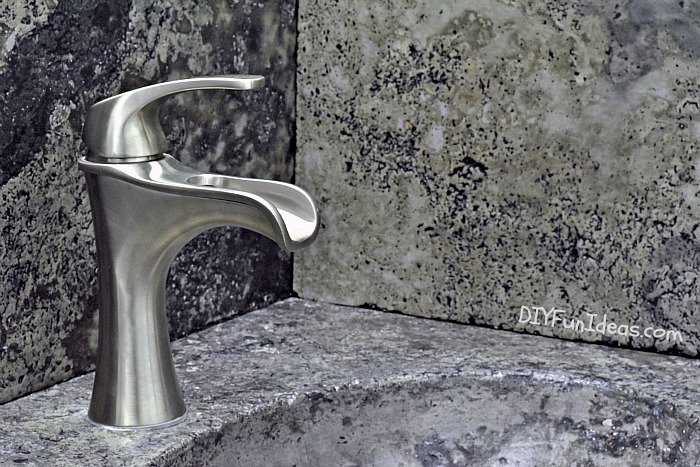
I’m loving the faucet too! (For more info on the faucet I purchased CLICK HERE.) The installation instructions were so easy to follow, I installed it myself, saving the $250 cost of a plumber. Yay!
The toilet tank cover…
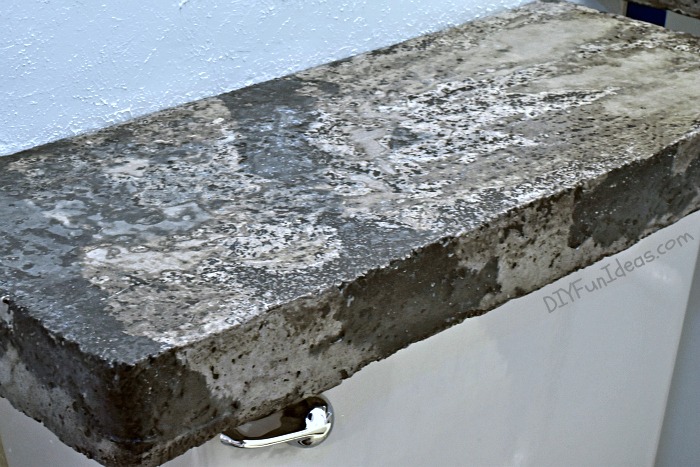
And look at those edges!
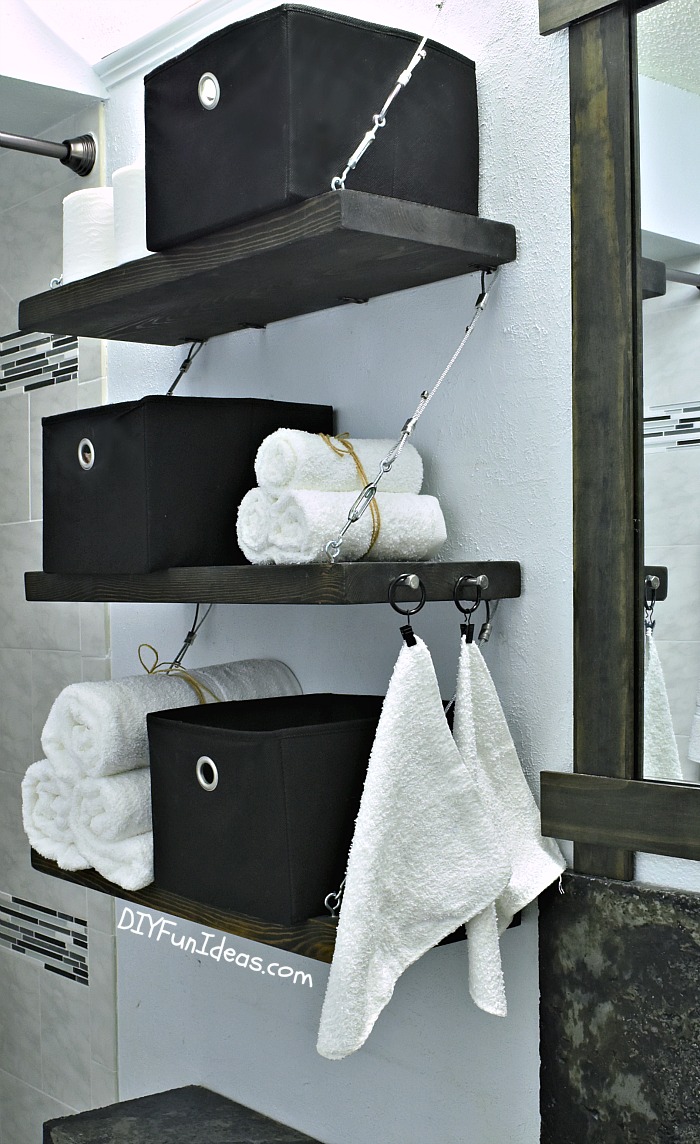
I also built these reclaimed wood and steel cable suspended shelves that are now hanging over the toilet (yes, that tutorial is on its way, too)…
There ya have it! Now go build some DIY concrete counters.
I’ll also be sharing another concrete countertop tutorial in early March. It’s for these amazing white concrete countertops I poured at my cousin’s house. It’s a completely different look than these marbled counters. My cousin does love the marbled concrete look, but she’s always dreamed of an all white kitchen. So we found the white concrete mix at Z Counterforms (same place where I found the edge molds). Both Ashby and Z Counterform mixes turn out beautiful countertops, so choosing between the two is completely a matter of the aesthetic preference.
The white countertops use a pour-in-place technique (i.e. no melamine forms) that’s pretty user friendly. I actually poured the countertops back in November and they came out GORGEOUS! I did have to drive 11 hours in each direction (ugh!!) to and from my cousin’s place, with a car full of tools and my adorable little pup in her car seat. (That’s how we roll.)

Cousin-lady was then supposed to finish up by polishing the countertops and send me photos, but things didn’t go as planned so now I’ll be flying up to the frigid north (Eek! — I’m totally spoiled by Florida winters) at the end of the month (couldn’t bear to do the drive again) to finish the job. — And, yes, I know you’re reading this, girl…and lots ‘a luv, but yes, I am totally calling you out on this! — She is, however, planning on redeeming herself by coming down to Florida during her son’s Spring break and helping me out with a garage sale that I’ve been putting off for a REALLY LONG TIME. :-) Plus, my cousin’s a REALLY good cook so I always have totally to die for mouth watering goodness to look forward to when I visit!! She does feed me well.
So that’s it folks…DIY concrete countertop/vanity with integral sink!

And don’t forget to PIN IT to your favorite DIY board!
This post linked to some of these totally fabulous blogs and Remodelaholic.

Very impressive. Good job!
Thank you so much Jessica!
This is absolutely amazing. Wow I love it.
Thank you so much Debra!!! We are loving it too! :-)
Wow! This is just amazing. I never thought about using concrete before, but I really love this.
Thanks so much Krista! I’m really loving it and planning on doing one in the other bathroom in a different color. :-)
Amazing! I can’t believe that’s all concrete. Great job!
Awe thanks! I just stopped by your website, Vineta, and subscribed. You have some great projects. I think I need one of those pull out trash bins in the kitchen!
Your concrete work is absolutely stunning! DIY concrete projects are some of my favorites! I can’t help myself as I am a concrete contractor. It’s nice to admire others’ works of art!
You’re cool, so really, really cool to share all of this with “us”. Best to you and can’t wait to see the white concrete.
You got some great marbling effect on the sink and back splashes. A wonderful DIY that adds a personal and high end feel to your bathroom. Plus – I just love the way water looks and feels on a sealed concrete sink. It reminds me of water running over rocks or a waterfall. Well done!