

 Hi friends! Thanks for stopping by! If this is your first visit, then sign up for email alerts so you don’t miss a single fun DIY!
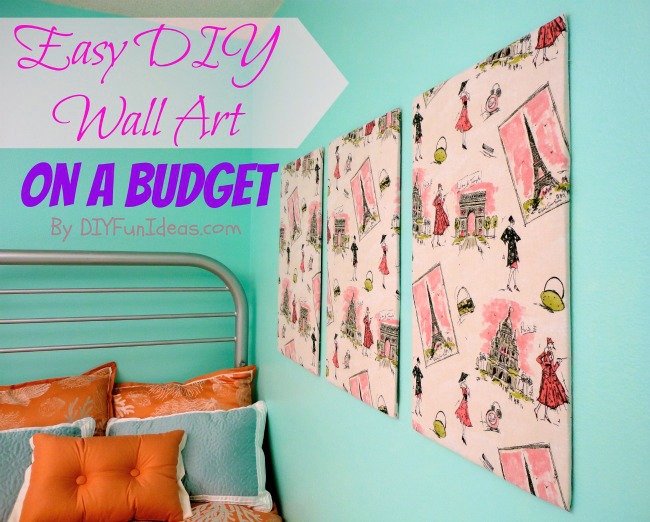
If you’ve been following along, then you may recall all the updates I’ve been making to my parents’ guest room. There’s the shabby chic furniture makeover, creating the faux silver leaf doors, the jewelry organizer, the brilliant wall color selection process, and the bunk bed turned super cozy guest bed. And I have to say that I feel things are coming together nicely. But the newly painted walls were looking pretty bare. So it was time to start adding a little something-something. And since I have been trying to keep this makeover as budget friendly as possible, I decided to DIY the wall art. So I headed over to my favorite little craft store.
Sometimes I like simply going to the craft store without anything particular in mind because it keeps me open to letting some new inspiration hit me. I started by walking through the aisles of pre-made framed art, hoping to get an inspiration. I saw some really cool items, but nothing struck me. Then I roamed through all the craft aisles; found a few things I thought could be interesting, but again nothing really hit me over the head.
I thought about picking up a pre-stretched canvas and painting some inspirational words on it. Then I remembered that I have some thrift store framed art at home that I could always paint over it that’s what I wanted to do. So I decided to skip that, at least for now. I could always fall back on that later if I needed.
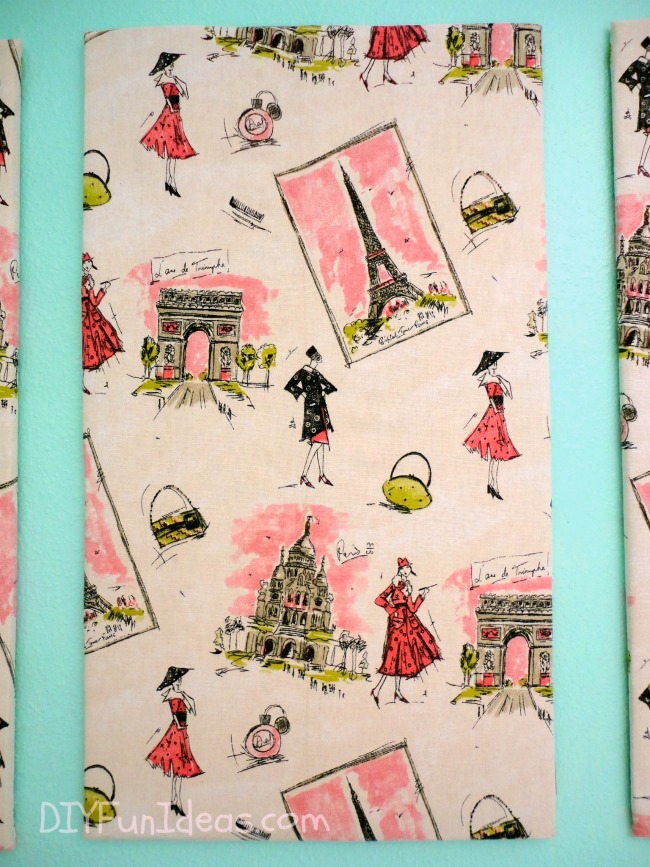
At this point in my search, I moving into the fabric aisle. That’s when it hit me that I could find an interesting patterned fabric and perhaps frame that. I thought about a chevron pattern, but couldn’t find it in a color I was happy with. Then I glimpsed this fun patterned fabric…
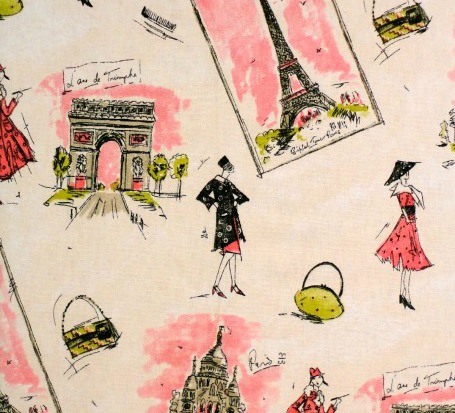
It’s definitely very girly. But it made me smile and I thought it was really fun. So I picked up a yard of the material on sale for $6.29. One thought that occurred to me was that using this fabric nearly made me feel like I was decorating my daughter’s room…and I don’t have a daughter. Hmm.
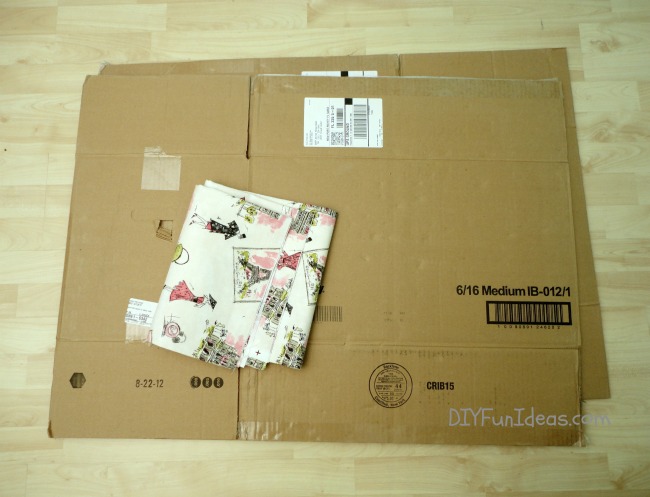
Back at home I had a few empty cardboard boxes stored so I pulled those out and decided to mount the fabric on the cardboard to create panels.
I cut the cardboard to size and doubled them up, to give the wall art a little dimension, adhering the doubled up pieces together with duct tape (as always, duct tape saves the day!).
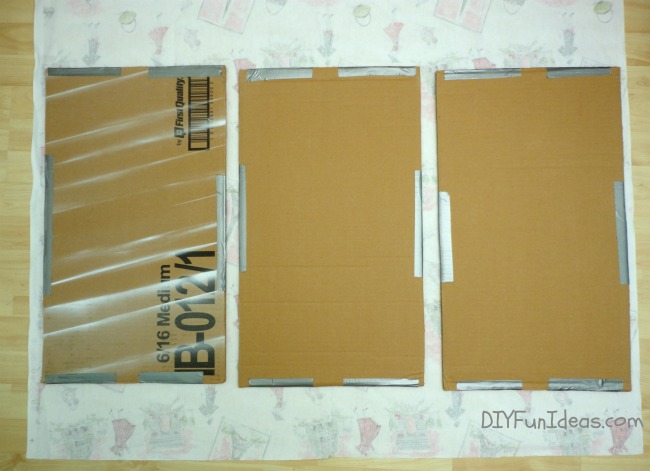
Next, I measured and cut the fabric, leaving at least an extra half inch of fabric on each side to fold over the boards. Using the duct tape again, I taped down the fabric edges to the back of the boards. I’m sure a glue gun would work great for this too, but I don’t have glue gun, so duct tap it was.

Here’s a close up of the final product.
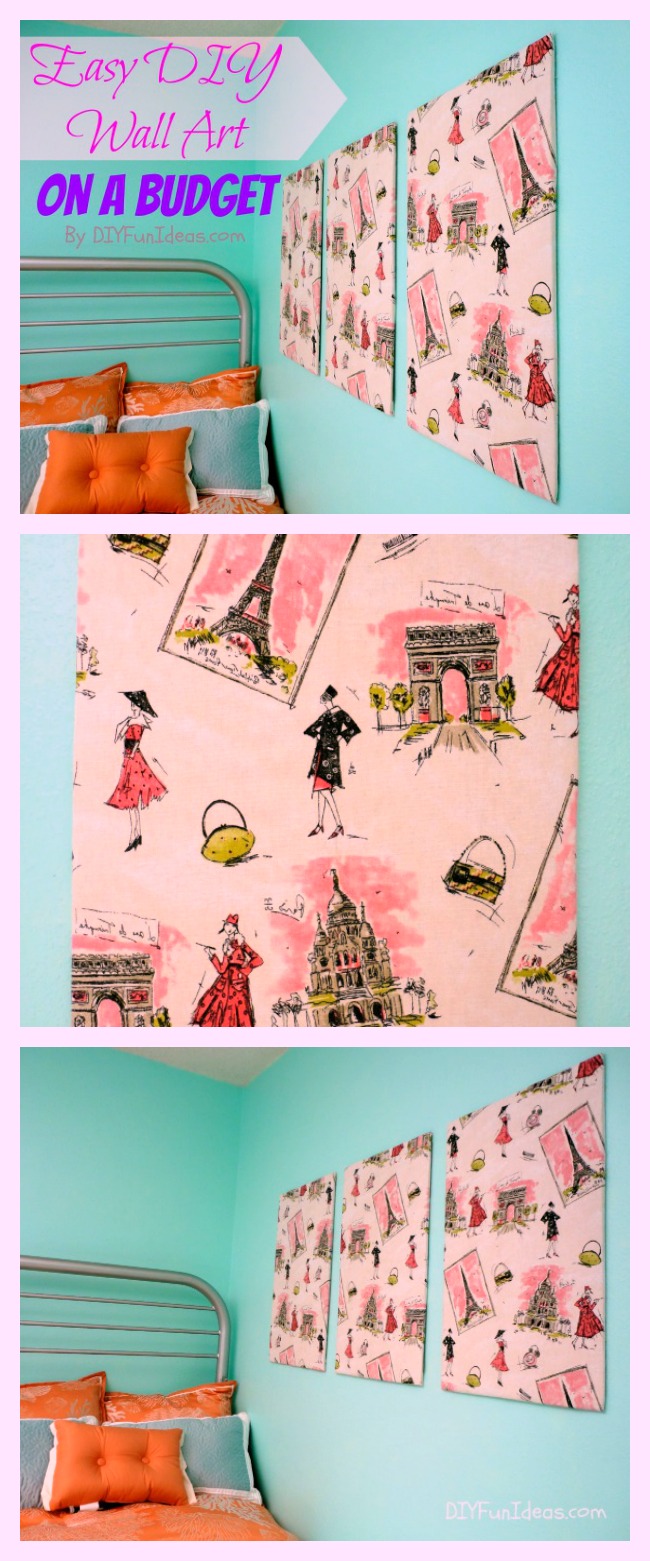
The fabric boards turned out pretty fun and they do a great job filling in the big empty space above the bed. Three panels for $6.29. Not bad. And it’s a super easy, super budget friendly fix to add a little something-something to your big empty wall spaces. Plus, there are so many fun colors and patterns to choose from. You can even put a bunch of fabrics together to create a fabric collage.
Next, I have some more super easy and budget friendly plans for decorating the rest of the bedroom walls so stay tuned for those.
Here’s a great combo image to pin so you don’t lose track of this DIY fun idea…
Thanks for stopping by and please sign up for email alerts to you never miss a DIY fun idea!
Cheers, Jenise
This post linked to some of these wonderful blogs and here.
Oh WOW! You totally rocked this art! Cardboard, duck tape and fabric? I love this soooo much. This is decorating on a budget to it’s finest! Pinning!
Thank you Kim. It’s no Rembrant, but it’s cute.
You continue to amaze me! GREAT job! My Mom would have LOVED this too, she was an artist and she’d been to Paris.
Thank you so much Kathie. I’m glad your Mom would have loved it. It’s simple, easy, and inexpensive and cute.
Hi, I found your blog via Create with Joy’s Friendship Friday, and I’m so glad I did :) I love diy wall art, and these are great :)
Thank you so much. I’ve got some other budget wall art ideas coming up too!
So simple…so cute. I just love your thrifty creativity. Thanks for sharing!
Cheryl
Thank you, Cheryl.
And just checked out your blog. Love your thoughts on skills our grandparents have that we don’t. So true!
Oh my word, this is super cute and I can’t believe it’s made from cardboard boxes under there! Clever. :) (I found your post from the Fabulous Finds Linky Party.)
Thank you so much Aubrey!
these look great! Simple and high fashion right up my ally!
Thank you so much Jessica!
totally love this idea an will be using it for the granddaughters room. I have been brainstorming for months and this will be perfect!!!
Thank you. I’m so glad you like it. I hope your grand daughter loves what you do!
haha, I saw this comment after I posted mine below and was thinking the same thing! (Says the daughter!)
lol :-)
What great cloth! And I never would have guessed it was just cardboard behind it!! What a great idea! Thanks for linking it up to Snickerdoodle Sunday! – Kristina
Thanks you Kristina! And thanks for hosting each week!
I love these-such a fun (and cheap) idea! You’re one of the features on this week’s Fridays Unfolded!
Alison
Nancherrow
Woohoo!! It is an honor to be featured. Thank you so much Alison and thank you for hosting each week!
Thank you for sharing this post at City of Creative Dream’s City of Links on Friday! I appreciate you taking the time to party with me. Hope to see you again this week :)
Absolutely. And thank you for hosting!
Really cute idea and I love that you used cardboard as the backing. I did this once, but built wooden frames as the backing and it was time consuming.
Thank you Carmody. Plus, the cardboard also is way lighter than wood. Easier to hang.
Speaking of hanging…what did you do/use to hand these?
I used these 3M Heavy Duty Mounting Strips to hang the fabric panels. It’s worked quite well. :-)
That’s a great idea to brighten up a bare wall. Thanks for linking up to Sweet and Savoury Sunday, stop by and link up again. Have a great day!! Laura@Baking in Pyjamas
Thank you so much Laura. And thank you for hosting!!
Duct tape saves the day! haha! Love it! So easy but so cute! I may need to give this a try for my daughter’s room!
Duct tape always save the day! lol!
SUch a cute idea!
Thank you so much Megan!
no kidding?! that turned out beautiful jenise!
i would love for you to submit this project over at http://homefor4sweethome.blogspot.com/p/be-featured.html and be my SuperBlogger!
for more details, here is the link http://homefor4sweethome.blogspot.com/2014/04/be-superblogger.html
hope to see you there! huggies♥
rea
Thank you Rea. I will definitely check it out!
Love thrifty crafts. Thanks so much for sharing it on Merry Monday.
Thank you Erlene and thanks for hosting!
What a great idea!!
Thanks so much!
This is my kind of DIY! Thanks for sharing. Pinning so I can remember to do this when I update my son’s bedroom!
Thank you so much Christie!
Fabulous idea using the boxes! I was planning on doing something similar in my laundry room. Recycling boxes much cheaper than foam board! Thanks for sharing.
Thanks Sherry. You know, I did look at foam board and they can definitely get expensive. Plus, it seemed silly to pay for foam when I had the cardboard at home already.
Very very nice! And simple :-) Just one question… how did you hang the panels?
Thanks Monica! To hang the panels I used some adhesive putty (http://amzn.to/1C7rC7t), but the panels kept falling down. It really bummed me out. So I recommend attaching a regular picture hanger to your boards. You can glue gun it on.
thank you so much for your blog post – amazing! My mom bought fabric panels that’s an “odd size” (it won’t fit the precut foam boards that I was thinking of purchasing). I can’t wait to try this out tonight. And we have tons of boxes since we just moved so you saved me tons of money!
Glad I could help Lily. Hope your panels come out fabulous!!
I really love this, av been thinking on how to go about it, but this method is simple and not costly