


Hola and thanks for stopping! If you’re new here, please SIGN UP FOR EMAIL ALERTS so you never miss a fun DIY! You can also follow me on Pinterest Here!
There’s only ONE MORE WEEK to vote for me in the BobVila.com concrete competition. The competition has been neck-in-neck, so I could really use your vote. So before moving on to today’s tutorial, please pop on over to BobVila.com and vote for my Concrete Planter Hands! You can vote once a day FROM EVERY DEVICE you have, that includes your XBOX, PS, Smart TV, tablet, Phone, etc. Please help and vote often. It only takes seconds. Did I mention it only takes seconds! You could have voted 7 times in the time it took you to read this post. Seconds! …And I will love you forever! Did I mention I will love you forever!!!
CLICK HERE TO VOTE ….PLEASE!
Now, onto the Princess’s new throne…
My darling little pup, Lily, always ignores her doggie bed. Instead she prefers the laundry basket. It doesn’t matter if it’s filled with clean or dirty clothes. And it doesn’t matter what room the basket is in, she will find it, climb in (it’s really cute because the basket is taller than she is and sometimes she gets stuck in mid hurdle and has to wiggle her way over the hump) and dig herself a little hole. Sometimes she digs herself in so well that only her head is visible.
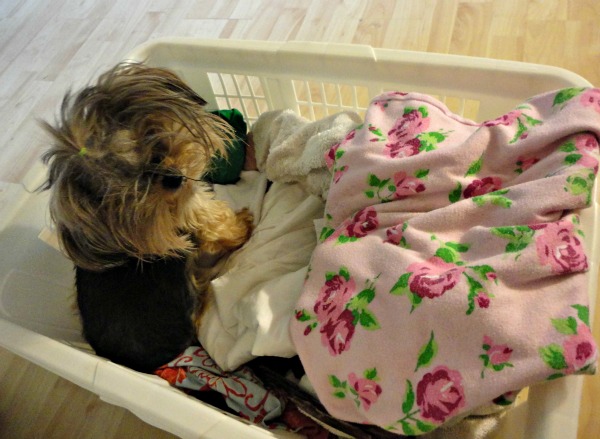
I have to admit that it cracks me up each time I find her like this, but at the same time it’s inspired me to make her a new doggie bed. Her old one is a pretty standard fleece covered cushion. So I thought, maybe if I make her something more box-like and enclosed then she’d like it better.
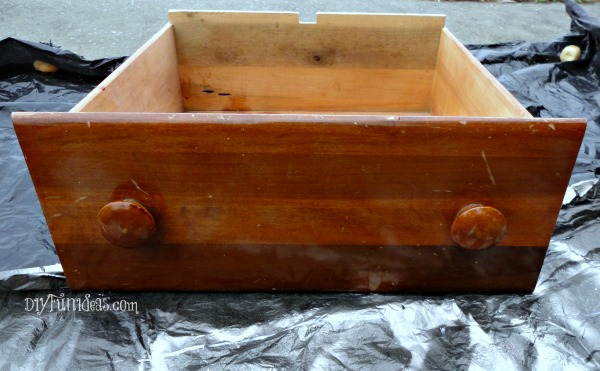
I’ve seen tons of dog beds online that are made from old drawers and I thought the concept is brilliant…and easy. Love easy. So off I went to make her a drawer dog bed. The plan was pretty straight forward: get an old drawer, spray paint it, put a cushion in it, done… well, at least that’s how it started out.
I found this drawer…
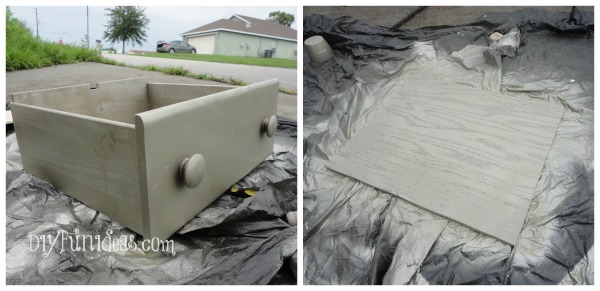
I spray painted it.
Then I thought, “hmmm, a bed needs a headboard.” So my plan evolved. I cut a square out of some scrap wood to fit in the back of the drawer and then spray painted that too. I figured I’d perhaps find some great doggie graphic to transfer onto it.
After the paint dried, I stuck the new head board into the box and stepped back to look at it and… Nope. It just wasn’t doing anything for me. It seemed so plain, square, and small. So the plan evolved again. I got online and took a look at head boards. I wanted something curvy and with a width wider than the drawer. So I came up with this…
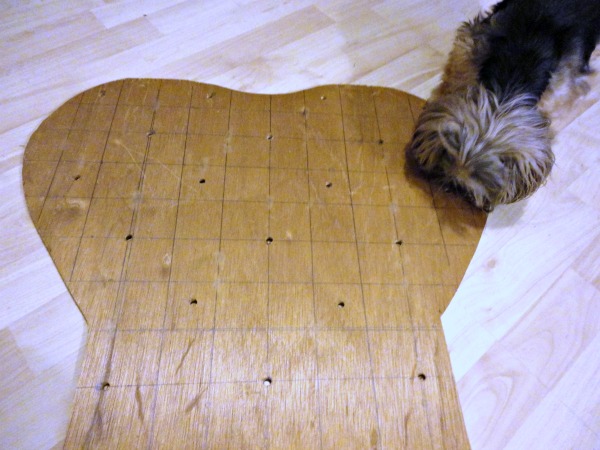
And once again the bed evolved. After cutting my new head board to shape, I thought, “Wouldn’t that look nice upholstered and tufted.” I wasn’t sure if I would tuft it, but just in case, I drew a little graph on the back of the head board so I could evenly space some drill holes for tufting. Then I headed out to the store and picked up some batting and fabric.
I found this fabulous crushed velvet purple fabric. I wasn’t sure if it would be a little too flamboyant, but then I figured, “Eh, why not?” After all, my little one is quite the princess.
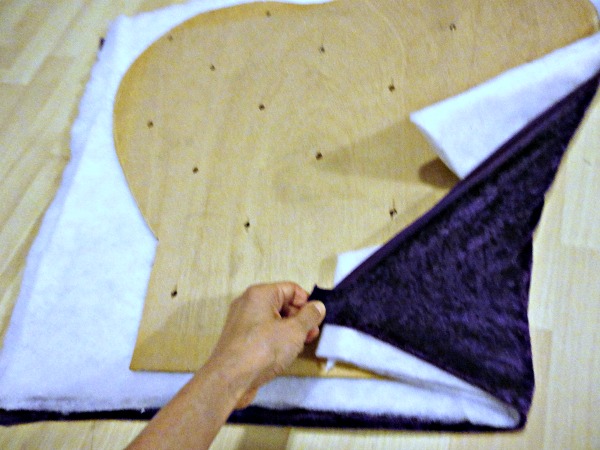
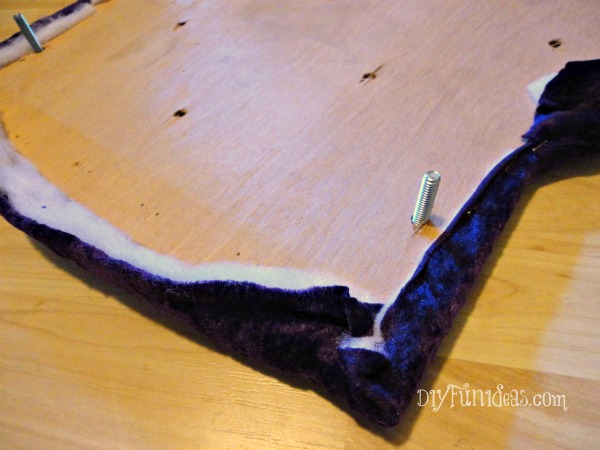
Before upholstering, I added some bolts for attaching the head board to the back of the drawer, then used a staple gun to tack the batting and fabric in place.
Here’s the upholstered head board…
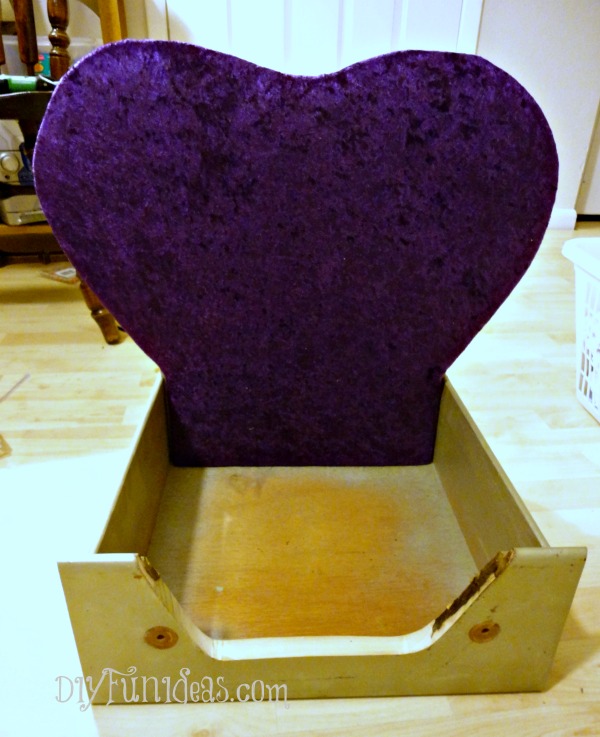
Oh, and you can see that I cut away a section of the drawer front so that Lily doesn’t have to hurdle her way in.
Now, this is where the project evolved again. I thought, “boy, I really like the head board, but it made the bed look more like a high-back chair.” That’s when a little light went on… I’d make my girl’s bed look like a high-back chair! And wouldn’t it look great with some big roll arms!!
But how on earth do I make arms? I was stuck.
While pondering a solution, I caught a glimpse of the left over PVC that I had from my DIY PVC Bangle Bracelets project and I got soooo excited.
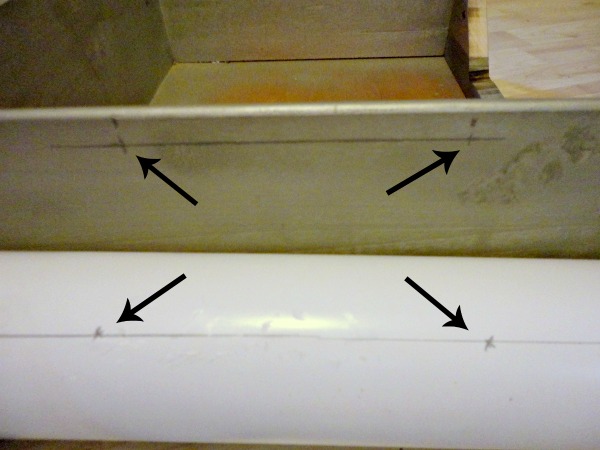
I’d make the arms using the PVC! So I marked drill holes on the sides of the drawer and on the PVC so I could bolt the arms on to the drawer…
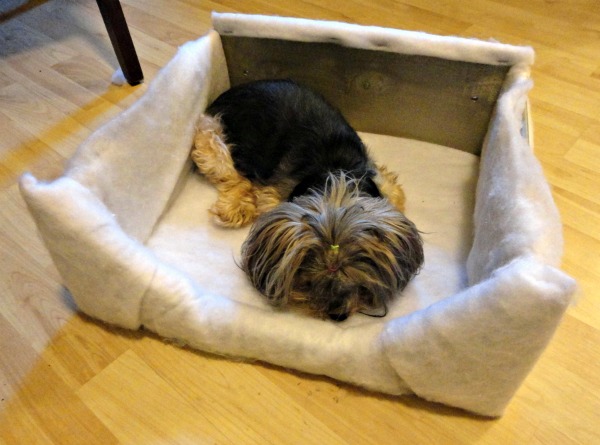
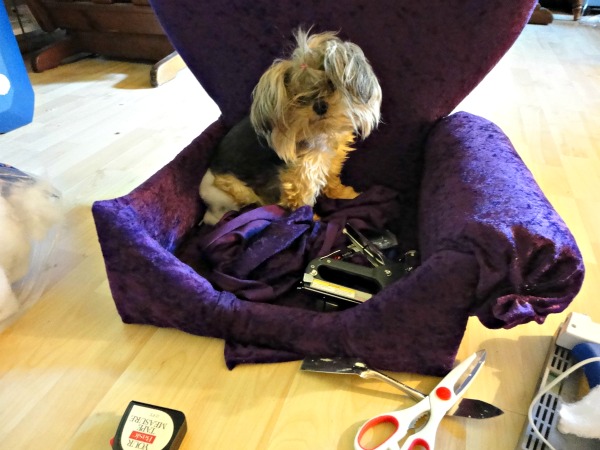
And now since the bed was becoming a chair, the entire thing needed to be upholstered. So I started stapling on the batting. Then Lily decided her new bed needed testing.
I stapled fabric over the batting.
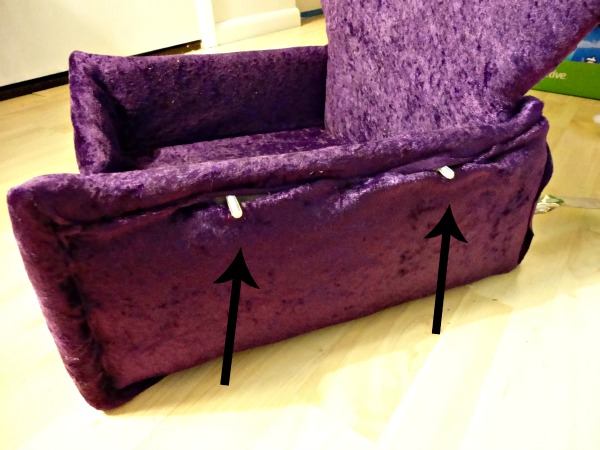
Here you can see where I placed the bolts through the drawer side and under the batting so I could attach the arms…
And here’s a lesson learned: Don’t try to drill through batting. It gets all caught up on the drill bit and is a pain in the patookus to remove.
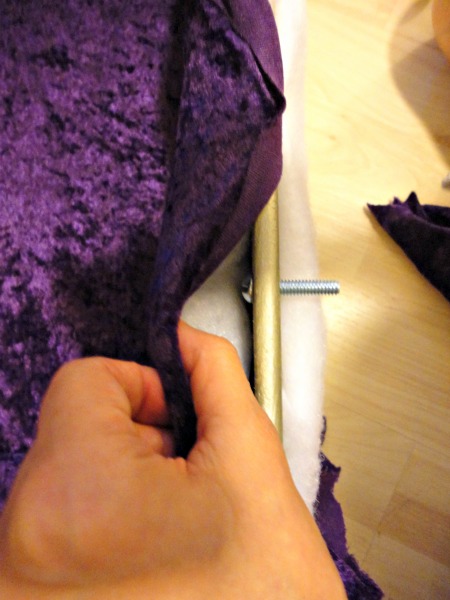
Once I had the entire chair upholstered, it was time to attach the PVC arms onto the bolts.
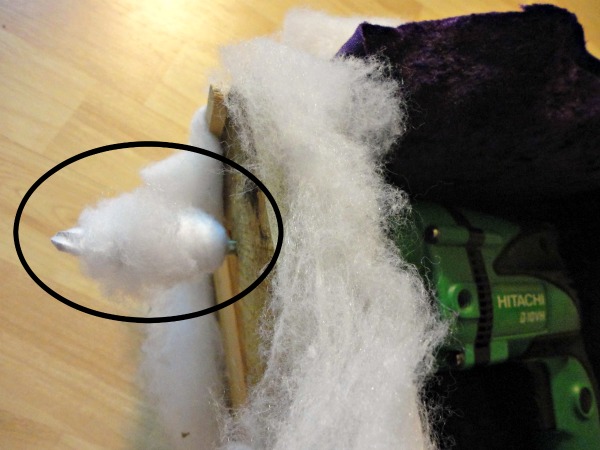
But first, I heavily wrapped the PVC with batting and cut through the batting to expose the drill holes. I couldn’t staple the fabric to the PVC, so I glue gunned it on straight across the entire arm, just under the drill holes.
I slipped the PVC onto the bolts and stuck my hand in from the back to screw the nuts on from the inside.
At this point the glued on fabric was hanging down from the arm.
I added extra batting where the arm and drawer connected and then I flipped the fabric over the arm and stapled it into the bottom corner of the inside of the drawer.
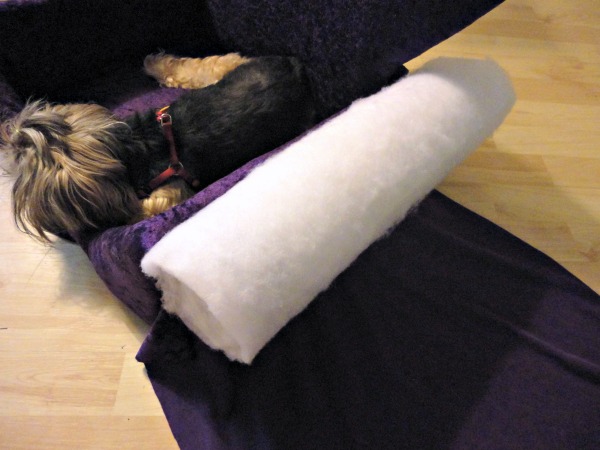
I had to keep removing my little one from the work in progress, but she just kept climbing back in and making herself comfortable.
I repeated the same process to attach the second arm.
To close the front of the arm, I folded the fabric over and glue gunned it together making sure that no glue would show from the outside.
To close the back of the arm, I stapled the extra fabric to the back of the head board.
Next, Lily’s throne needed feet. For the front feet, I picked up some glass knobs from the craft store, mounted them on to small blocks and then glue gunned the blocks to the bottom of the chair.
Had I actually planned ahead, I would have attached the feet before upholstering so that I could simply screw them into the bottom of the chair.
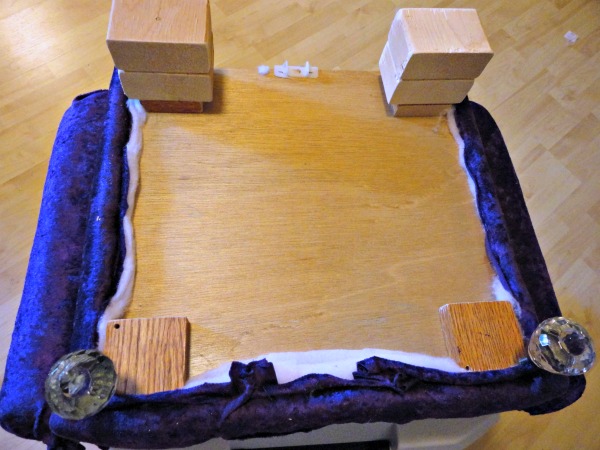
I simply used wood blocks for the back feet (since nobody sees the back feet) and painted the blocks the same color as the fabric.
Finally, I tufted the back of the chair with some pretty silver and black buttons. (Confession: I kind of borrowed those buttons from an old dress in my Mom’s closet. Shhh!)
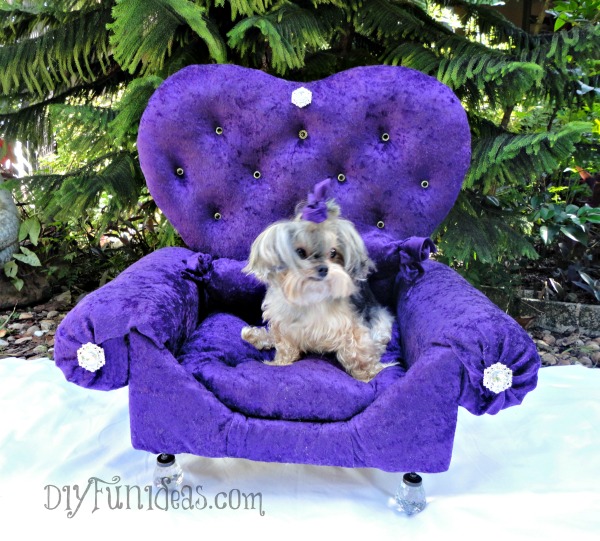
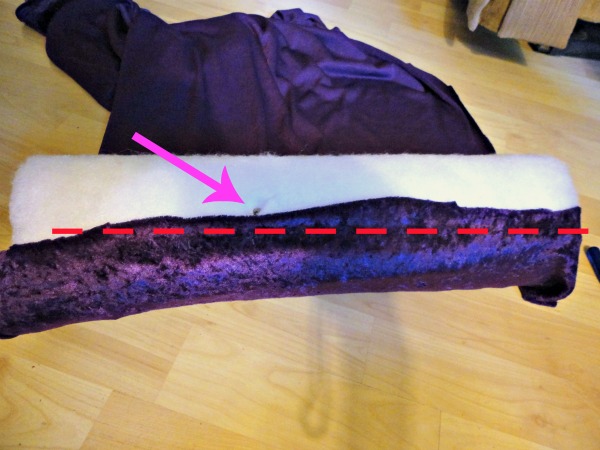
I made a fun no-sew roll pillow for the back of the chair and a super thick no-sew cushion pillow. You can check out the How To Make No-Sew Pillows In 5 Minutes tutorial right here.
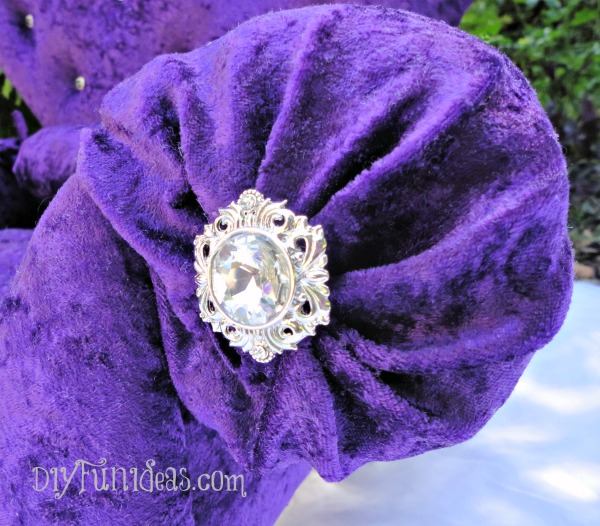
I also added some sparkly jeweled embellishments to the arms and the top of the chair back.
Oh, yeah… and I added a matching ribbon to Lily’s head. I don’t think she was all too happy about that.
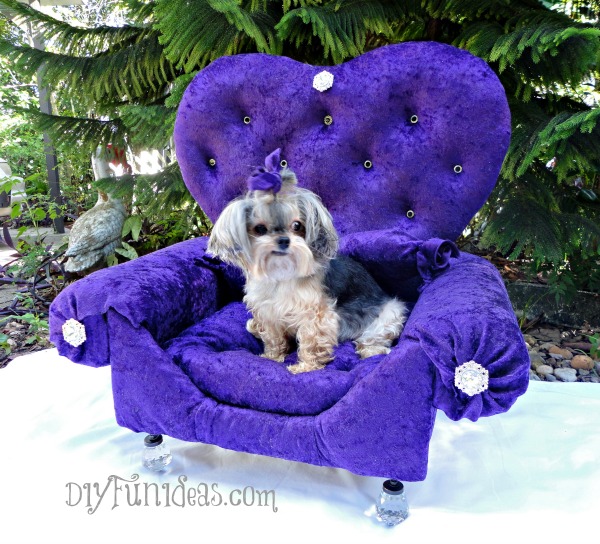
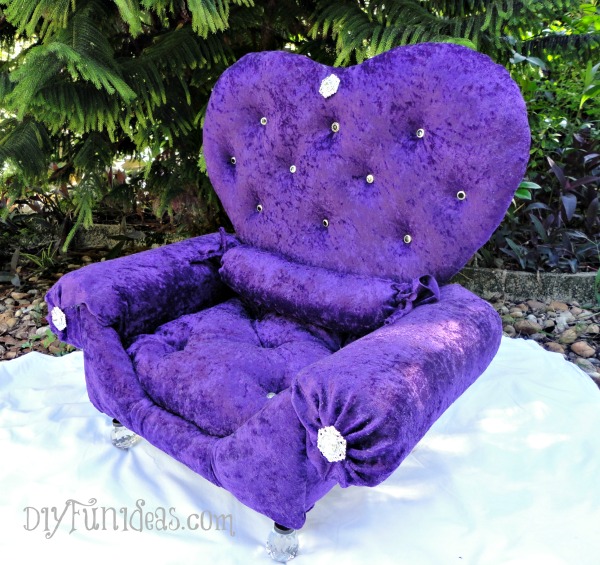
But my little princess got her throne.
I think she may have even given up the laundry basket… At least for now.
This is the first time I’ve ever made any thing like this. It’s also the first time I’ve ever upholstered any thing. It was a make it up as you go kind of project. But so are most of my projects. But my point is that if I can do it, then so can you.
I hope Lily’s DIY dog bed/princess throne from an old drawer has inspired you to make something fabulous for your pampered pooch.
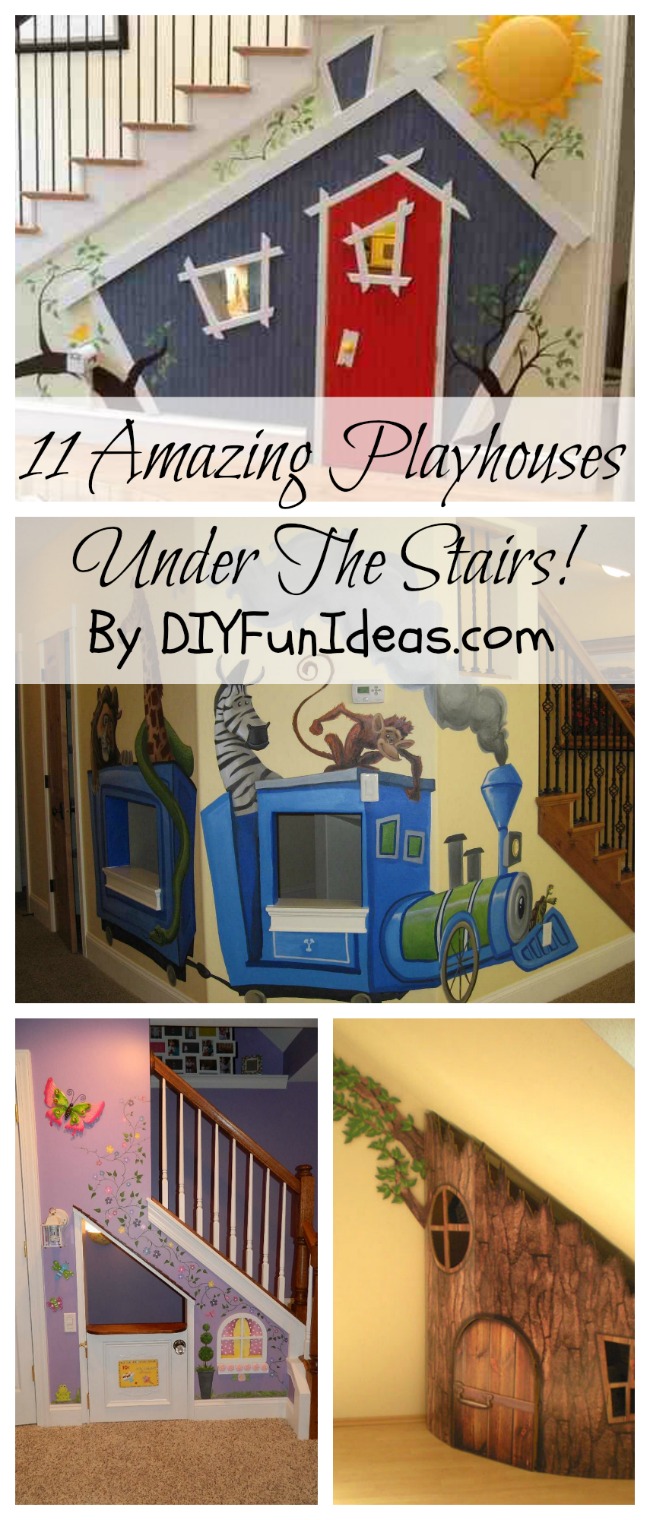
And if you love the chair but don’t have a pup, it would make an awesome chair for a toddler’s room. It would also look gorgeous in any of these Amazing Playhouses Under The Stairs!

And don’t forget to follow me on Pinterest Here!
Cheers!
Jenise
This post linked to some of these totally fabulous blogs and here.
Super cute dog bed perfect for your little princess
Thank you so much Paris! I think she loves it!
WOW! This is AWESOME!! I don’t have a dog YET, but when I get one I want a Yorkie or a Morkie!!! LOVE your Lil Princess!!!!
Thank you Chelle! My little one is a yorkie. She’s really mellow and is definitely a cuddly little mamma’s girl.
Well that is just the cutest thing ever !!!
Love how her ribbon matches her bed – incredible project – thanks for sharing!
Thank you so much Suzan. Yeah, she wasn’t too crazy about the hair ribbon. Oh well…the pains us ladies must go through to be beautiful. :-)
You are a genius, that’s how I make things, as I go along. Things seem to turn out better when I do that. If I plan, oops big fail. But figure I’ve learned something from my fail. (I hope so anyway.) Your little sweeties chair is fantastic. Makes me almost wish we had a small dog.
Our black mini cocker would have loved this. When we took her to be groomed there had to be lots of compliments for few days to make her happy. Too smart for us . I mean she would parade around like she was sashaying for attention, what a kid. We had her for 14 yrs.
Now we have a 75 lb. black lab/border collie, another animal smarter than we are. This bed would be bit too small for him. Your little yorkie is adorable, especially with her purple bow.
Enjoy all your incredible projects and posts. Happy weekend
Haha you crack me up JaneEllen. You little one sounds like she was quite the character, but I can totally see it. They have such distinct personalities. And let me tell you mine really does think she is a princess. But it’s my fault because I’ve spoiled her rotten. I just can’t help it. I bet your lab/collie thinks he’s a lap dog too! Anyway, thank you so much and happy Saturday!
Love this and I bet Lily does too! Such a creative idea. BTW I voted!
Glenna @ My Paper Craze
Glenna, Thank you so much! I am very happy to announce that Lily has actually been ignoring “her” laundry basket and lounging in her new princess throne. I’m very proud of my spoiled little girl. Lol. And thank you for voting! You are a total rock star!!!!!!!!
Looks amazing!! Chloe says hi to Lily! Oh and I voted too!
Yay! Thank you so much Mary! Lily says xoxo to Chloe! :-)
Hello Jenise! What an adorable doggie bed. Lily is so cute! Thank you! I’m going to pin this. :D
Thank you so much Vashti and thank you for pinning! Lily says thank you too! :-)
That is too darn cute!! and I am loving the color, it looks like a pretty purple princess throne….adorable!
Thank you so much Christine! I fell in love with the color too when I saw it at the fabric store. It was perfect for my little monster…uh, I mean princess. :-)
Ooooh! I love this! My dogs are going to be so jealous!
I would be honored if you hopped over to share with us at Inspire Us Tuesdays. (http://twolittlecavaliers.com/2014/08/inspire-us-tuesday-fall-air.html)
Thank you for the invite Felissa. Lily and I thrilled for the invite!
Pretty sure this is the most creative thing I’ve ever seen! What an awesome DIY. I would love for you to share this post at my Create & Share Link Party tonight (7:00 PM MST)! Hope to see you there :) http://designsbymissmandee.blogspot.com/
Thank you so much Mandee. That is the nicest thing to say! I would love to stop by your party and share!! Thanks for the invite!
so adorable! I need one of these for Her majesty, Queen Macy!
I know, the certainly are royalty aren’t they? At least they seem to think so. :-)
Very regal
Thank you Andrea! And oh my goodness, I love your little Pug and his pug butt! So adorable!
OK seriously holy AMAZING!! So So CREATIVE! Love it! I pinned this to our talent board over at DIY Sunday Showcase! Thanks for sharing this amazing project!!
Shelly@MinettesMaze
Oh my goodness Shelly, your super kinds words have totally made my day. I’m so glad you like it! Thank you! And Lily says thank you too!
great tutorial. I love tutorials with lots of pics to help walk me though the DIY easier lol. Im very visual I guess haha. Such a cute idea and would be so cute for dogs or cats! Have a great friday..Jess
Thank you Jessica! I do agree, though, that you really need the pictures to understand the tutorial better.
I don’t have a dog, but this is pretty awesome :)
Alex – Funky Jungle
Thank you so much Alex! It would also be great for a toddler.
visiting from link party! Such a creative idea and a spoiled little princess :)
Lib
http://www.loaly.com
Thank you so much Liberti. Yes, she definitely is spoiled. Trying to not let it get to her head. :-)
That is too precious, and Lily was right along with you waiting for her princess lovely bed, well done.
Haha, yes Marilyn. I had to keep picking her up and removing her from the bed so I could keep working. She was cracking me up.
I’ve only had Yorkies so you know I’m loving this. A bit of work but worth the love I think. Good Job!
One of the most clever project ever! I will be featuring this tonight at my Fall into Fall party that opens at 8pm EST. Please stop by and pick up an I’ve Been Featured button. Thanks. http://diybydesign.blogspot.com
Oh my goodness, Judy! Thank you for featuring! I will definitely be popping by! :-)
this bed is gorgeous, I have been looking for an idea about how to make my lil girl a couch bed. she just recently lost the use of her back legs and can no longer get up on the couch. She loves to sleep on the couch and never uses her dog bed. So I thought if I could make her a couch that was almost on the ground she could crawl in. You have given me some great ideas and now I know how I can put it all together. I love how your little one already knew it was for her and kept climbing in during the process. The bed is so cute and so is she. thanks Tobey
Oh, I’m so sorry about your baby, Tobey. It must hurt seeing her struggle to get up on the couch. My little one is seven years old, but she already has some problems with her joints and every now and then she limps a little, poor thing. She is my whole world. I am so glad I’ve given you some ideas and how to make a nice bed for your girl. And you don’t have to go as extreme as I did. (I definitely got a little carried away.) If you simply got a drawer, cut the front off, and put a bunch of pillows in it, I bet that would work great. Please let me know how it turns out! I’d love for you to send a pic ([email protected]). :-)
My daughter’s gonna get adore this dog throne! I’m not sure if I am skilled enough to make such a lovely bed. I’d rather outsource it to a professional carpenter. The only thing I’m gonna change is the color – my baby would better like pink. Anyways, thanks for the great post. Two thumbs up!
Thank you so much. And I think it would look awesome in pink! And believe me, I am not a skilled carpenter. I’m just learning as I go. :-)